Planning a Disneyland Halloween trip? Don't forget to stop by to see the Cars Land Halloween “Haul-O-Ween” makeover! I've got the perfect planning guide, along with a DIY Cars Halloween craft for the littles! This visit was sponsored by Disney as part of the #ThorRagnarokEvent. All thoughts and opinions are my own.
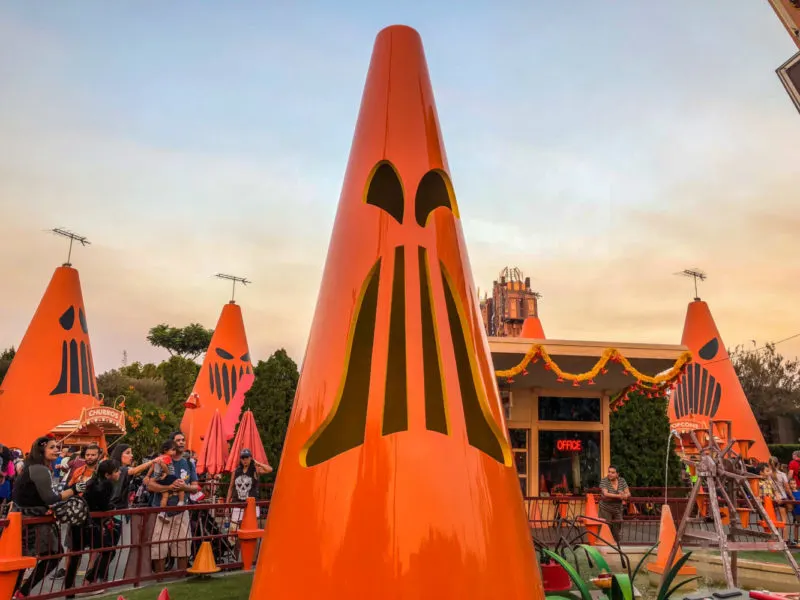
The Disneyland Halloween Time celebration is much different than Walt Disney World's Halloween celebration. The most exciting thing is that both Disneyland and Disney California Adventure Park celebrates this fall holiday. With a spooky spin on rides, creepy-fun Holiday decor, themed snacks, and limited-time events, you are going to want to plan every step of your visit – especially if you only have 1 day to experience the ghoulish fun.
I've personally experienced Disneyland and Disney World for Halloween, so I thought I knew what to expect. That was until I walked into Disney California Adventure’s “Haul-O-Ween” celebration, which is a Cars Land Halloween makeover!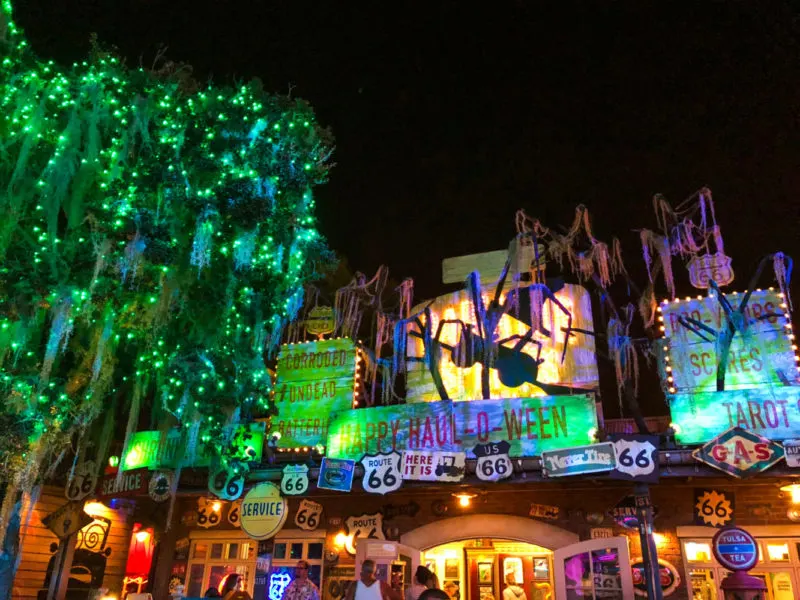
Cars Land Halloween “Haul-O-Ween” Planning Guide
Cars Land has been completely transformed for the exciting new Haul-O-Ween celebration. I had the pleasure of strolling through Radiator Springs to take part in the not-so-spooky Halloween fun! It's truly a must-see good time. Unlike, Walt Disney World's “Mickey's Not So Scary Halloween Party,” the kids will not be trick-or-treating throughout the park, however, they will be joining a Cars-style celebration of the holiday. I've put together a qucik and easy planning guide for your visit – because you don't want to miss a single thing.
The Attractions
Some of the attractions have been transformed for the Cars Halloween celebration! The attraction decor, sounds, and experiences have had a complete makeover and you don't want to miss any of it!
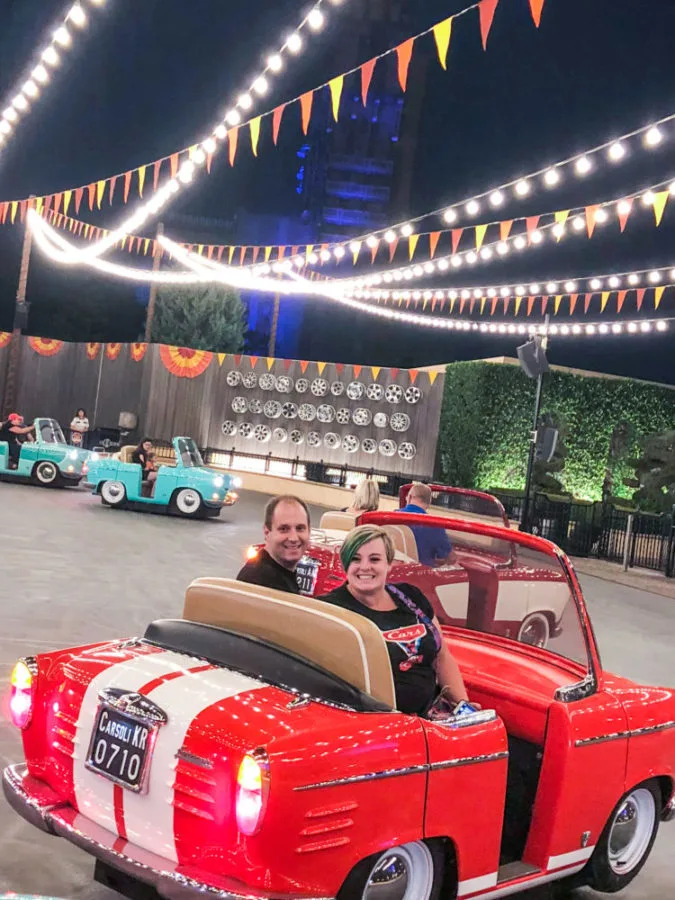
- Mater’s Junkyard Jamboree becomes Mater’s Graveyard JamBOOree.
Expect to hear some creepy, new songs and fun haunted twists on other hits, including “Monster Truck Smash” and “Welcome to Radiator Screams” as guests whirl around the graveyard - Luigi’s Rollickin’ Roadsters becomes Luigi’s Honkin’ Haul-O-Ween
An all-new spooktacular dance celebration where Luigi and Guido entertain the cugini (cousins) with Halloween twists to traditional Italian festival songs like the “Terror-antella,” “The Chop Top of Carsoli” and more.
Photo Opps
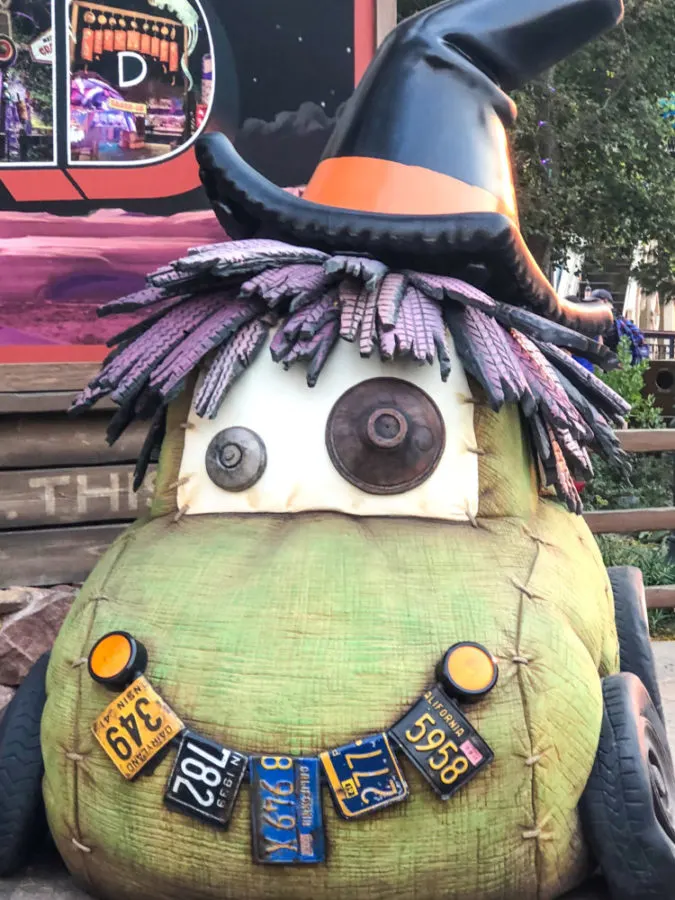
- Scary the “Scare-car” greets guests at the entrance of Route 66 for a special photo opportunity.
The Decor
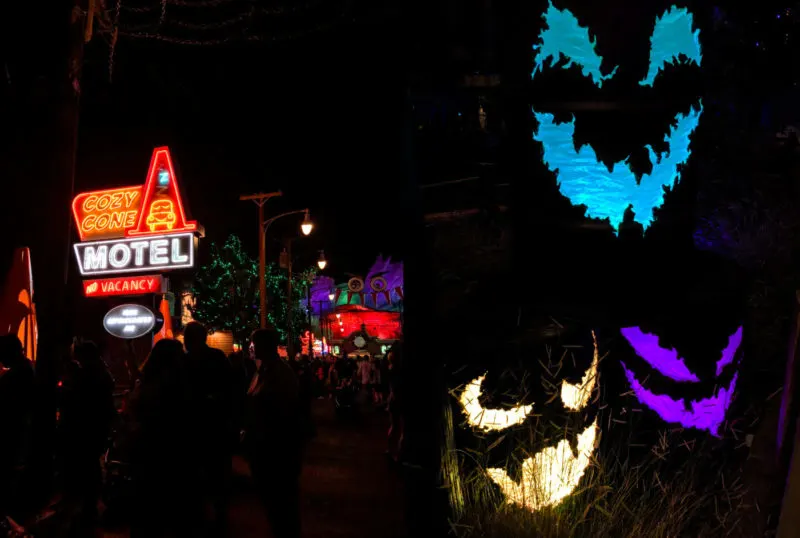
All of the Cars have been decorated for the holiday!
Each of the Cars has decorated its establishment for the season. With Fillmore showing off his Jack-Oil-Lanterns and ghostly folk art, Sarge displaying his “pump-kins,” and a Spider-Car spinning webs all over the outside of Flo’s V8 Café, the town of Radiator Springs will indeed be transformed into Radiator Screams!
Characters
- Mater as a “van-pire”
- Lightening McQueen as a super hero
- Cruz Ramirez as a pirate
- Red the Fire Truck as a clown
- DJ as a punk rocker
Don't forget to take advantage of the new Disneyland MaxPass for your trip!
Disney MaxPass is now available at the Disneyland Resort! You probably already know that this new digital tool helps you maximize your day’s experience with unlimited Disney PhotoPass downloads and the convenience of mobile Disney FASTPASS through the Disneyland App.
Cars Halloween Craft
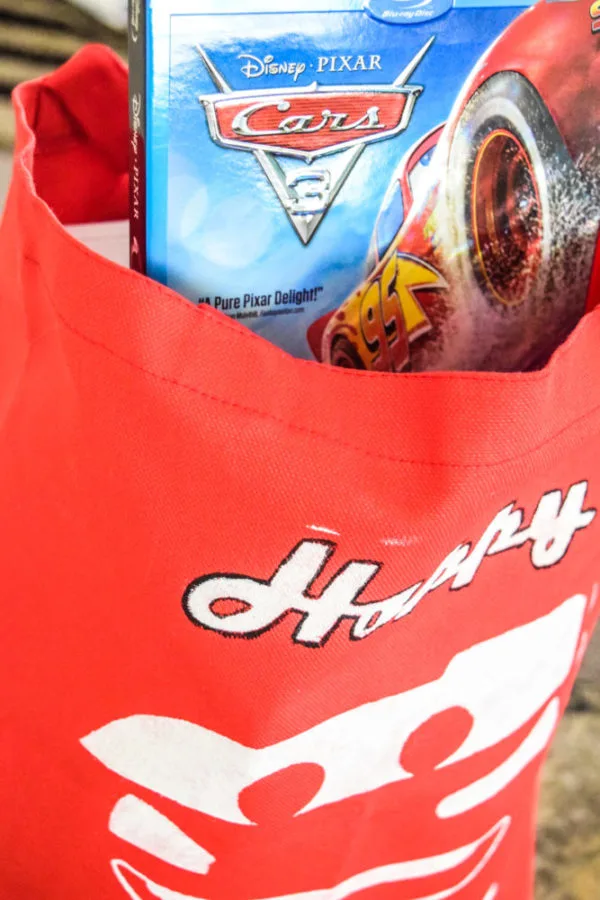
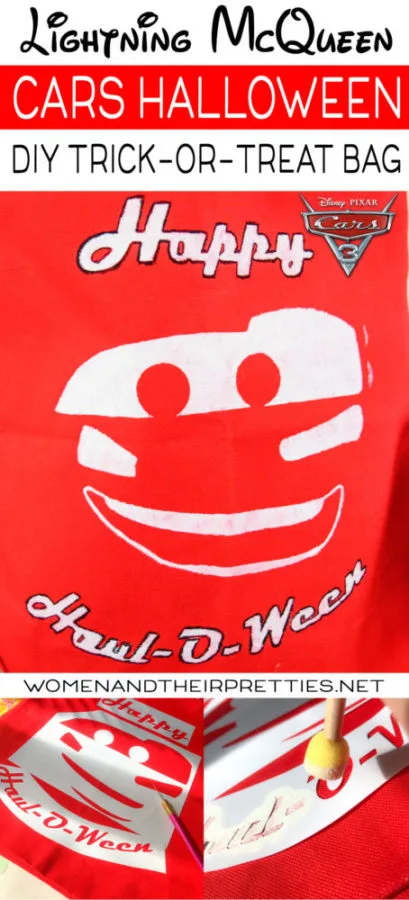
With the brand new Cars 3 Blu-ray release, I just knew this visit would spark some fun and creative Cars 3 Halloween ideas! So, after brainstorming, I decided to make an easy Cars Trick-or-Treat Bag.
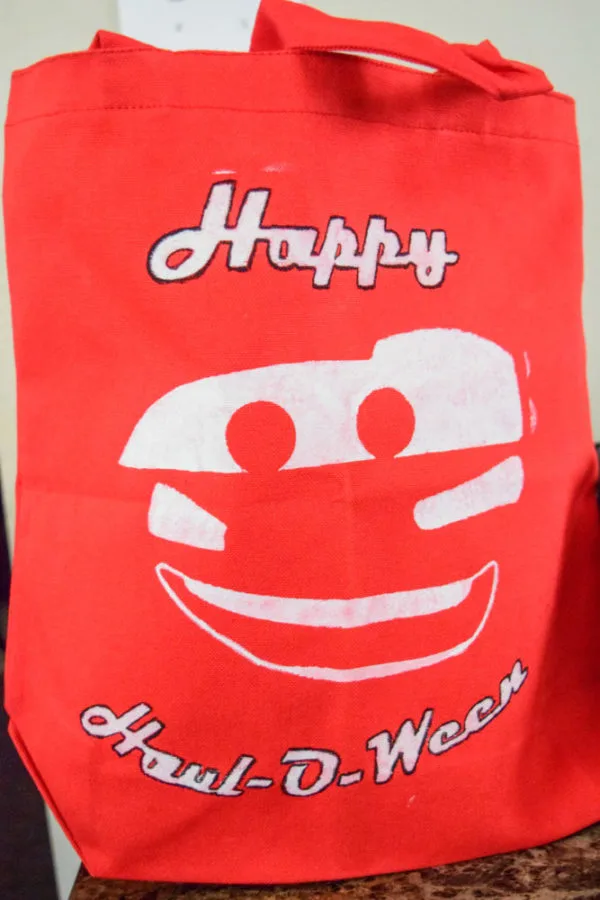
DIY Cars 3 Trick-Or-Treat Bag
Supplies:
- Red canvas tote bag – I got mine at Hobby Lobby
Tip: Put something inside the tote bag to protect the paint from bleeding through. - Cars Lightning McQueen stencil printed on card stock or traced onto stencil paper/ freezer paper
Tip: Freezer paper doesn't bleed through onto the fabric. - White paint – we used acrylic but fabric paint would be better
- Black paint
- Small, thin paint brush
- Flat top sponge brush
- Xacto knife (unless you’re really good with scissors)
- Cars 3 Blu-ray to watch during your crafting fun!
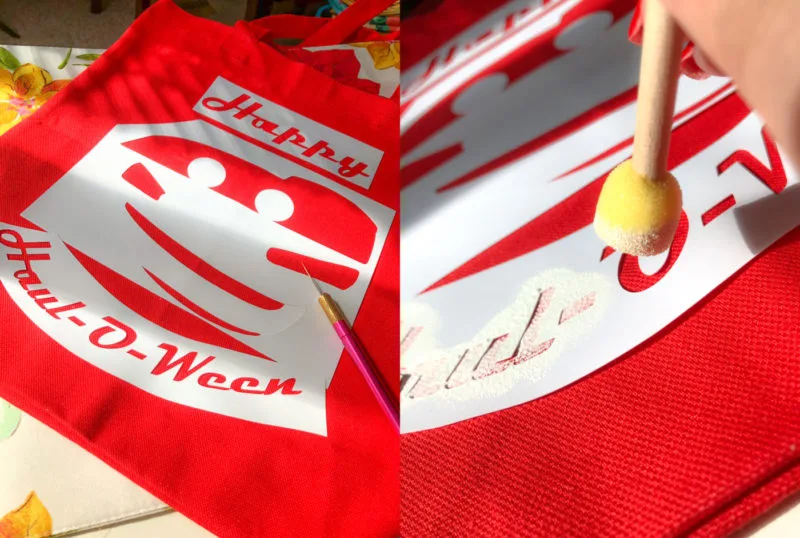
- Print your stencil from this PDF. Resize based on bag size. This stencil good for an 8 x 10 bag.
- Cut out the pieces of your stencil with the Xacto knife. You’ll be using the outer part of your stencil to paint on your face. But keep every little piece to the side.
- Lightly dip your flat sponge brush into the white paint and dab it into the stencil. Be sure to hold the stencil down very carefully, especially the inside pieces of the letters. Ensure that you don't have that too much paint on the brush, so it doesn't bleed outside of the lines.
- The mouth was tricky. You'll want to color in Lightening's teeth, yet outline the mouth so pay special attention to that.
- With the small paintbrush, outline the words in black to make them standout more.
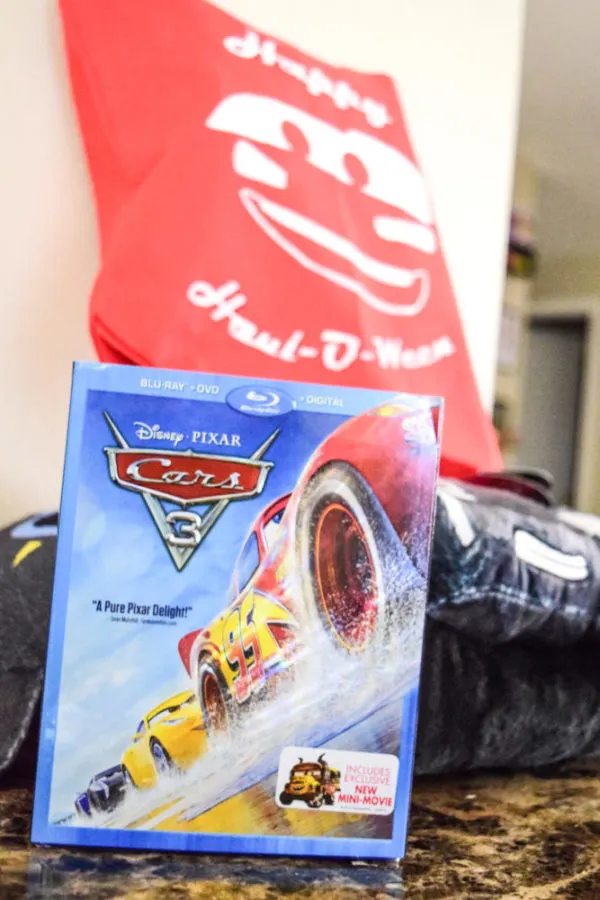
Cars 3 Blu-ray available Nov. 7th & on digital today!

… [Trackback]
[…] Find More on that Topic: butfirstjoy.com/cars-halloween/ […]
… [Trackback]
[…] Read More on that Topic: butfirstjoy.com/cars-halloween/ […]
… [Trackback]
[…] Read More on that Topic: butfirstjoy.com/cars-halloween/ […]
… [Trackback]
[…] Find More on that Topic: butfirstjoy.com/cars-halloween/ […]
… [Trackback]
[…] Here you will find 94048 additional Info to that Topic: butfirstjoy.com/cars-halloween/ […]
… [Trackback]
[…] Find More to that Topic: butfirstjoy.com/cars-halloween/ […]
… [Trackback]
[…] Here you can find 67826 more Information on that Topic: butfirstjoy.com/cars-halloween/ […]
… [Trackback]
[…] Here you can find 76744 more Information to that Topic: butfirstjoy.com/cars-halloween/ […]
… [Trackback]
[…] Information to that Topic: butfirstjoy.com/cars-halloween/ […]
… [Trackback]
[…] Here you can find 26636 more Information on that Topic: butfirstjoy.com/cars-halloween/ […]
… [Trackback]
[…] Read More here to that Topic: butfirstjoy.com/cars-halloween/ […]
… [Trackback]
[…] Read More to that Topic: butfirstjoy.com/cars-halloween/ […]
… [Trackback]
[…] Read More to that Topic: butfirstjoy.com/cars-halloween/ […]
… [Trackback]
[…] Read More to that Topic: butfirstjoy.com/cars-halloween/ […]
… [Trackback]
[…] Here you can find 55278 more Info on that Topic: butfirstjoy.com/cars-halloween/ […]
… [Trackback]
[…] Info to that Topic: butfirstjoy.com/cars-halloween/ […]
… [Trackback]
[…] Read More on on that Topic: butfirstjoy.com/cars-halloween/ […]
[…] You’ll also love: DIY Cars Trick-or-Treat Bag […]
I love these bags! So cute! Lets go back to Disneyland OK?