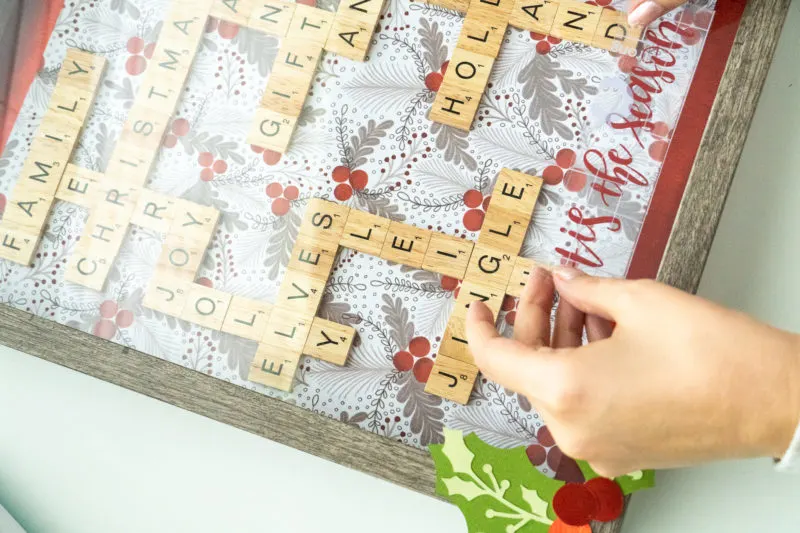
Using Scrabble tiles and mixed materials, you'll quickly learn how to make a Christmas Shadow Box with Cricut. These are great to give as gifts or to deck the halls in your own home.
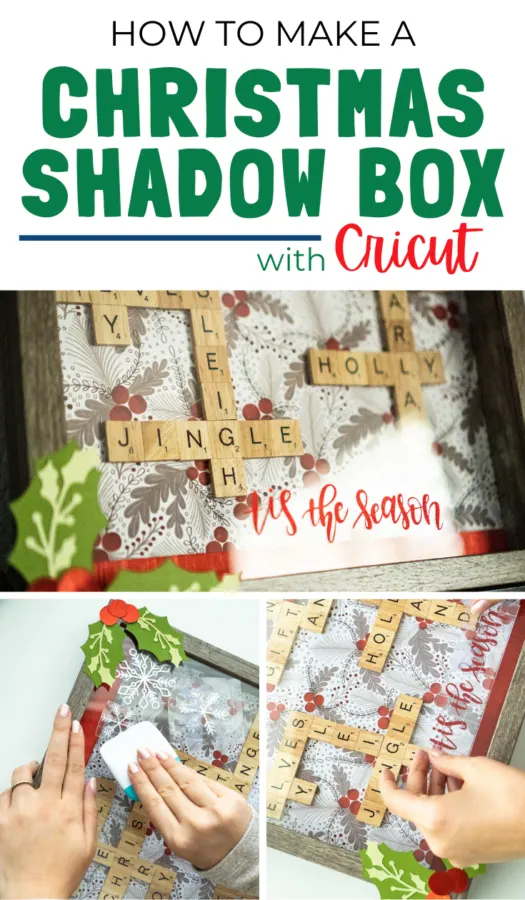
I came up with this idea after making an Anniversary Shadow Box for my husband. I used words such as: husband, wife, marriage, and love. With Christmas on the horizon, and the fact that I had just completed this shadowbox, I thought it would be fun to make one for the holidays.
I love working with mixed materials so I combed through the Cricut website to see what I could work with. By using a variety of Cricut materials (listed below) and just a couple other supplies, I made a Christmas Shadowbox that will be part of our family Christmas for decades.
Before beginning, I recommend subscribing to Cricut Access for over 100k images and thousands of beautiful fonts for your Cricut designs. It's not a requirement for this tutorial but it makes creating so much more fun!
How to Make a Christmas Shadowbox with Cricut
I hope this tutorial is easy and helpful for you as well. I made a full video tutorial but if you prefer written – check out the step-by-step below.
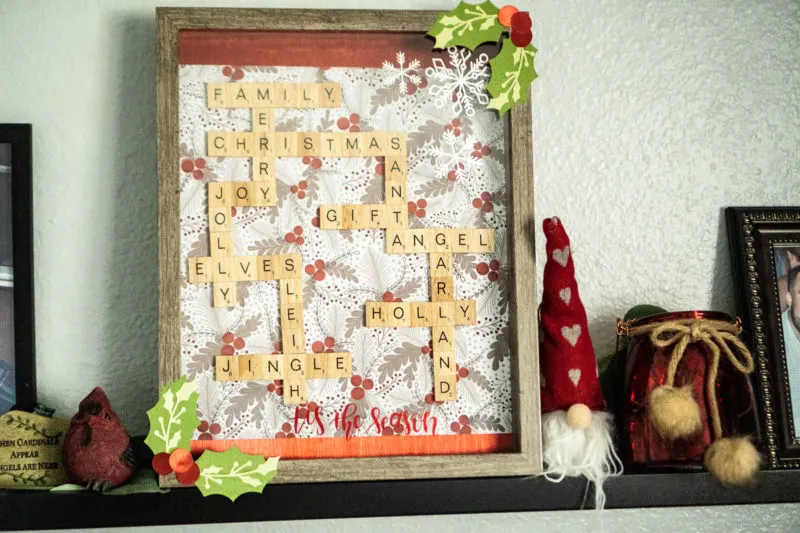
Supplies:
These are the supplies you'll need to make your Christmas Shadowbox.
Cricut Supplies:
- Cricut Joy (or other Cricut Cutting Machine)
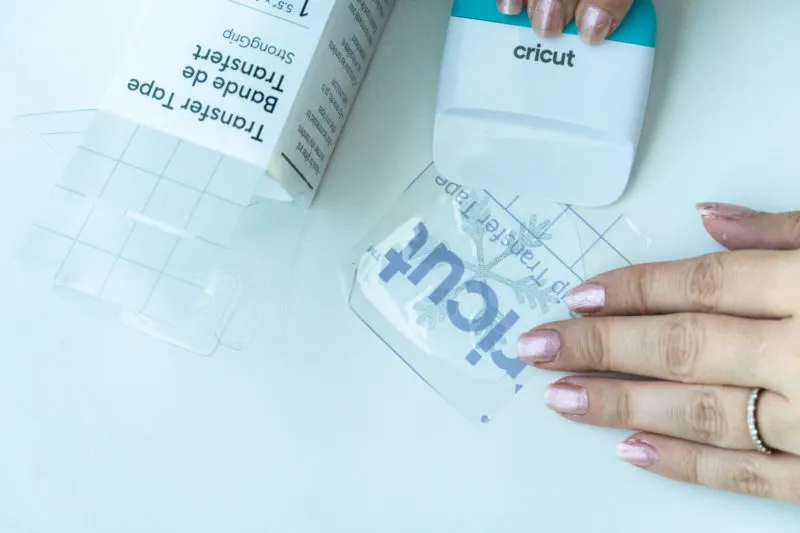
- StrongGrip Transfer Tape (If you're using regular vinyl then the regular Cricut Transfer Tape will be fine)
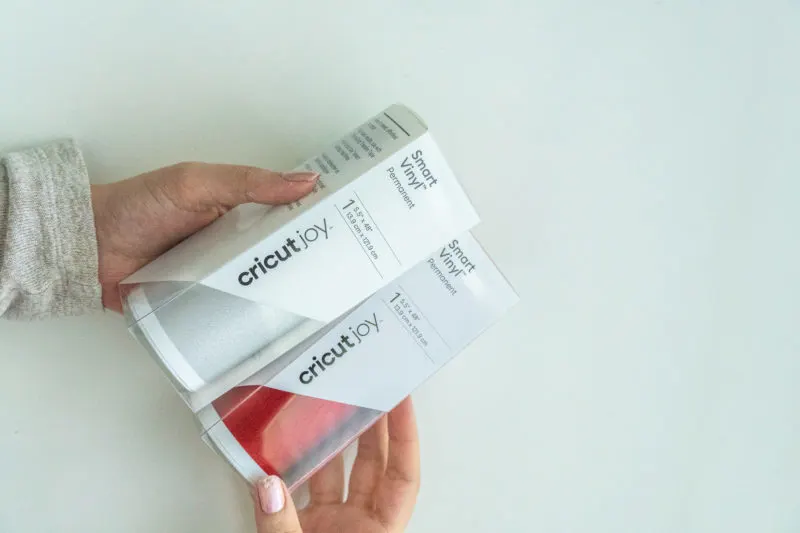
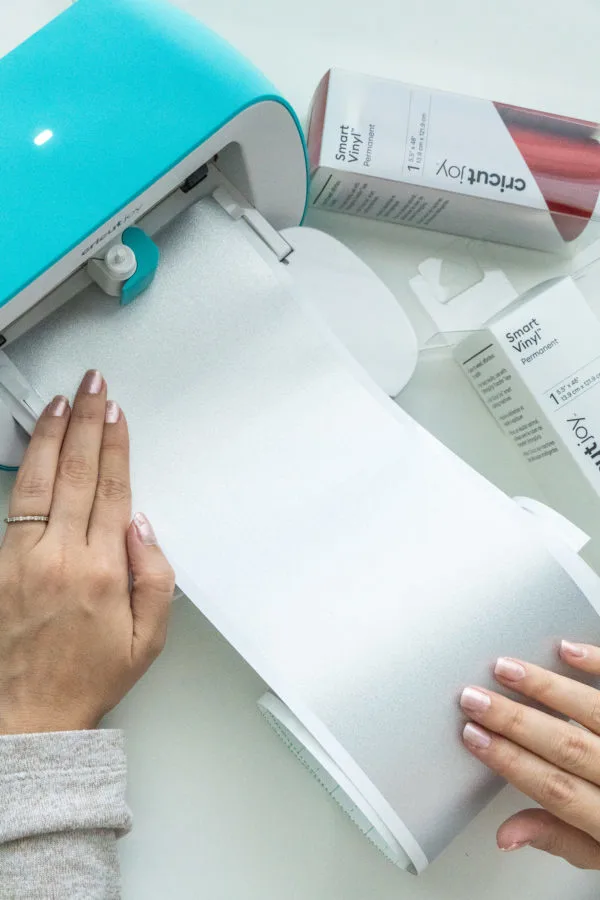
- Smart Vinyl Shimmer – in Red and Silver
- Cricut Spatula Tool
- Cricut Scraper Tool
- StandardGrip Mat
- Cricut Portable Trimmer
- Cricut True Brushed Paper, Elegance
- Mixed Materials, Martha Stewart Enchanted Forest
- Deluxe Paper, Nordic Christmas (or other Christmassy cardstock)
- Free Design Space File for Holly & Embellishments
Additional Supplies (non-Cricut):
- 11 x 14 Shadow Box (You can also find these on Michales and they are almost always on sale. Mine were buy one, get TWO free.)
- Elmer's Craft Bond Fabric & Paper Glue
- Wooden Scrabble Pieces – These include 100 tiles but I bought 3 packs just to be sure I didn't run out of letters.
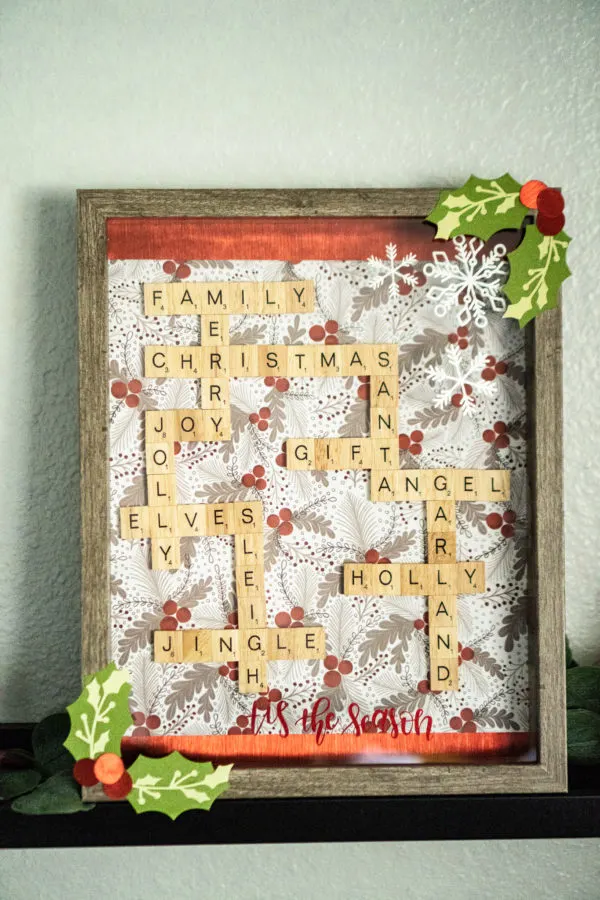
How To Assemble:
- Remove the back of your shadow box, measure, and cut the Nordic Christmas Deluxe Paper to fit. In this case, we will cut 1 inch from one side of the paper.
- Cut a Red True Brushed Paper to fill the top and bottom gaps of the background.
- Using your Craft Bond Glue, brush the back of card stock sheets and strips. Then, carefully smooth these onto the Shadow Box back, with the decorative card stock centered and the True Brushed strips on the top and bottom.
- Make a list of potential holiday-themed words that you'd like to include in your shadow box (see ideas list below).
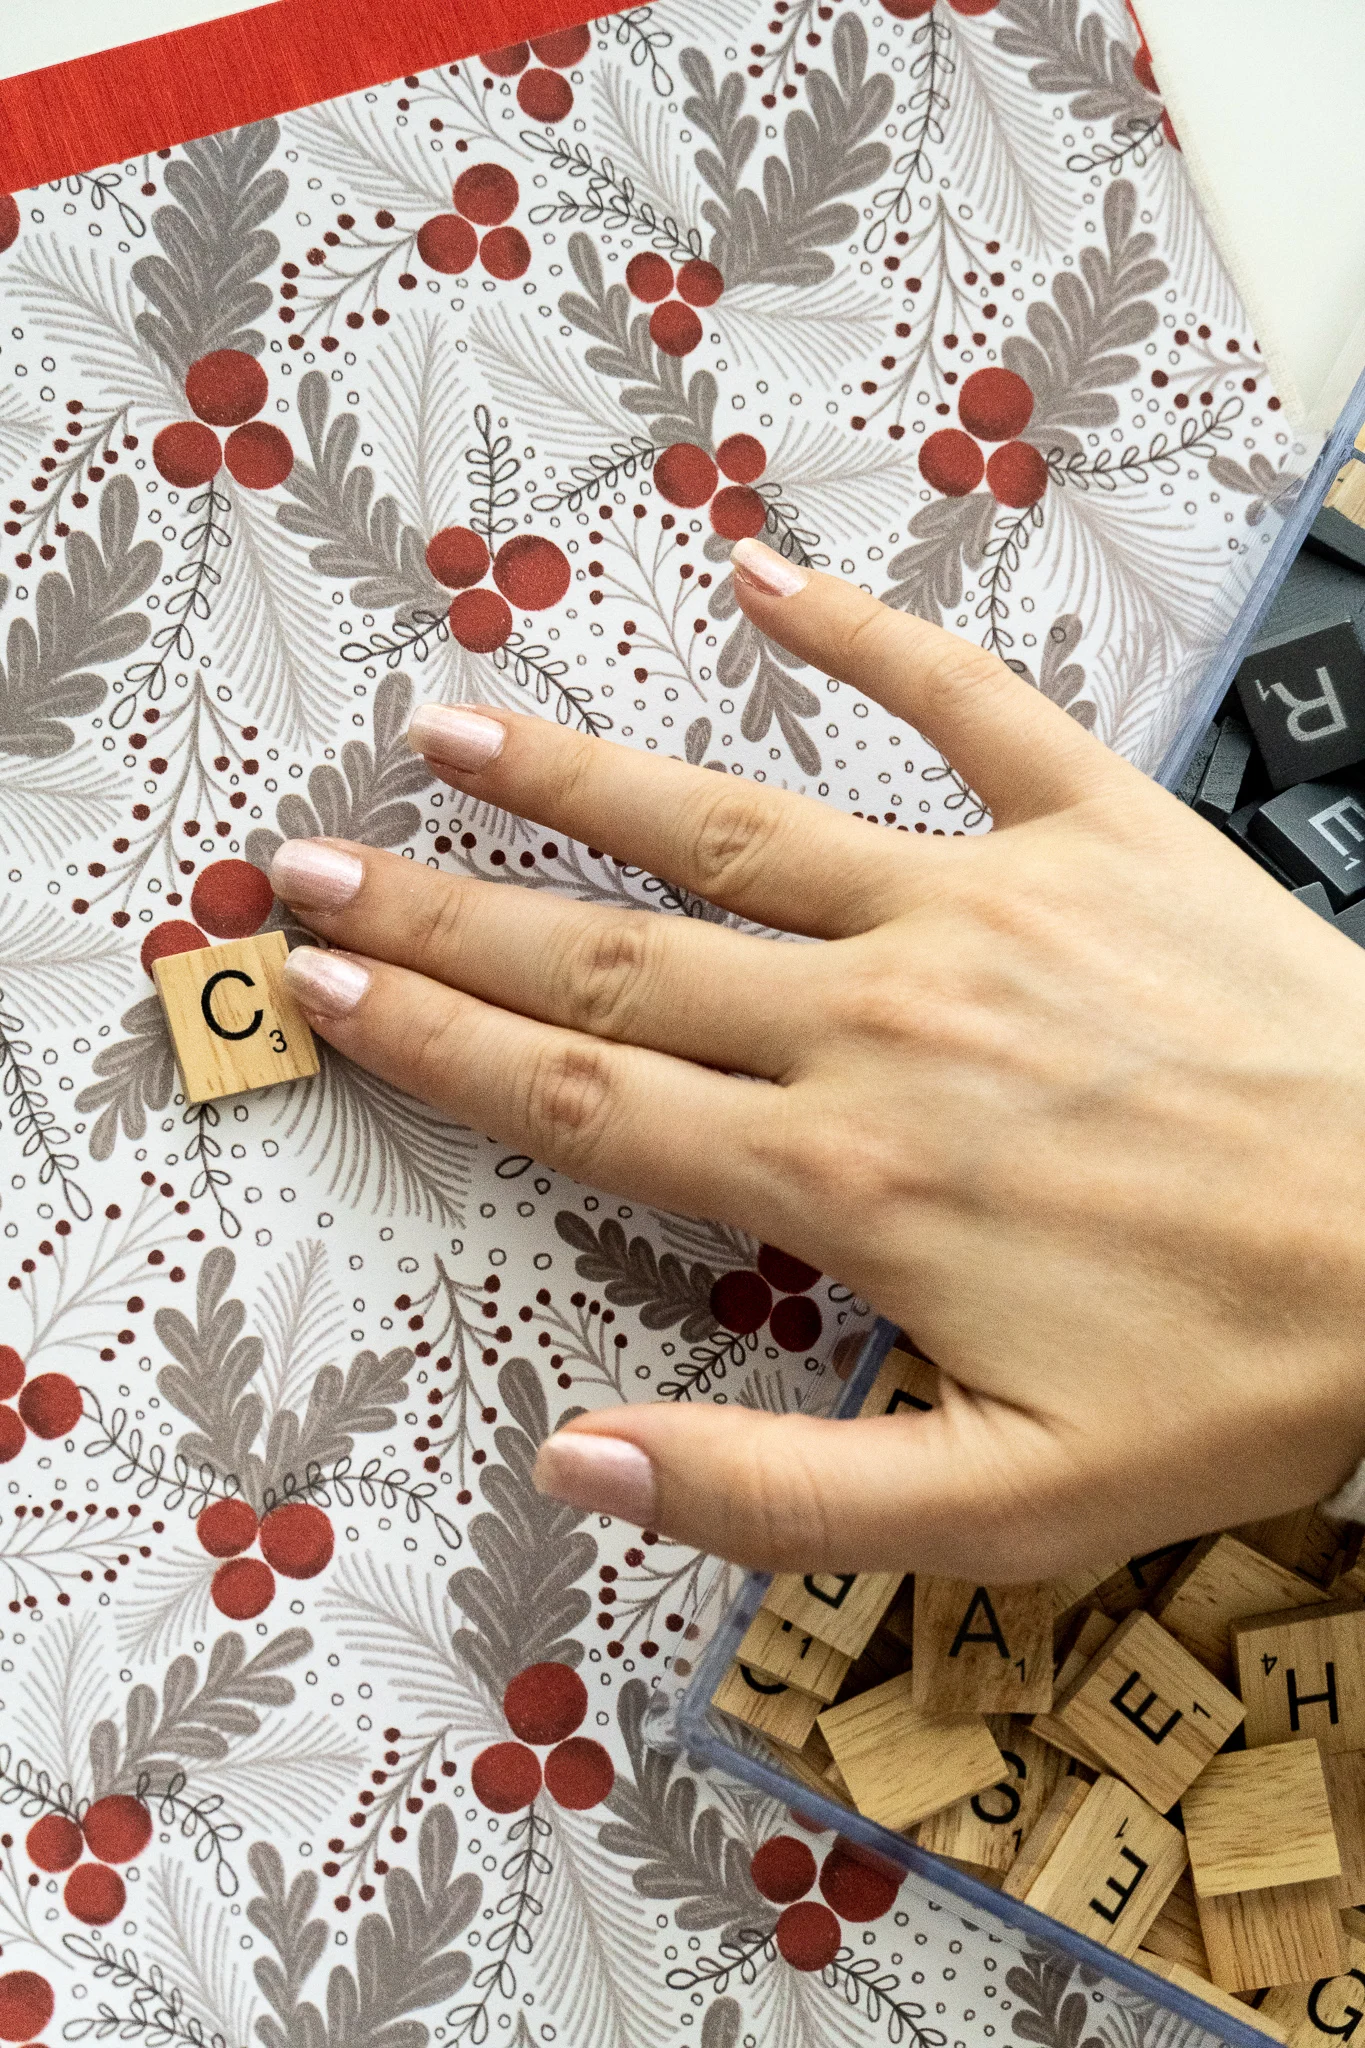
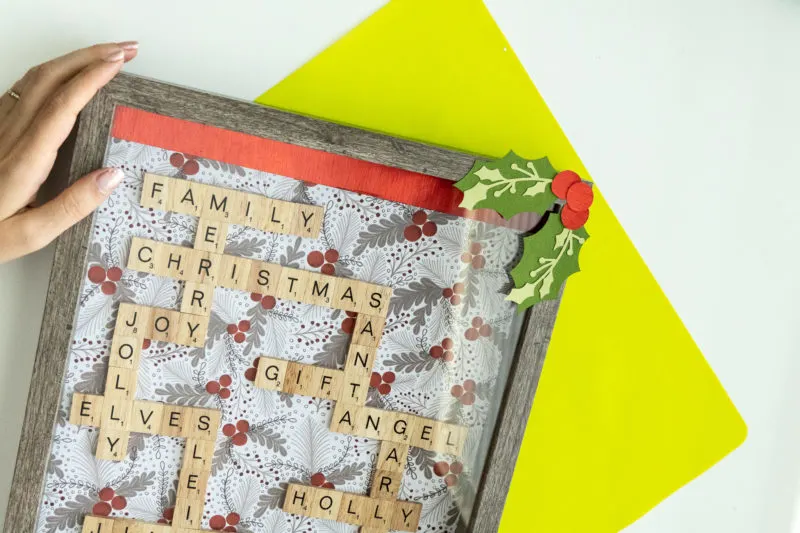
- Begin by placing the most important word down first with your Scrabble Tiles, horizontally. In this case, it was Christmas.
- Next, you'll build off of that word, vertically. Keep building until your Shadow Box is filled to your desire.
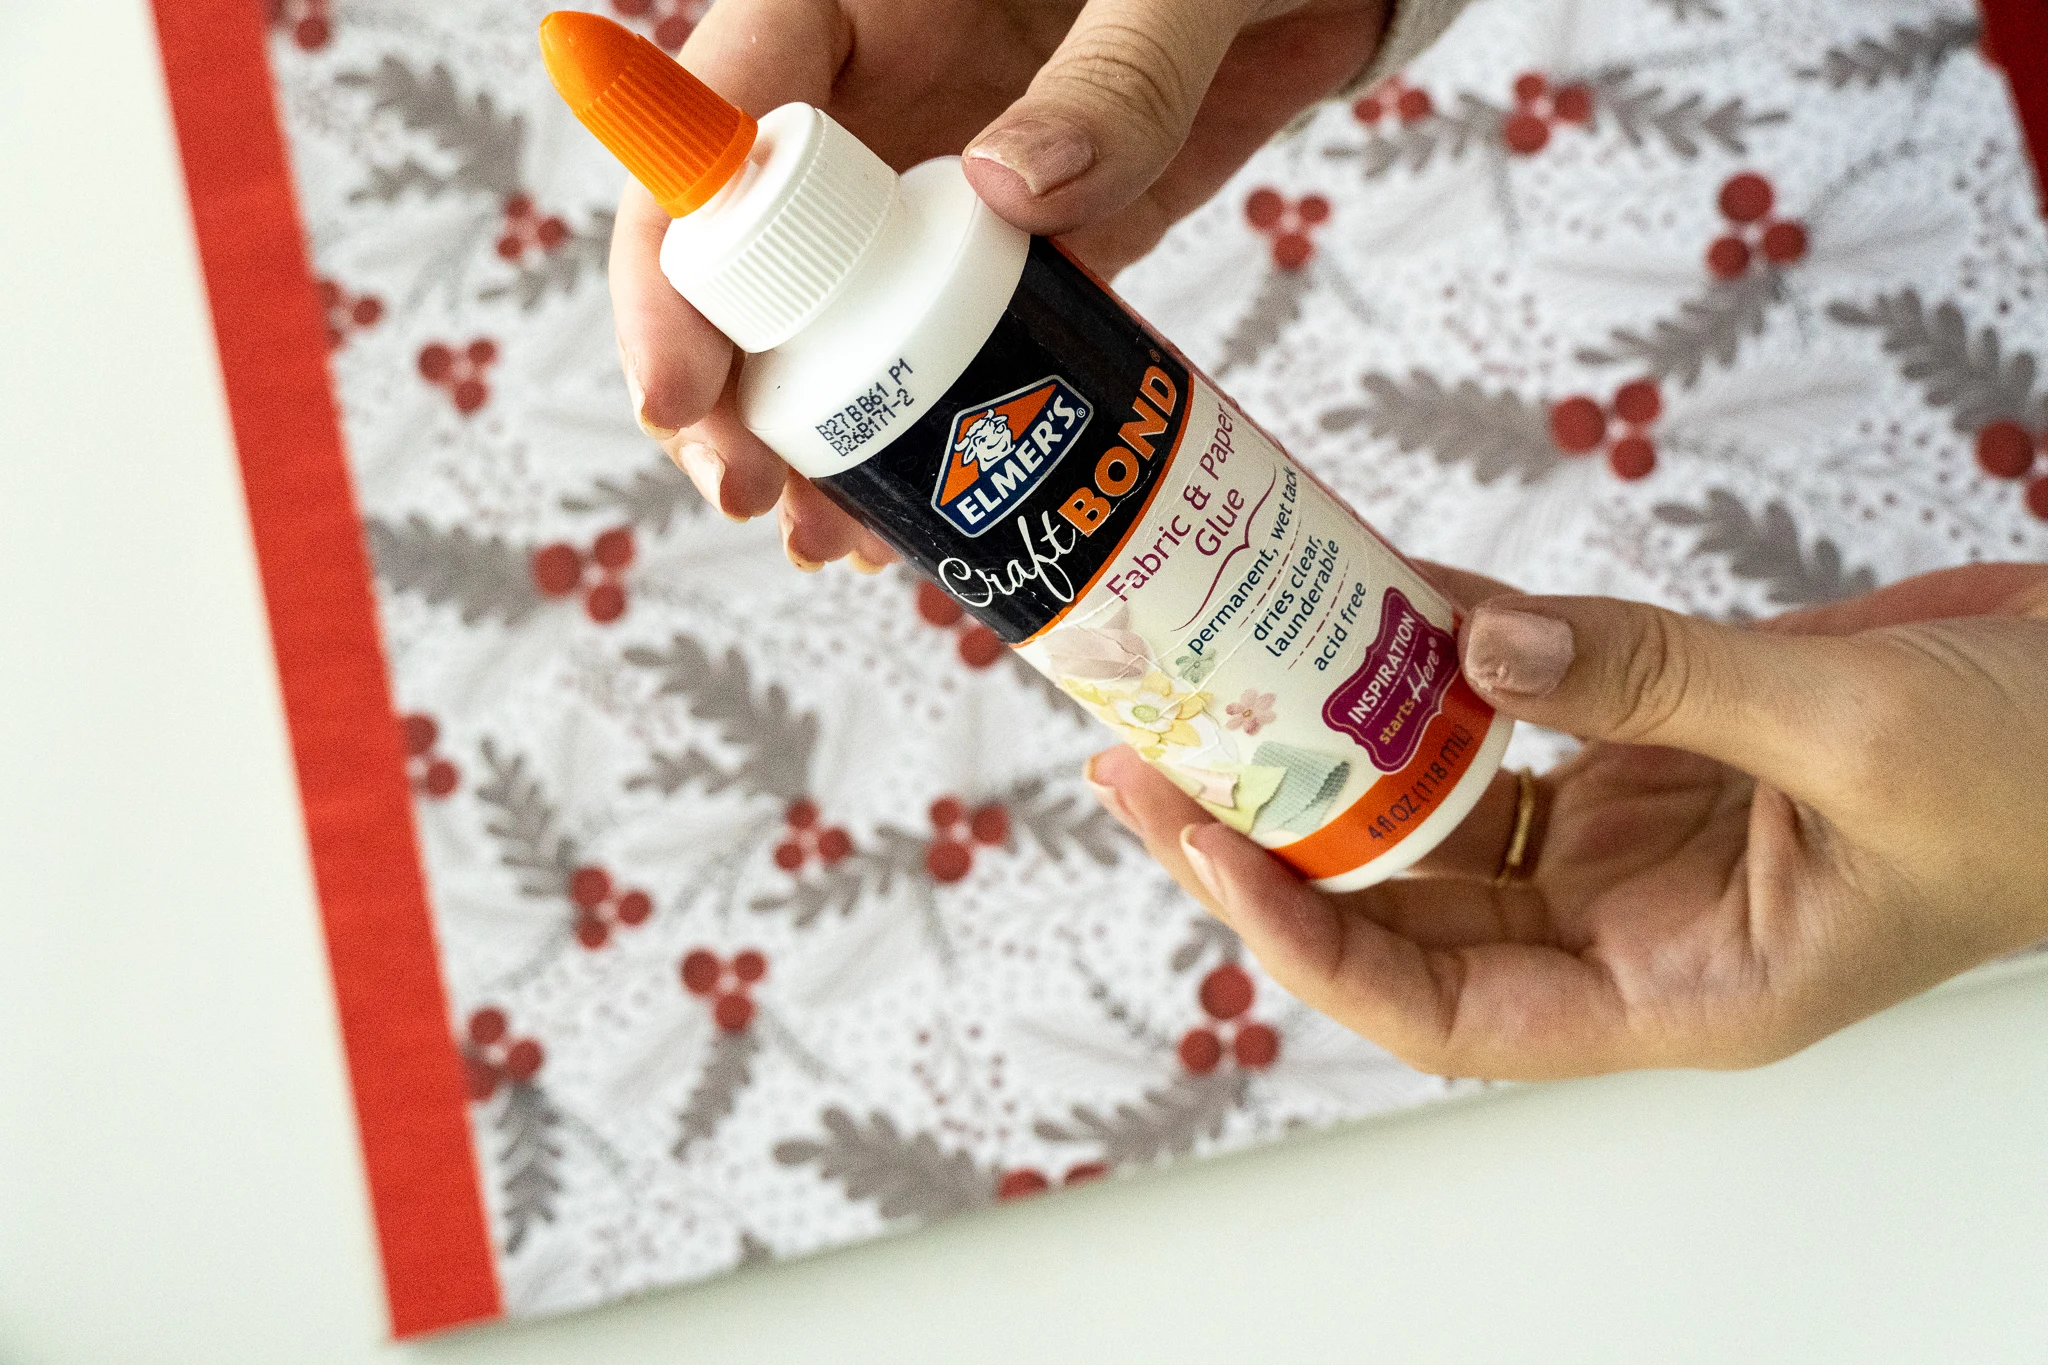
- Once you've mapped out your words, glue each letter down individually. I used a ruler to keep the words and letters in place.
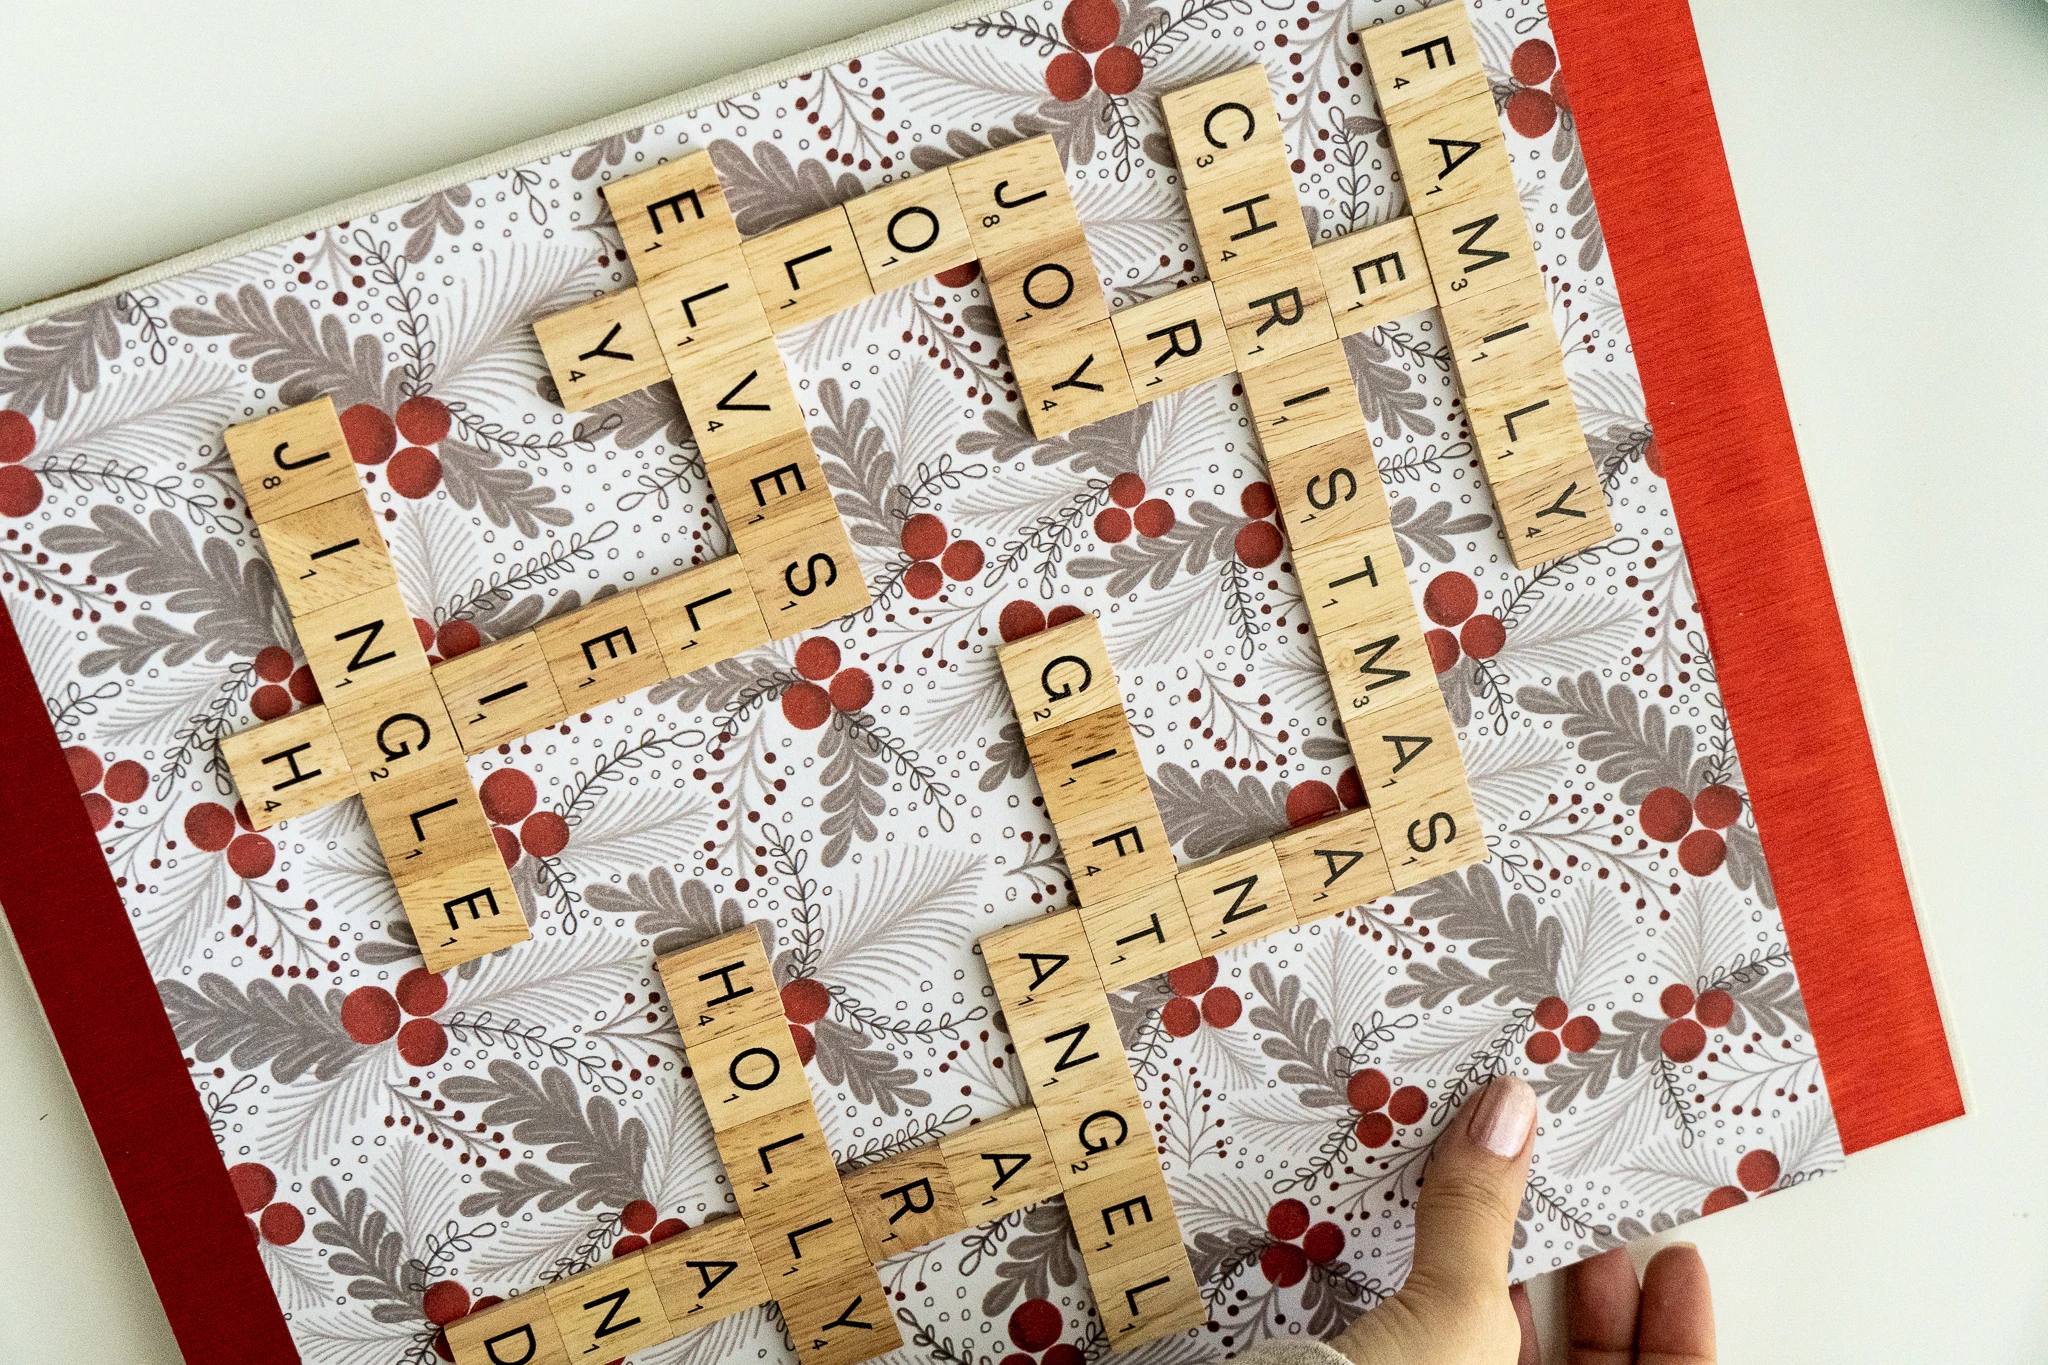
Pro Tip: You can lift each piece to glue or start from scratch. If you choose to start from scratch, take a photo of your layout so you don't forget the words you'd like to use.
How To make Card Stock Holly - As your tiles dry, work on making your card stock holly. You'll need the true brushed paper packet (both shades of green) and mixed materials packet (red) for this.
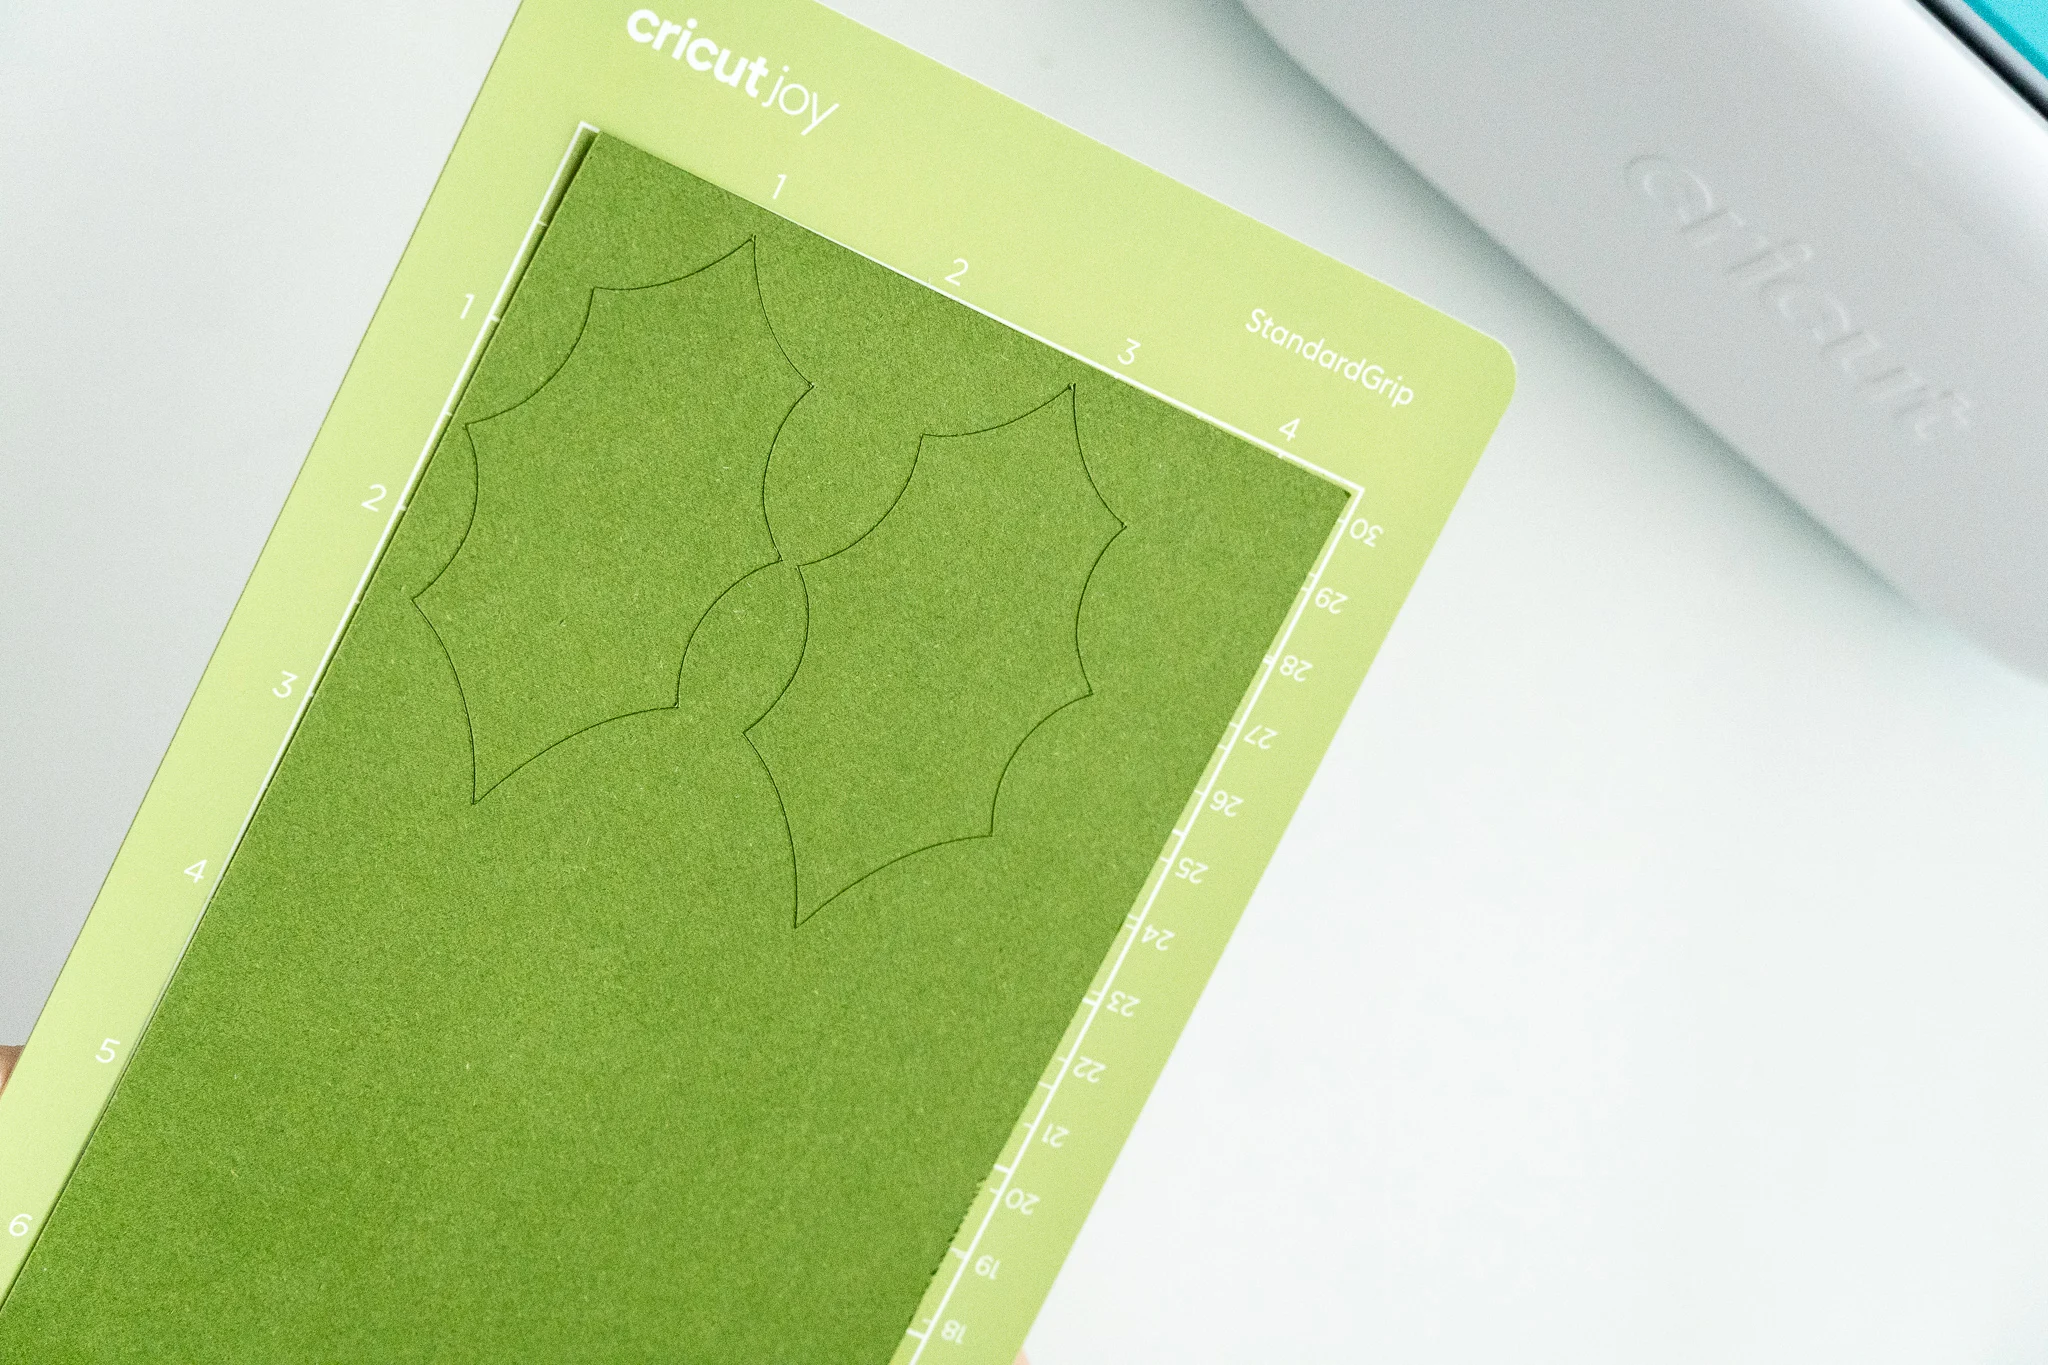
- Using my design file, cut your holly piece by piece.
NOTE: The file includes two sets of holly, should you choose to put it on two corners of your Shadow Box. I like it on both corners but it's just as lovely on one corner. If you only want to use one piece, simple click the “eye” next to the second holly pieces to hide those pieces.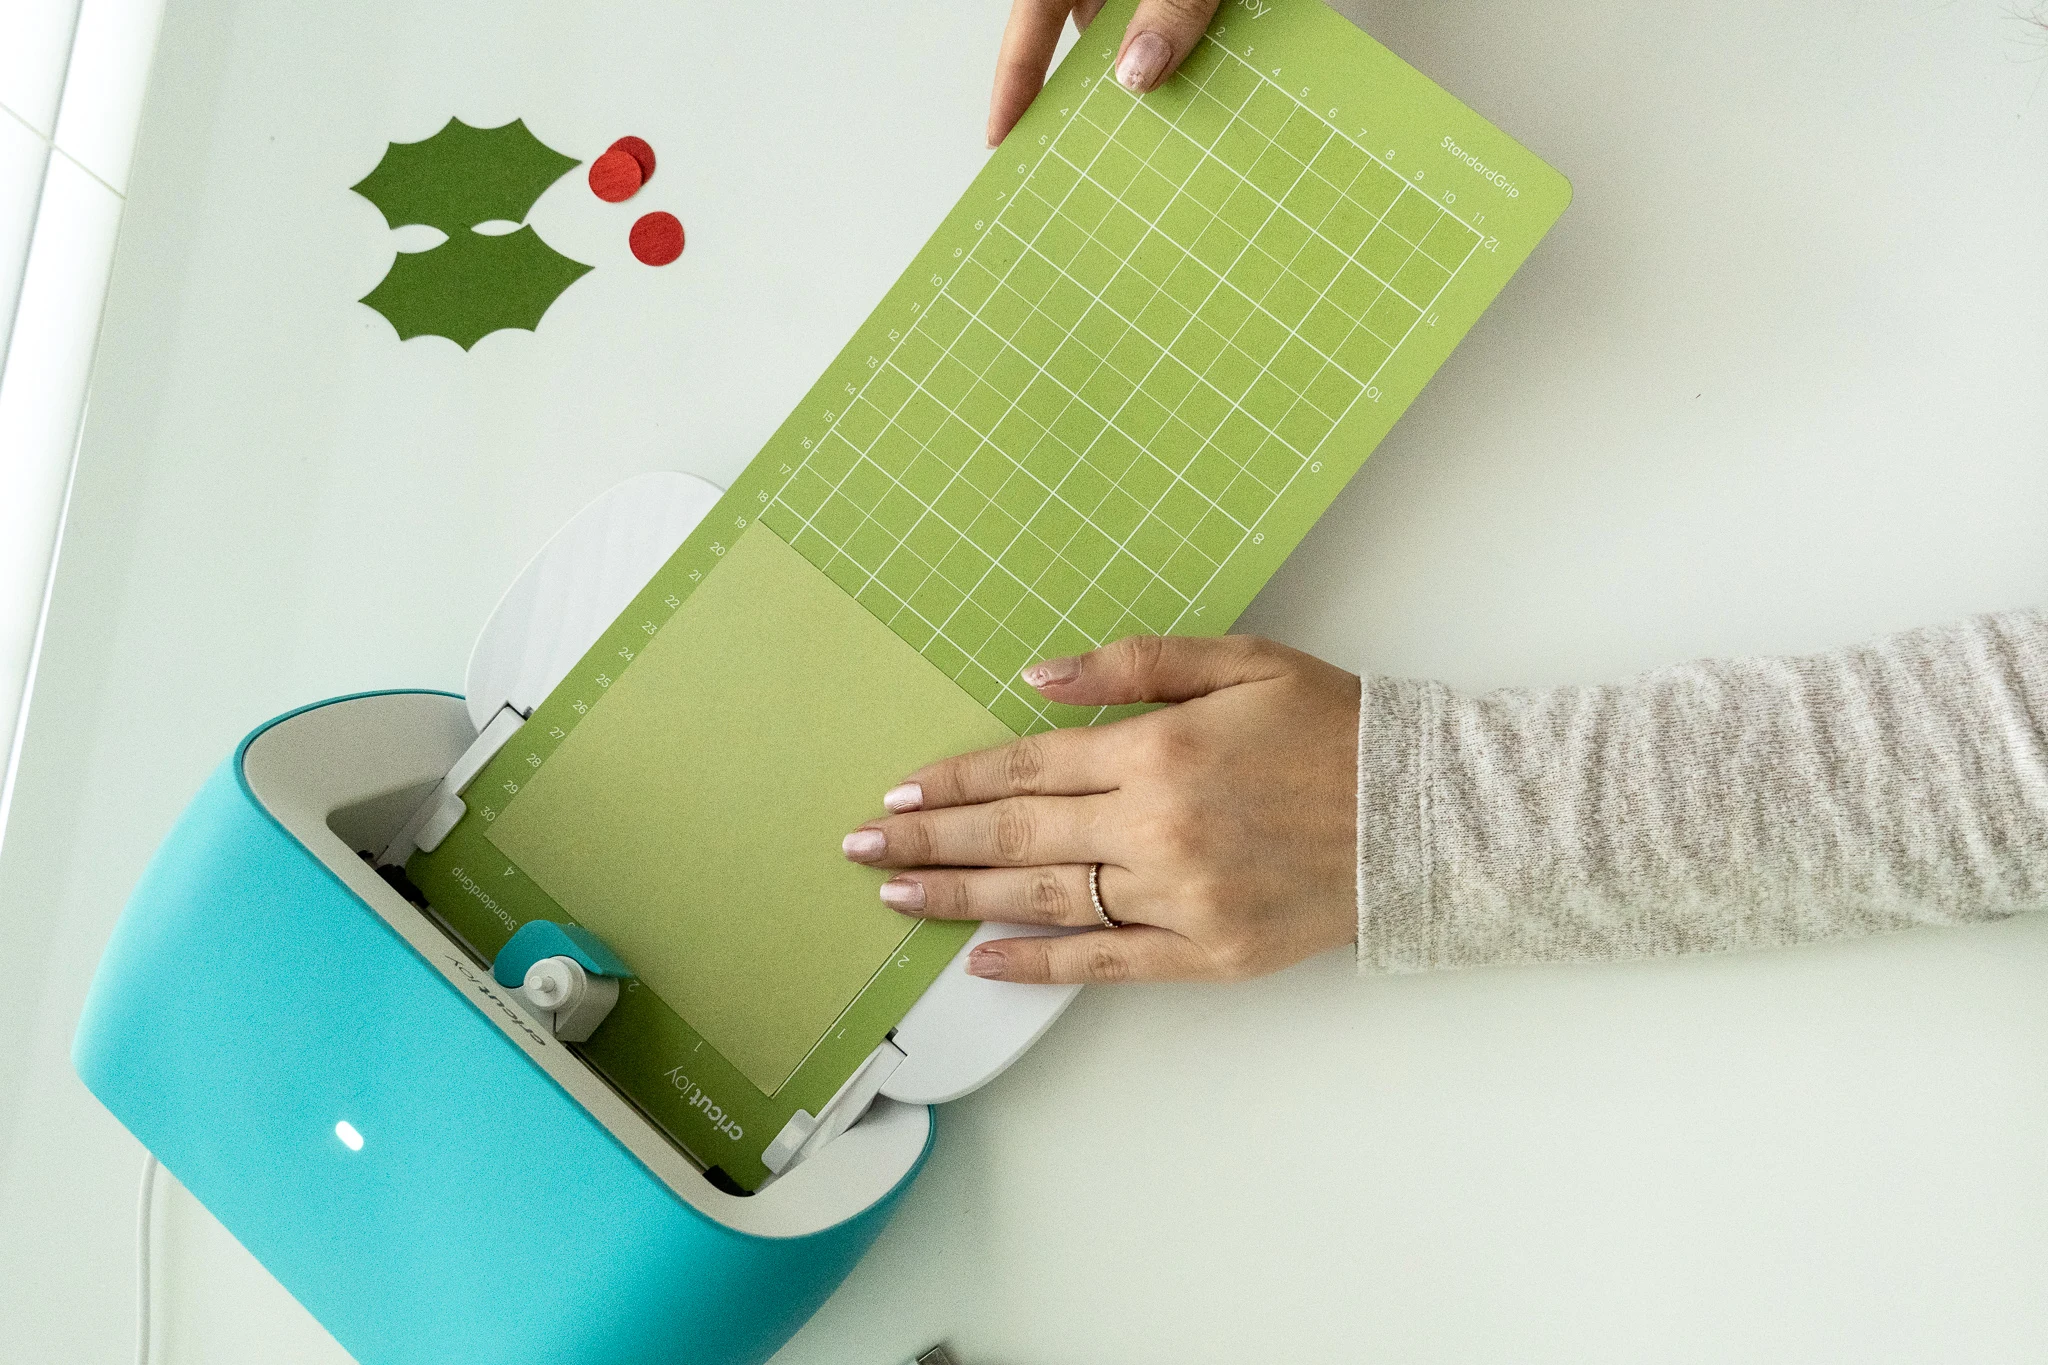
- Trim a half inch off the bottom of the stems or leave as is. I prefer to trim.
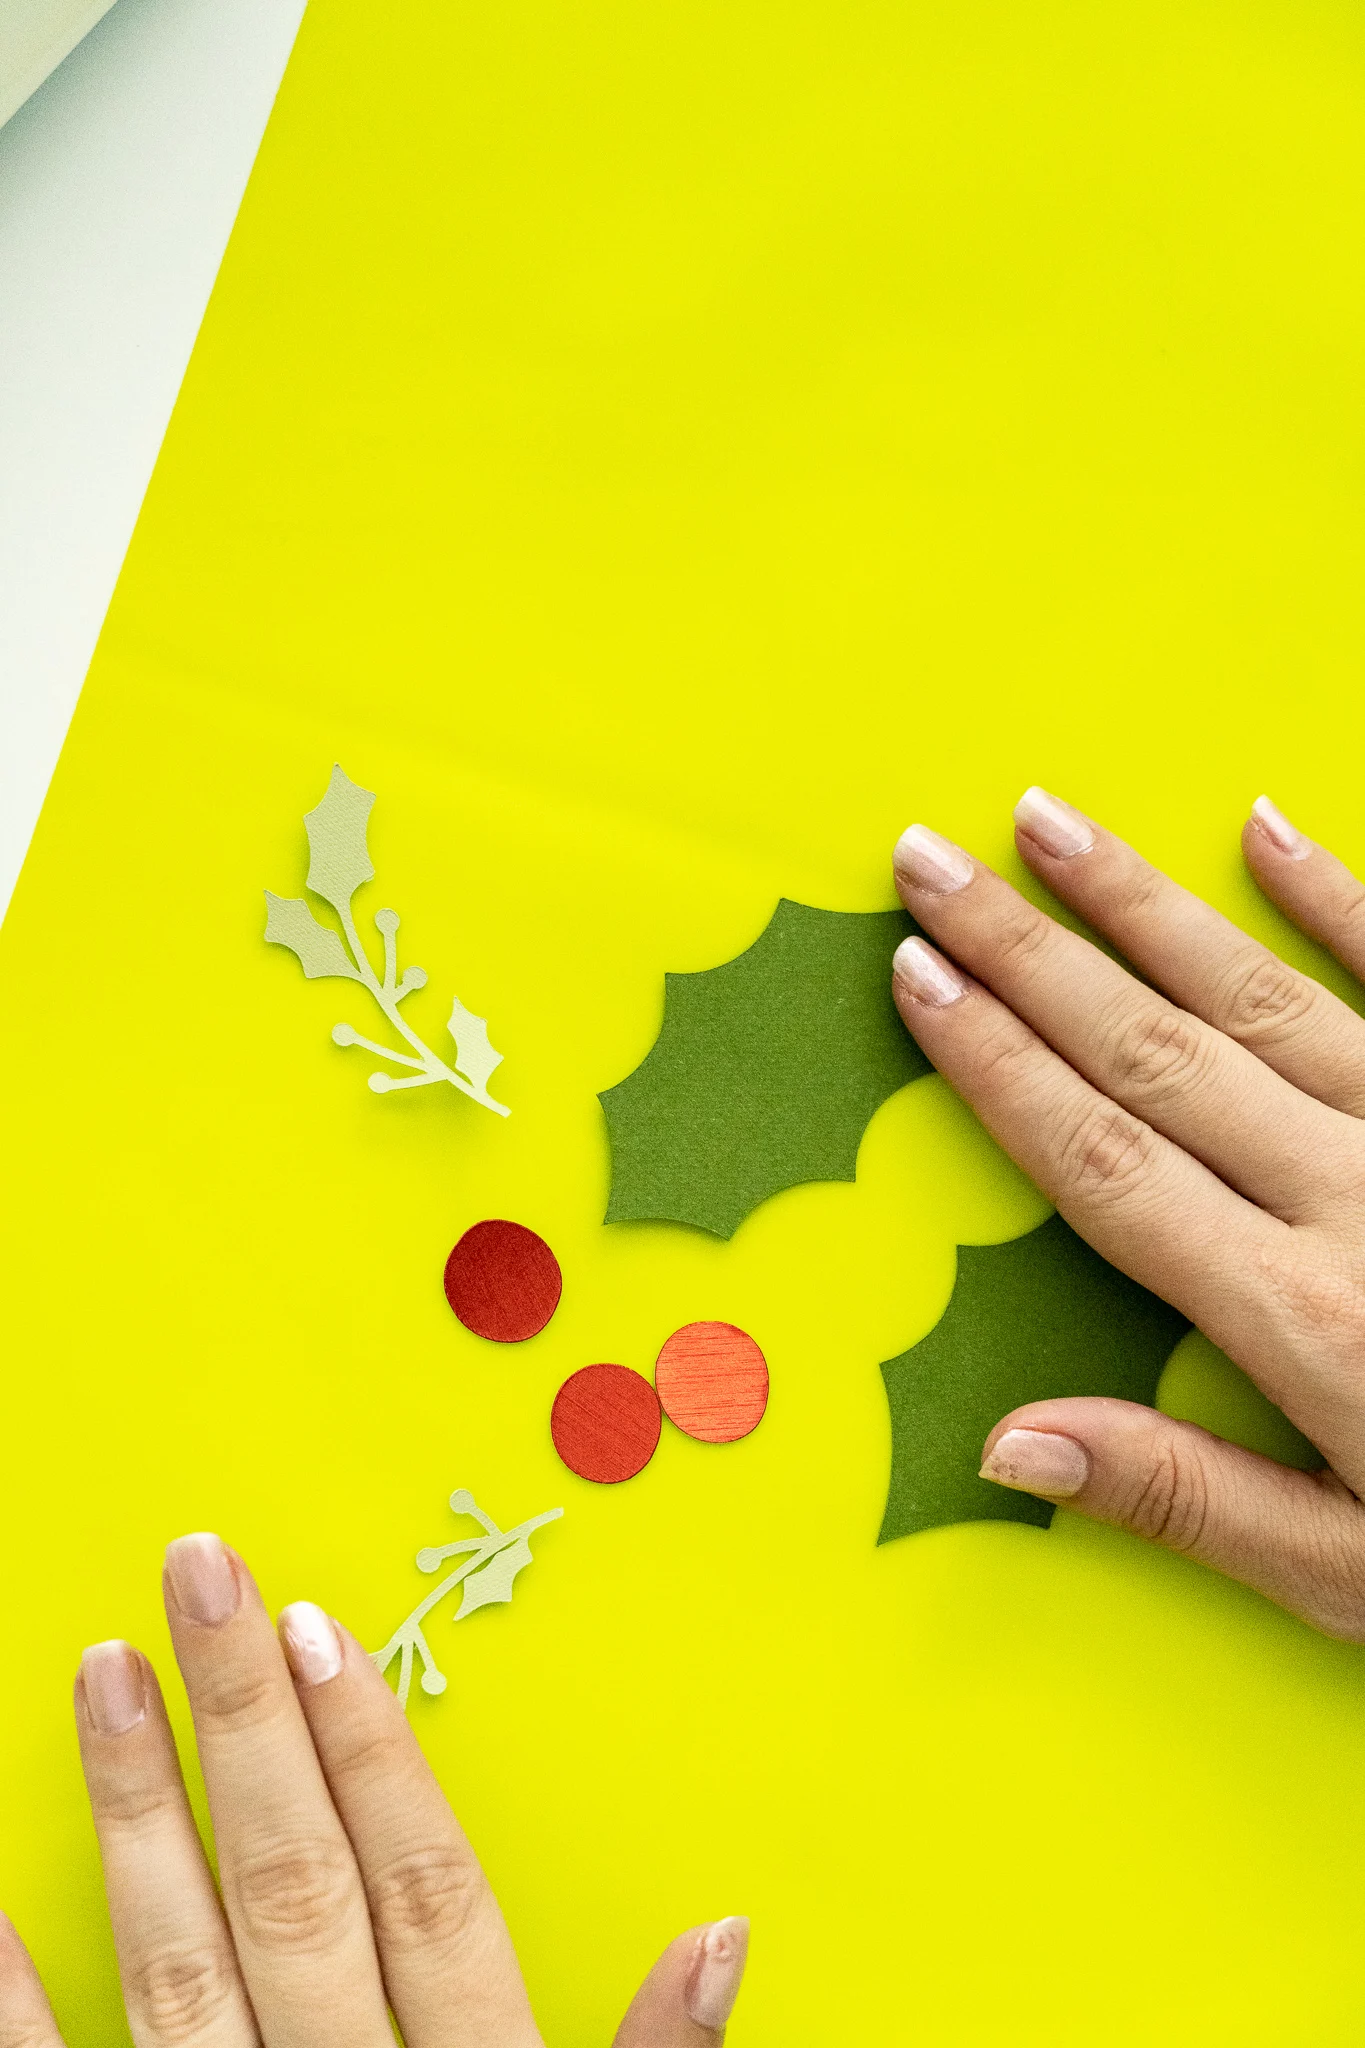
- Adhere all pieces together using the Craft Bond glue. Allow to dry.

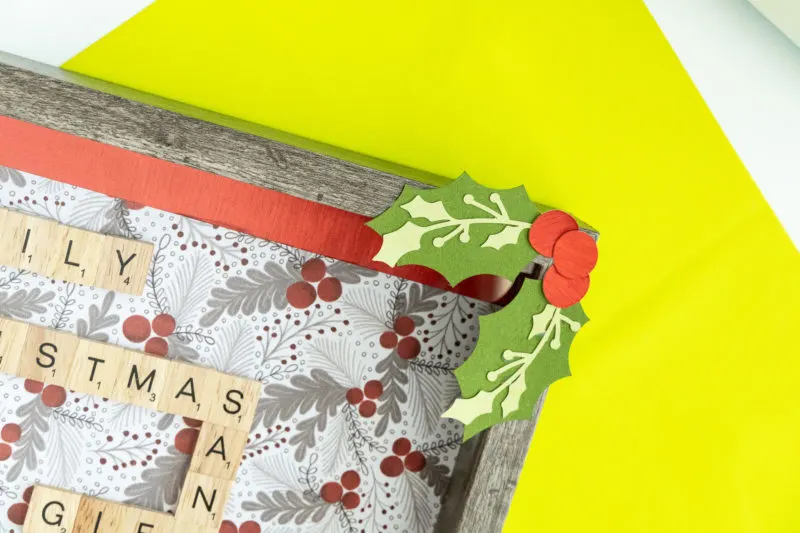
- Reassemble your Shadow Box. It's important to do this before applying your holly, so you know exactly where to place it without covering words.
- Glue or velcro piece onto the corners of your Shadow Box.
Optional – Embellish with Shimmer Vinyl
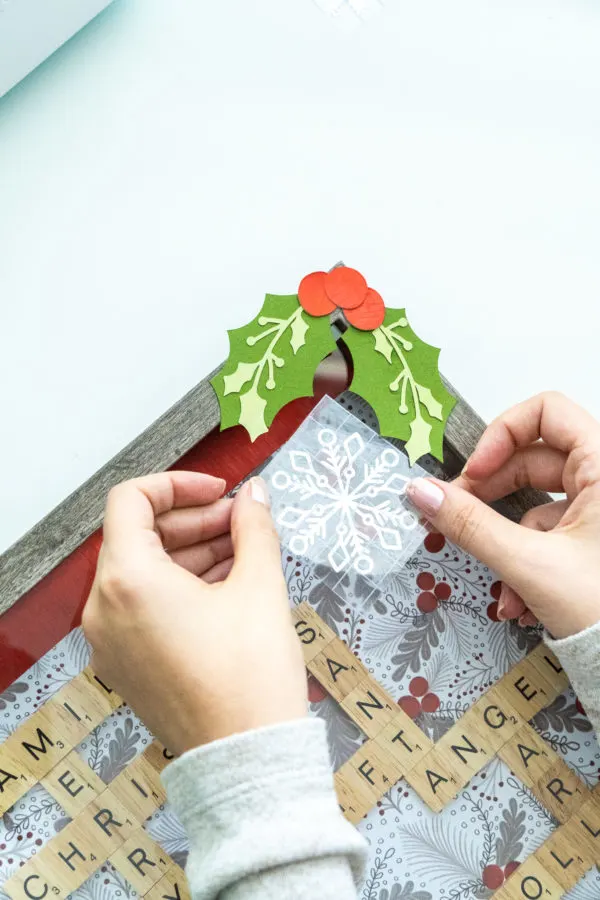
If you'd like to add a little more to your DIY Christmas Shadow Box, like I did, use my free design file for snowflakes and “Tis' The Season”. I used silver and red permanent Smart Vinyl for these.
Be sure to use StrongGrip Transfer Tape on this vinyl for the easiest application.
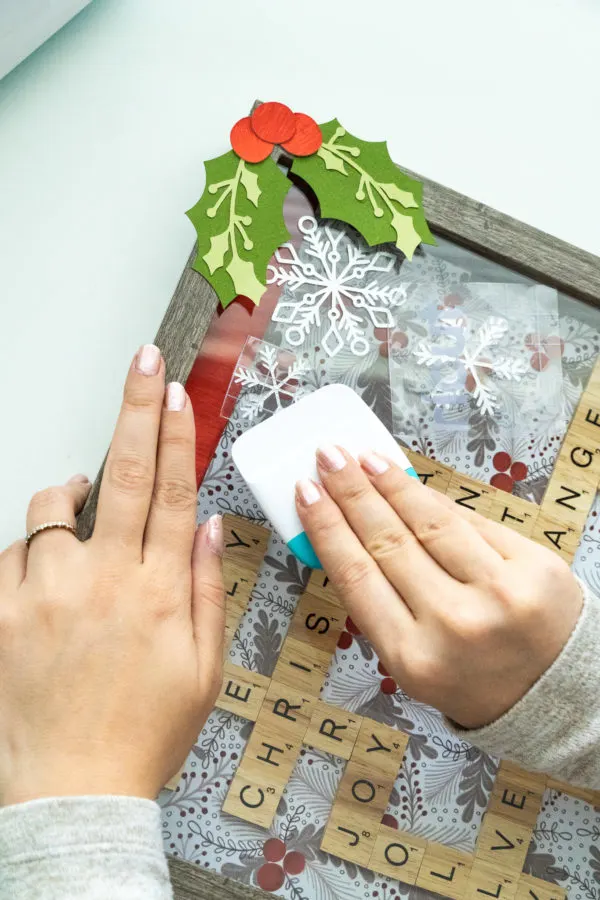
Smooth it roughly with your Cricut Scraper tool and carefully remove transfer tape.
Potential Christmas Words to Use in Your Shadowbox:
- Christmas
- Holidays
- Reindeer
- Merry
- Holidays
- Stockings
- Family
- Togetherness
- Celebrate
- Gifts
- Presents
- Jolly
- Holly
- Jingle
- Noel
- Elves
- Workshop
- Santa
TIP: you can also make your shadow box themed with all the reindeer names, religious, or for kids!
I hope you enjoyed learning how to make a Christmas Shadow Box with Cricut supplies. This is one of the more fun projects I've done – for other project ideas, visit my Cricut section.




… [Trackback]
[…] Read More Information here to that Topic: butfirstjoy.com/how-to-make-a-christmas-shadowbox-cricut/ […]
… [Trackback]
[…] There you will find 47054 additional Information to that Topic: butfirstjoy.com/how-to-make-a-christmas-shadowbox-cricut/ […]
… [Trackback]
[…] Information to that Topic: butfirstjoy.com/how-to-make-a-christmas-shadowbox-cricut/ […]
… [Trackback]
[…] Find More Info here on that Topic: butfirstjoy.com/how-to-make-a-christmas-shadowbox-cricut/ […]
… [Trackback]
[…] Info to that Topic: butfirstjoy.com/how-to-make-a-christmas-shadowbox-cricut/ […]
… [Trackback]
[…] Information to that Topic: butfirstjoy.com/how-to-make-a-christmas-shadowbox-cricut/ […]
… [Trackback]
[…] Read More Information here on that Topic: butfirstjoy.com/how-to-make-a-christmas-shadowbox-cricut/ […]
… [Trackback]
[…] Read More on that Topic: butfirstjoy.com/how-to-make-a-christmas-shadowbox-cricut/ […]
… [Trackback]
[…] Information on that Topic: butfirstjoy.com/how-to-make-a-christmas-shadowbox-cricut/ […]
… [Trackback]
[…] Find More Info here on that Topic: butfirstjoy.com/how-to-make-a-christmas-shadowbox-cricut/ […]
… [Trackback]
[…] Information on that Topic: butfirstjoy.com/how-to-make-a-christmas-shadowbox-cricut/ […]