
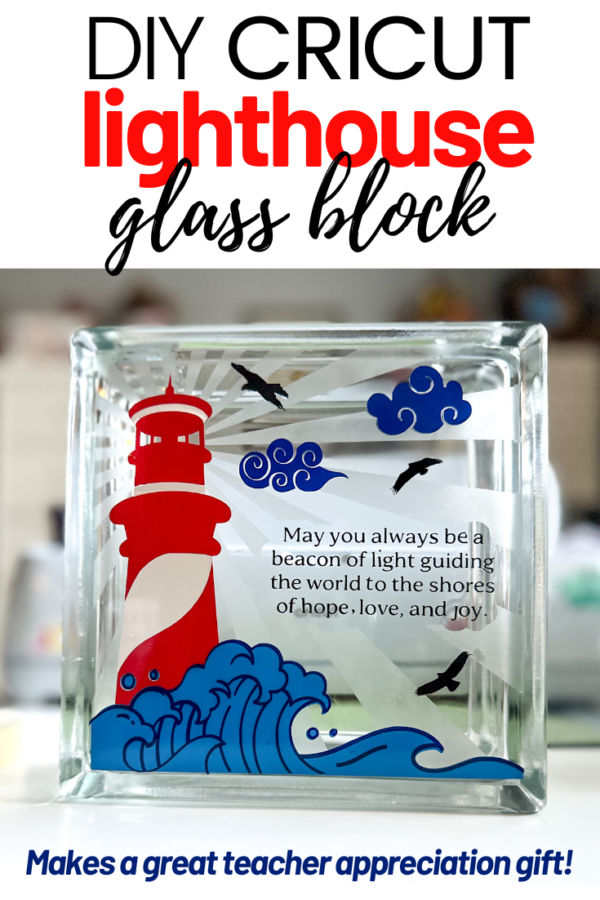
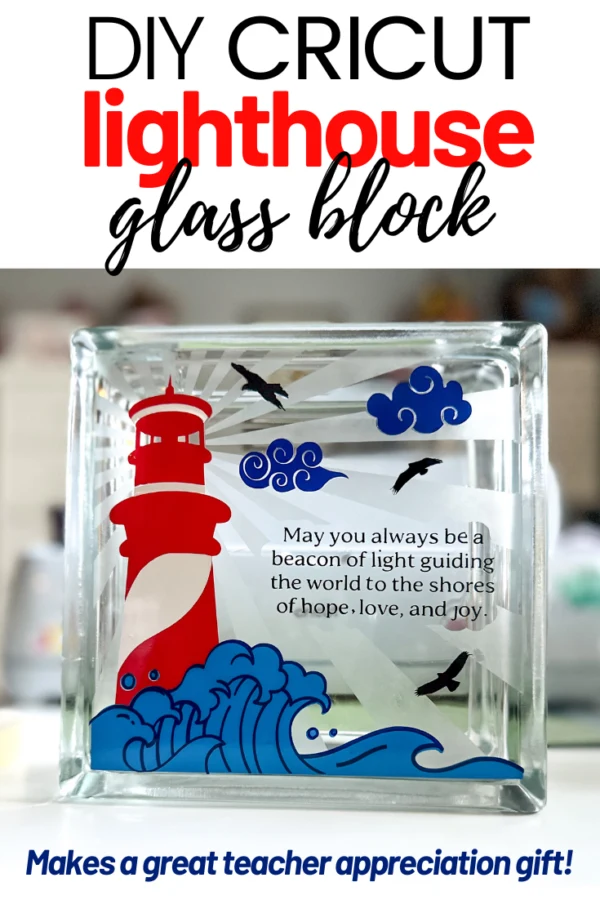
A DIY Teacher Keepsake Gift to make with your Cricut Maker, Cricut Joy, or Cricut Air. This Lighthouse glass box tutorial will show you how to combine layered vinyl, etching cream, and string lights to make a gifts for teacher that they will want to keep forever. Keep reading to find out how to make a teacher appreciate gift for back to school or end of school.
Preparing your Lighthouse Glass Block Inspirational Cricut Teacher Gift
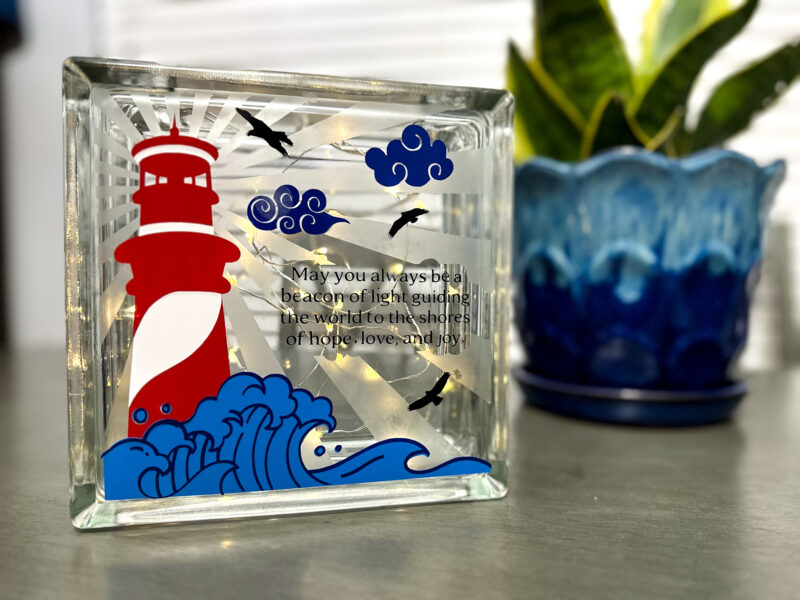
I was deeply inspired to make this DIY Cricut Teacher Gift with my Cricut for one of my son's VPK teachers. I knew I wanted to surprise her with something extra special and her collection of lighthouses inspired me. I thought of how lighthouses are guiding lights, much like teachers. After allowing my creativity to flow, I designed this lighthouse scene and made it Cricut Design Space friendly – you can use my free Cricut lighthouse design file here.
Using a beautiful lighthouse scene, a glass block, and a Cricut machine + Cricut permanent vinyl, and a few other supplies (listed below) – you can make a teacher keepsake that will truly be cherished.

This project is great for a Cricut user who wants to challenge themselves a tiny bit. This project wasn't tedious, but it was very involved. You can expect to layer vinyl and etch glass for this sentimental DIY teacher gift.
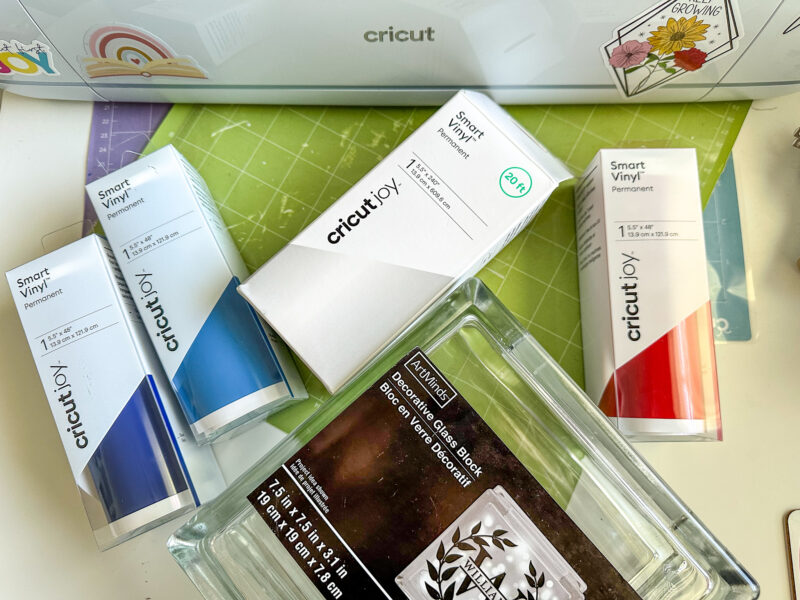
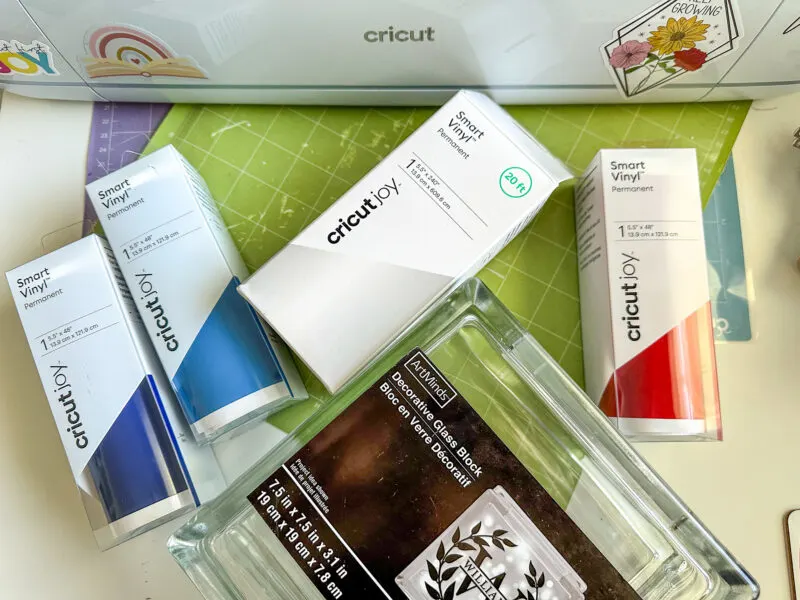
Supplies You'll Need
Cricut Design Space Project File
- Glass Block (with opening at top) – you can find this at a craft store near you.
- Battery-powered string lights x2
- Cricut Maker 3 – or any Cricut cutting machine of your choice
- Cricut Premium Permanent Vinyl – Red, Blue, Ocean, White, and Black (and any scrap permanent vinyl to use as a stencil to etch glass)
- Cricut Transfer Tape
- Cricut Weeding Tools
- Cricut StandardGrip Machine Mat
- Etching cream
- Paint brush
- Masking tape or painters tape
- Heat Gun (OPTIONAL)
Before beginning, I recommend subscribing to Cricut Access for over 100k images and thousands of beautiful fonts for your Cricut designs. It's not a requirement for this tutorial but it makes creating so much more fun!
How To Make DIY Teacher Gift: Lighthouse Glass Block
STEP 1 – ETCHING
BE SURE THE GLASS BLOCK OPENING IS AT THE TOP BEFORE BEGINNING.
1. Prepare materials and open the Cricut Design file.
2. Begin by measuring your glass block to determine the size. Resize the design accordingly.
3. Load scrap permanent vinyl onto your StandardGrip Machine Mat (the color doesn't matter as this will be used as a stencil).
IMPORTANT: DO NOT use stencil vinyl because the etching cream may leak underneath.
4. Isolate the light rays part of the design by clicking the “eye” on the right hand side of the Cricut Design Space file. Be sure only the rays show.
5. Cut out the light rays part of the design with your Cricut Maker 3 using the permanent vinyl cut settings in Design Space.
6. Weed out the inside of this design, leaving spaces where the light rays are. This is where you'll place your etching cream.

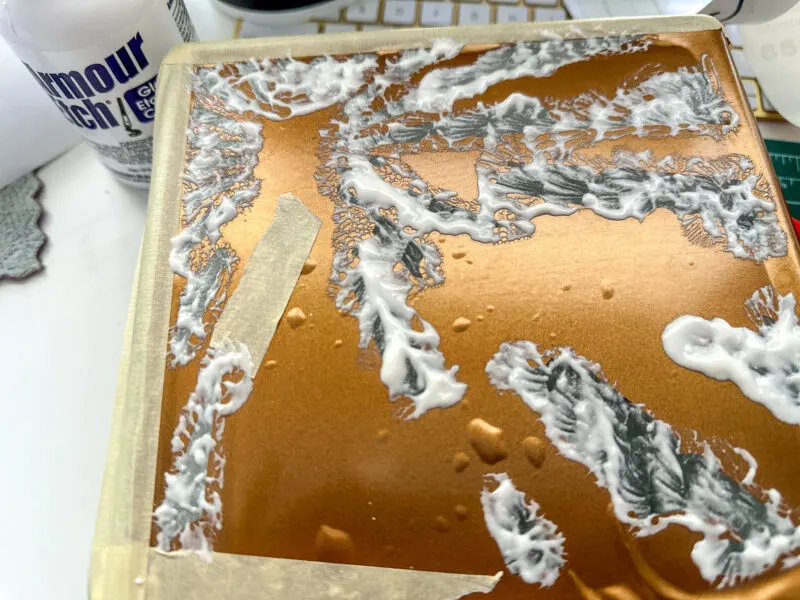
7. If you're unfamiliar with using etching cream, follow the steps in this Youtube etching glass tutorial.
8. Once rays are etched and the allotted time has passed, clean your glass block off using running water. Use warm or hot to remove vinyl with ease. Dry glass block and clean with alcohol wipe before continuing to the next step.

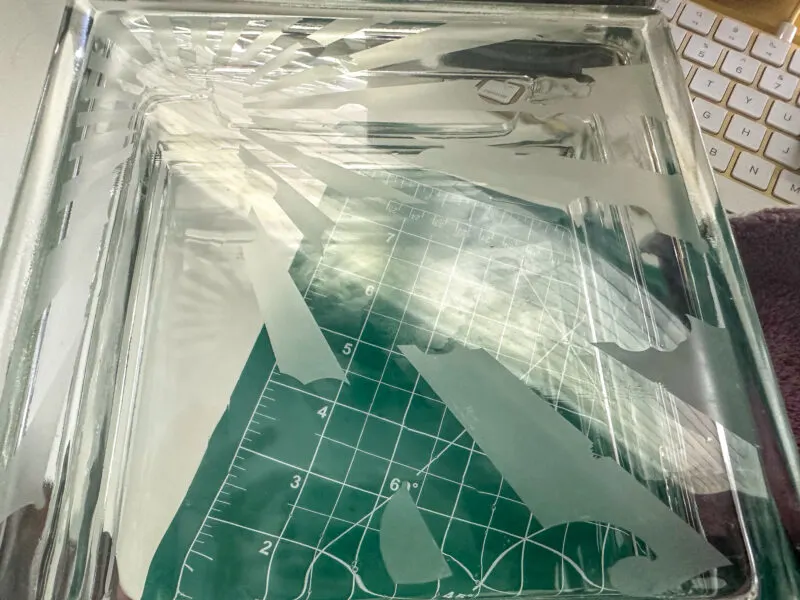
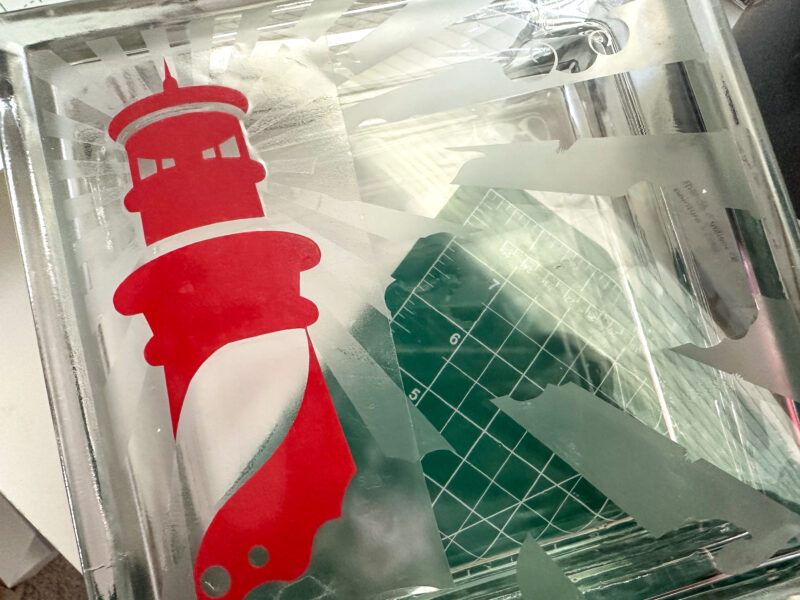
STEP 2: Apply and Layer Vinyl
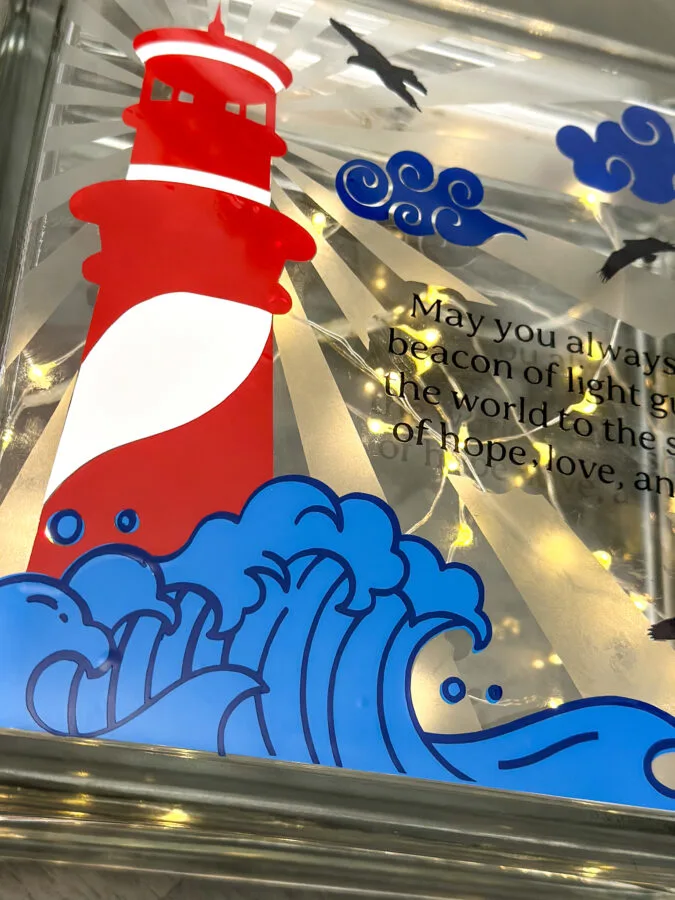
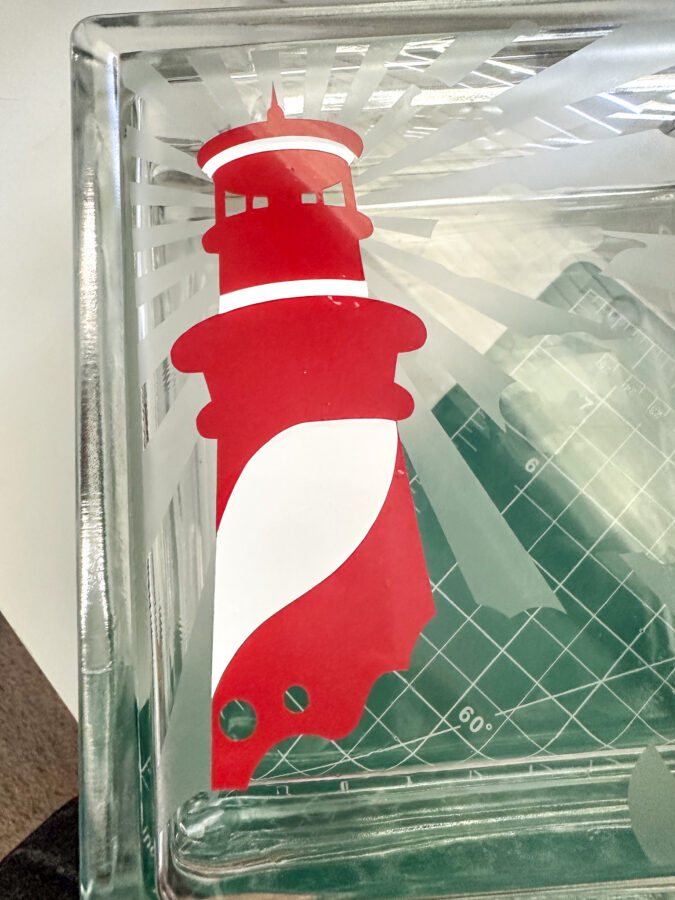
1. Place red permanent vinyl securely and evenly onto StandardGrip Machine mat.
2. Isolate red lighthouse design and cut using permanent vinyl cut settings.
3. Weed out the parts of vinyl you don't need using weeding hook tool.
4. Using Cricut Transfer Tape, pull the weeded vinyl up and place in the exact position inside etched light rays.

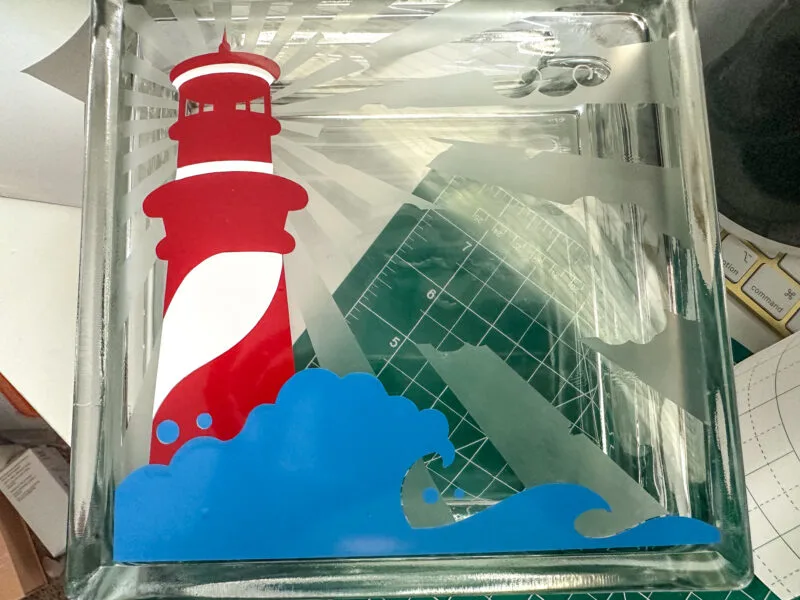
5. Next, isolate white lighthouse design, cut onto white permanent vinyl, weed, and place inside the lighthouse accordingly.

6. Next, isolate light blue waves and cut onto the Ocean Permanent vinyl. Weed, use transfer tape, and place carefully onto the bottom of the lighthouse.
TIP: Always use scraper tool to flatten and remove bubbles as you apply vinyl.

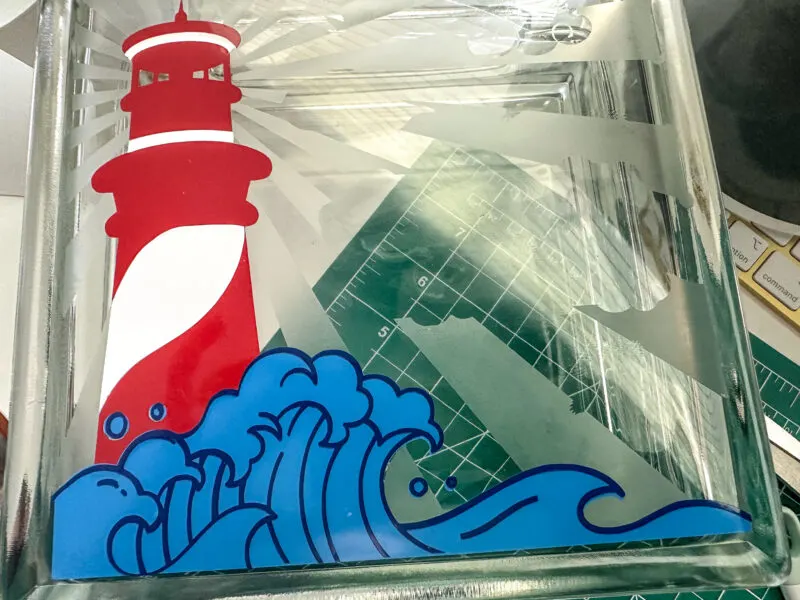
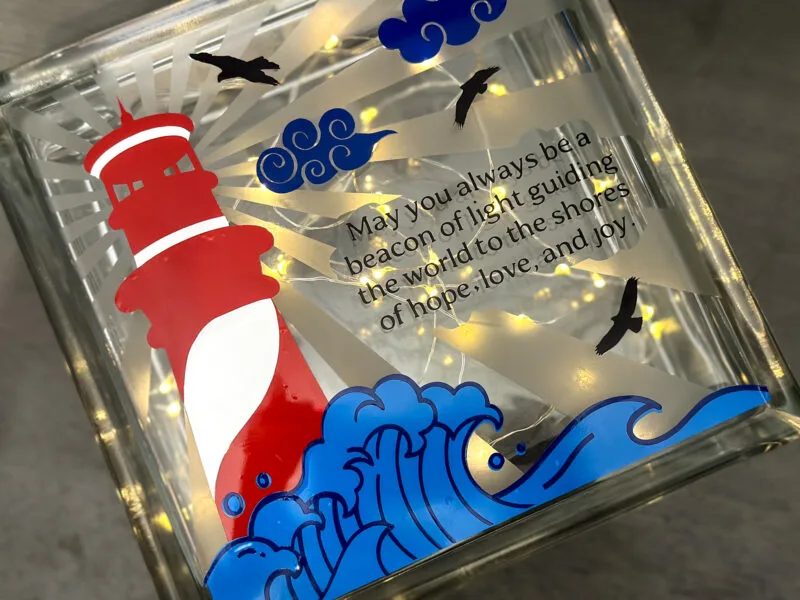
7. Isolate dark blue waves outline design AND clouds, cut onto blue permanent vinyl, separate waves and clouds, weed, layer outline ONTO light blue waves. These should be lined inside of the wave at the very top. Don't forget to align the few bubbles as well.
8. Place the dark blue clouds onto your design, within the etched rays.


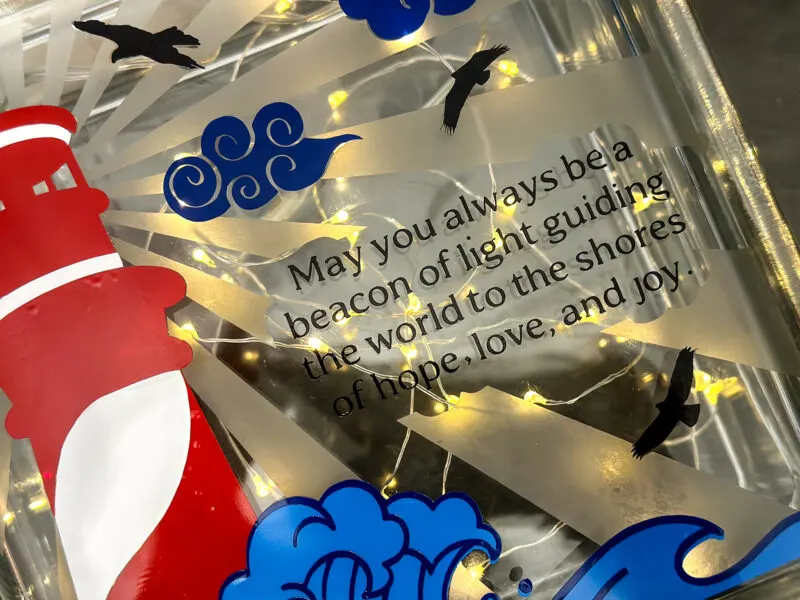
9. Isolate birds and inspirational guiding light quote. Cut onto black permanent vinyl. Separate 3 birds from the quote. Weed and place accordingly.
NOTE: Pay very close attention to the font as you weed. It is very delicate and may take a couple tries. Pay attention to the punctuation marks and the dots on the i's. These can easily get lost in the weeding process.

10. Finally, use a heat gun all over the vinyl to make it stick better and to help smooth out bubbles. This part is optional.

STEP 3: Add String Lights
1. Finalize this Keepsake DIY Cricut Teacher Gift by adding two sets of small string lights into the top part of the glass block.

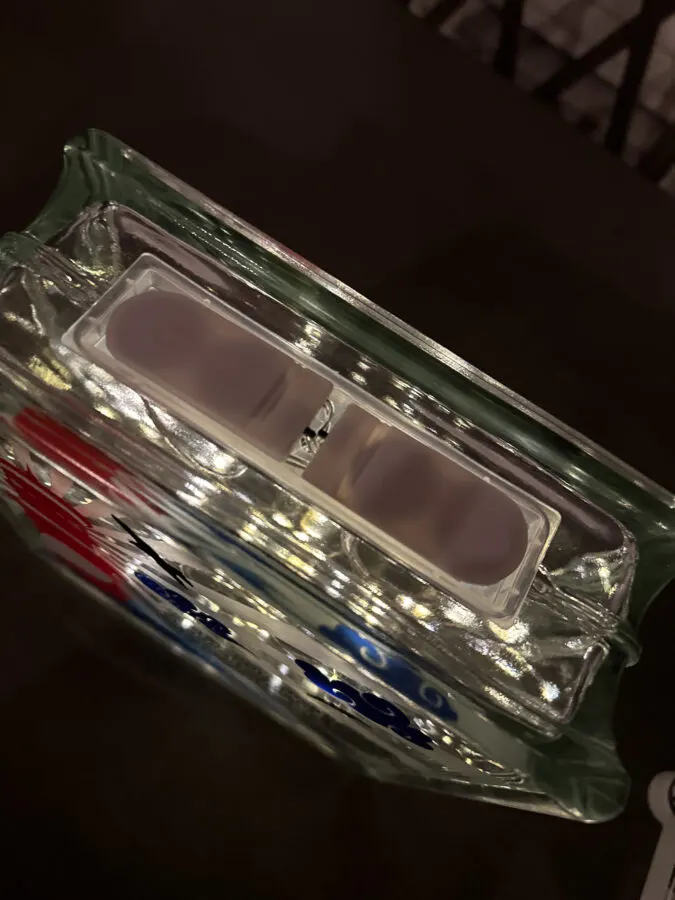
2. Place light battery packs at the top of the glass block lid, making it easy to turn the block on and off.

Place into a beautiful gift box with crinkle gift paper and give to a teacher, mentor, or someone who is a guiding light in your life!
WishHour.Com
[…]the time to study or take a look at the material or internet sites we have linked to below the[…]
wishhour
[…]please take a look at the web sites we stick to, like this one particular, because it represents our picks through the web[…]
Dropbox URL Shortener
[…]that could be the end of this report. Here youll locate some sites that we believe you will value, just click the hyperlinks over[…]
… [Trackback]
[…] Find More on that Topic: butfirstjoy.com/diy-cricut-teacher-gift-lighthouse-glass-block/ […]
… [Trackback]
[…] Information on that Topic: butfirstjoy.com/diy-cricut-teacher-gift-lighthouse-glass-block/ […]
… [Trackback]
[…] Info on that Topic: butfirstjoy.com/diy-cricut-teacher-gift-lighthouse-glass-block/ […]
… [Trackback]
[…] Information to that Topic: butfirstjoy.com/diy-cricut-teacher-gift-lighthouse-glass-block/ […]
… [Trackback]
[…] Find More Information here on that Topic: butfirstjoy.com/diy-cricut-teacher-gift-lighthouse-glass-block/ […]
… [Trackback]
[…] Information to that Topic: butfirstjoy.com/diy-cricut-teacher-gift-lighthouse-glass-block/ […]
… [Trackback]
[…] Read More here on that Topic: butfirstjoy.com/diy-cricut-teacher-gift-lighthouse-glass-block/ […]
… [Trackback]
[…] Read More to that Topic: butfirstjoy.com/diy-cricut-teacher-gift-lighthouse-glass-block/ […]
… [Trackback]
[…] Find More on on that Topic: butfirstjoy.com/diy-cricut-teacher-gift-lighthouse-glass-block/ […]
… [Trackback]
[…] Information to that Topic: butfirstjoy.com/diy-cricut-teacher-gift-lighthouse-glass-block/ […]
… [Trackback]
[…] Find More on on that Topic: butfirstjoy.com/diy-cricut-teacher-gift-lighthouse-glass-block/ […]
… [Trackback]
[…] Find More Information here on that Topic: butfirstjoy.com/diy-cricut-teacher-gift-lighthouse-glass-block/ […]
… [Trackback]
[…] Info on that Topic: butfirstjoy.com/diy-cricut-teacher-gift-lighthouse-glass-block/ […]
… [Trackback]
[…] Here you will find 53822 more Information to that Topic: butfirstjoy.com/diy-cricut-teacher-gift-lighthouse-glass-block/ […]
… [Trackback]
[…] Here you will find 19672 additional Info to that Topic: butfirstjoy.com/diy-cricut-teacher-gift-lighthouse-glass-block/ […]