
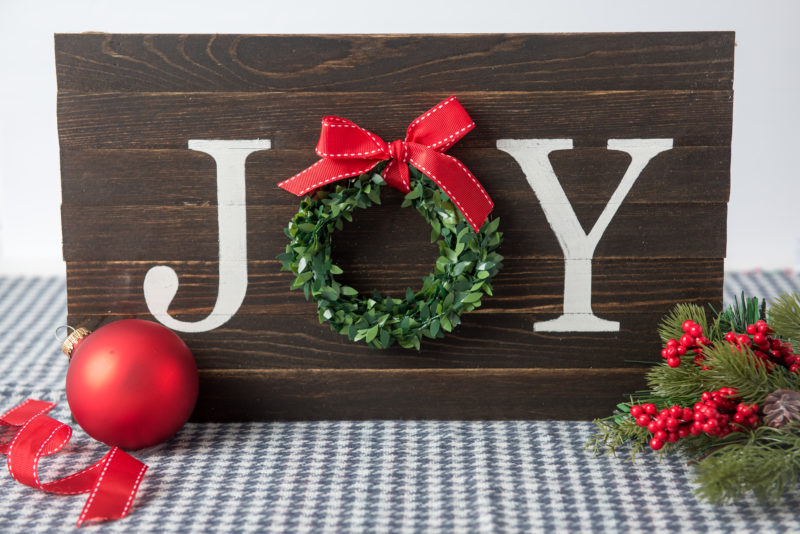
Using this tutorial, you'll make your very own DIY Joy Wood Sign for the holidays! In fact, you could switch the wording on the sign for a year-round DIY home decor sign.
Aren’t wood signs just the cutest for the holidays? You can find them in just about any store that sells home decor. The prices can range from $15 to around $100 depending on the size of the sign and elements of the piece.
I want to let you in on a little secret:
You can make a DIY Painted Wood Sign at home for only a fraction of the price.

In fact, you can make multiple signs for much less than the price of a single sign from Hobby Lobby.
The best part is:


The supplies are easy to find. Actually, you may find some of these already in your craft room or garage. Either way, you can definitely order a few at your local hardware store or right on Amazon.


I’ve included a list below of the basic supplies for those cute painted wood word signs. Basically, you don't have to leave your couch for the supplies!
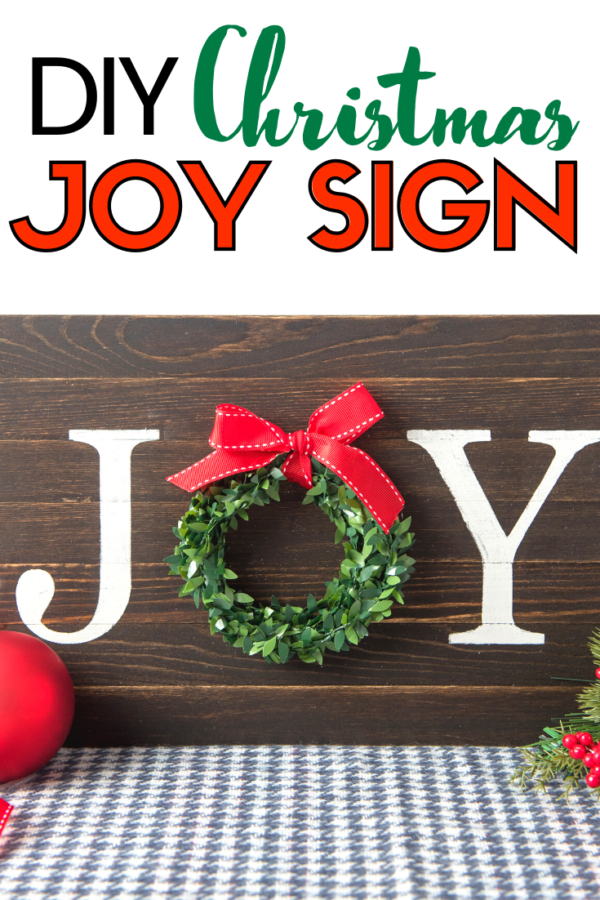
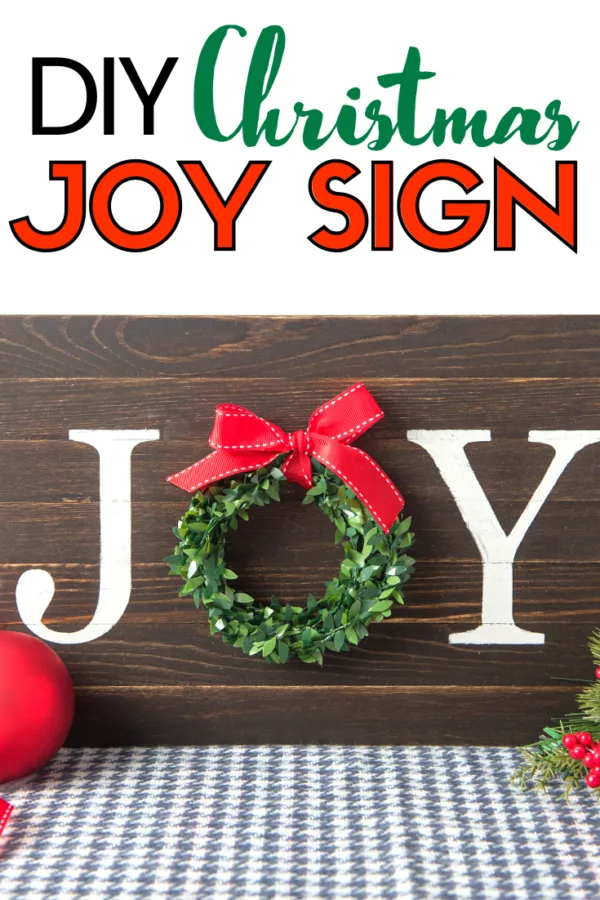
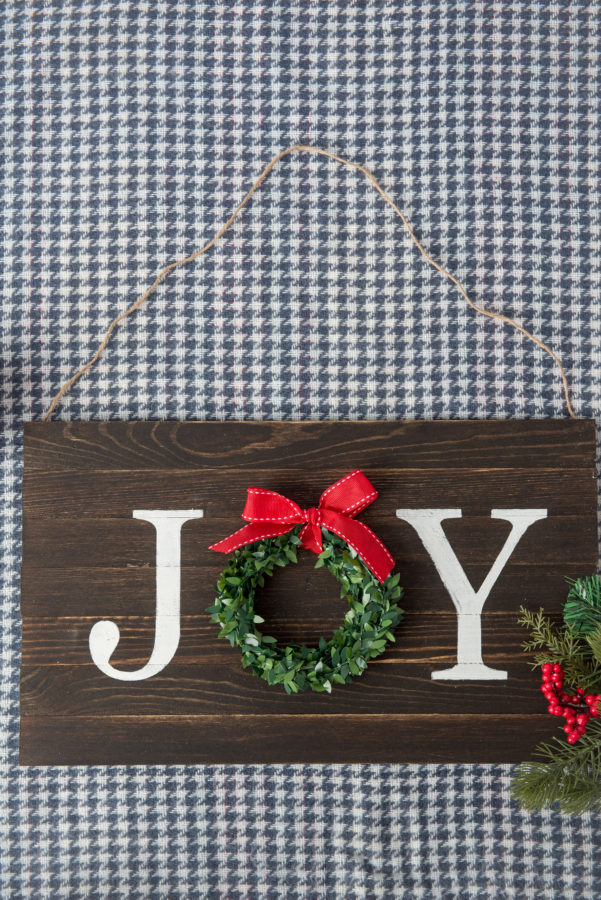
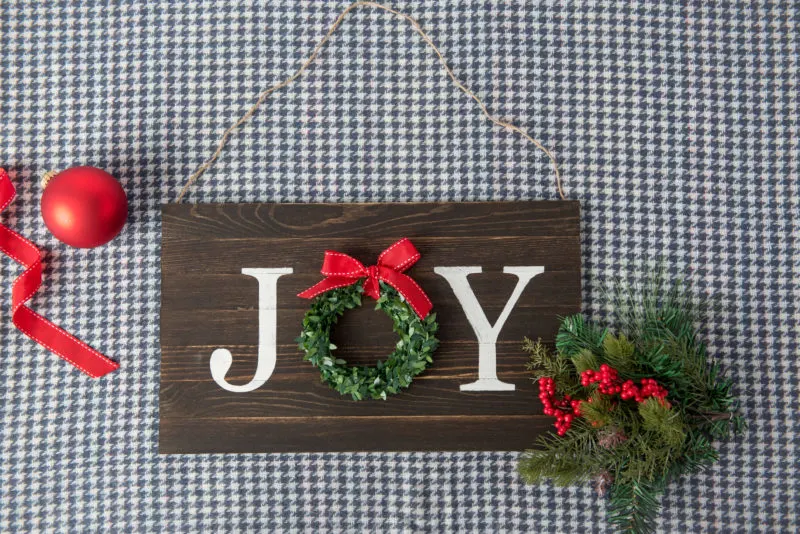
DIY Joy Wood Sign
In this tutorial, we are going to focus on a DIY Joy Wood Sign for Christmas! As you know, joy is kind of my thing so it only makes sense that I share this great DIY Christmas Decor idea with you!
Please keep in mind that you can alter this tutorial to truly make it your own. With different colors and other small details, your handmade wood Joy sign could turn out much different than mine. In fact, I hope it does! I’d love to see some fun variations!
However, if you aren’t crafty or very confident in your sign making, just follow this tutorial closely. You’ll come to find that it’s much easier than it looks – which is always a good thing.
It's important to mention that you don't need a plank of wood for this DIY Joy Sign! You'll be making your own by piecing Paint Mixing Sticks or Wooden Rulers together.
DIY Joy Wood Sign Tutorial
This DIY Wood Sign is the perfect home project for those on a budget!
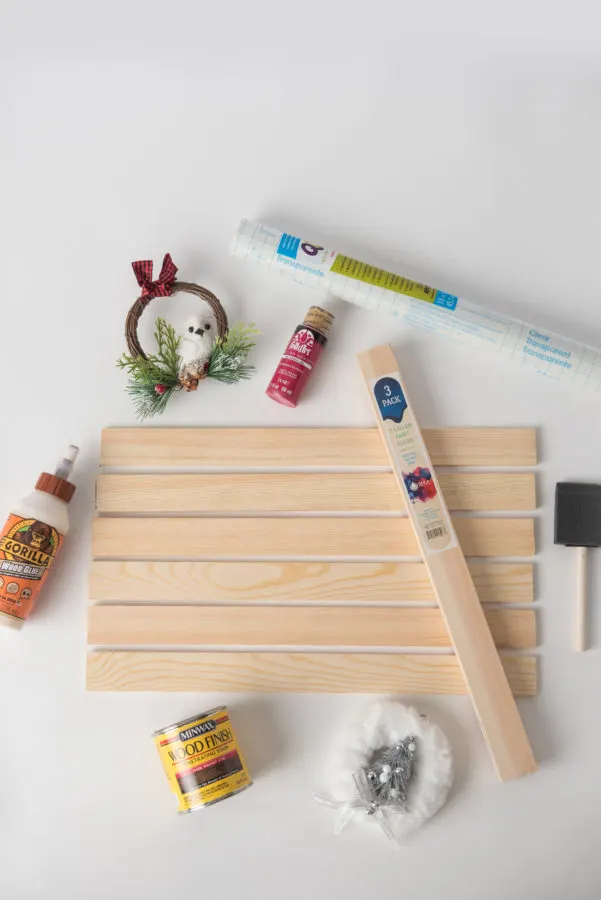
Materials
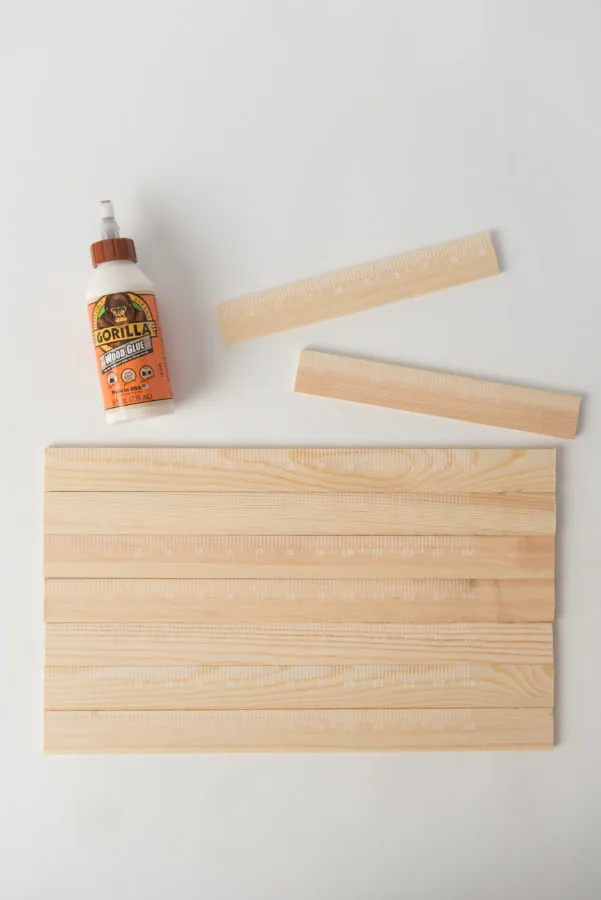
- Rulers or paint mixing sticks (3 packs)
- Circle ornaments or mini wreaths
- Sponge brush
- Wood glue
- Wood stain (color of your choice)
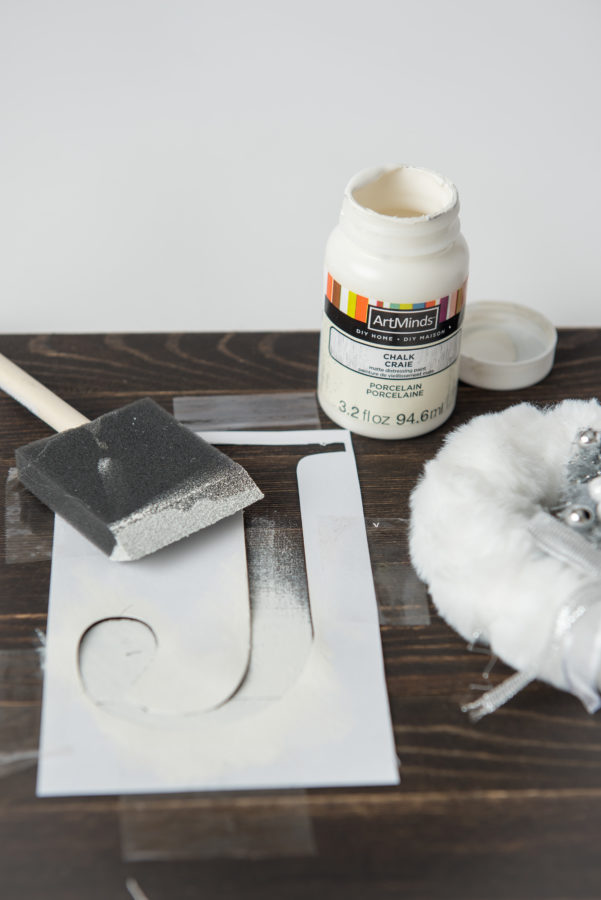
- Matte paint or chalk paint (I’m using white but color of your choice)
- A stencil (for the J and Y) I’m using one I made from card stock but you can buy stencils from most retailers
- Twine for hanging (optional)
- Hot glue gun (optional - can use wood glue just takes longer to dry)
- Font used here - Didot
Instructions
If paint sticks have a rounded top be sure to cut that off using a hand saw or any saw on hand. You will want to be left with just straight line for this project.
Align the paint sticks to determine how tall to make your sign. Each stick is approximately 1.5 inches. I will be using 6 sticks that measure to be approximately 17 inches width and 10 inches height.
If the sticks have numbers, be sure to use this side as the back.
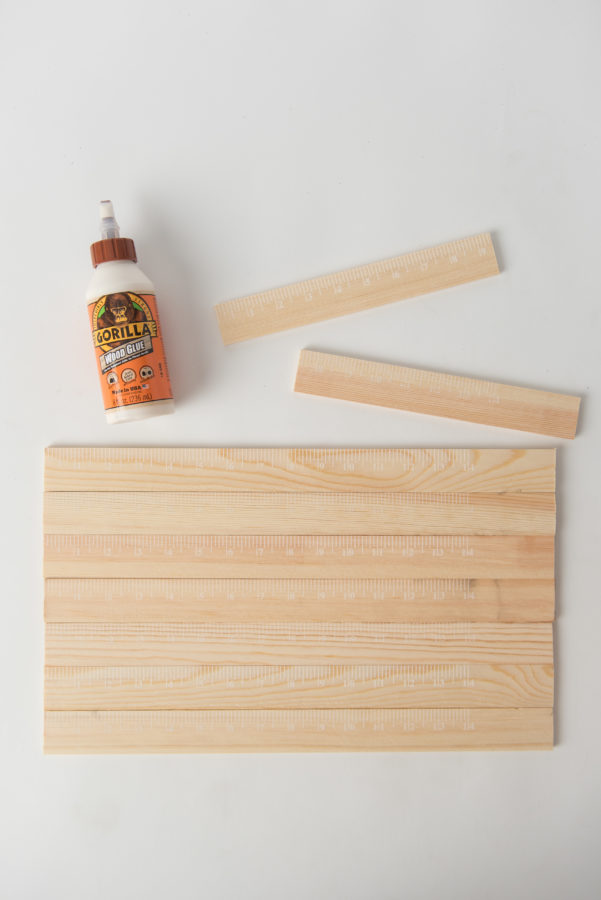
Cut two more sticks approximately 9.5 inches to use as the brace on the back to hold the rest of the sticks together.
*Total you will be using 8 sticks up to this point
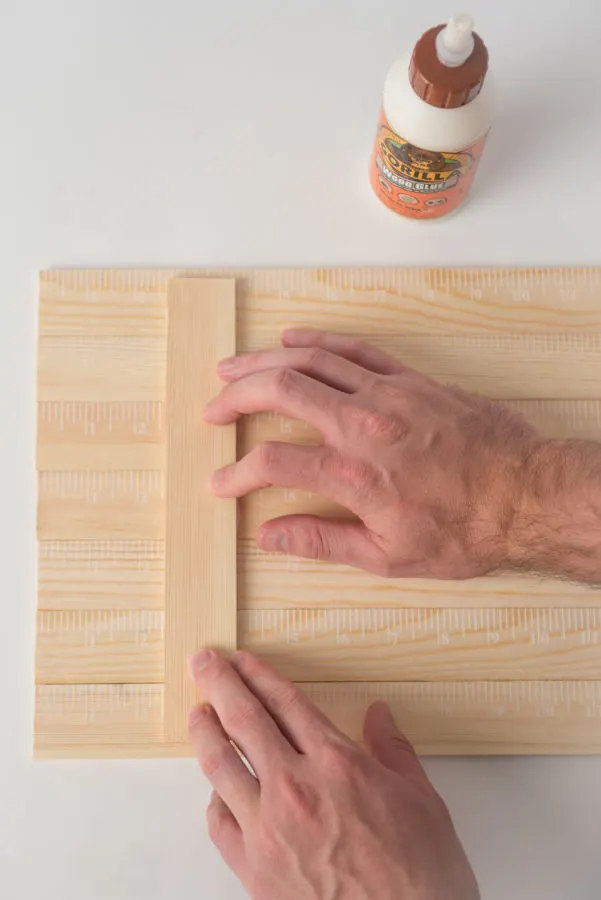
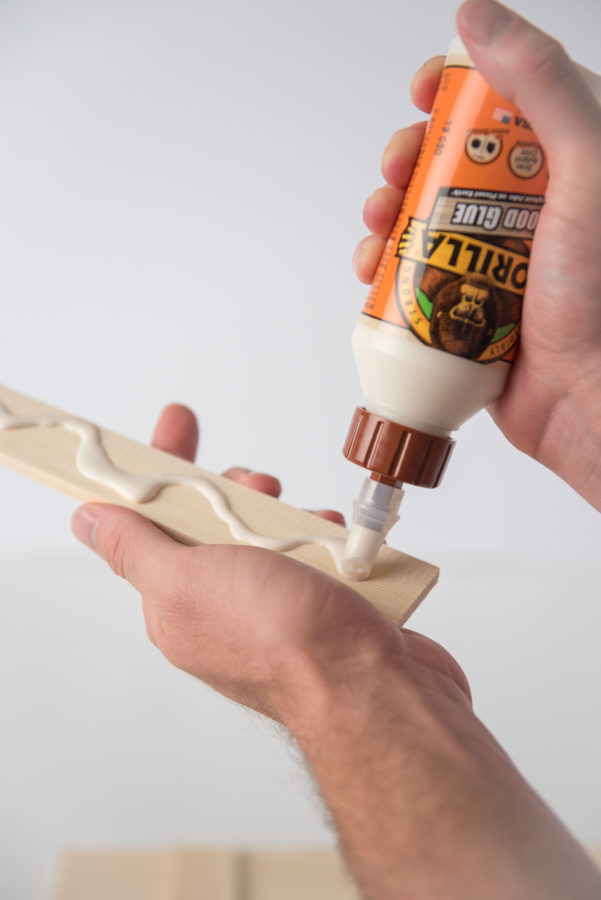
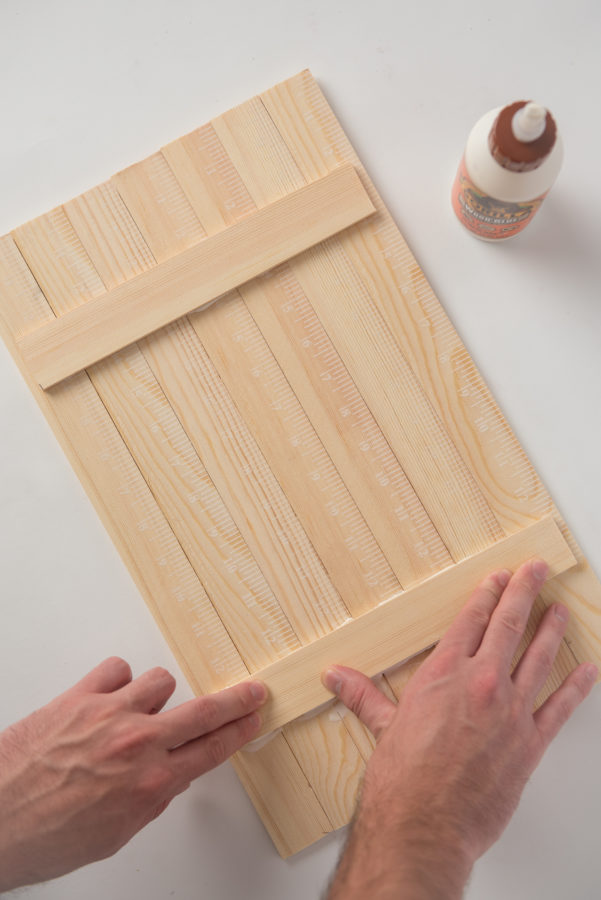
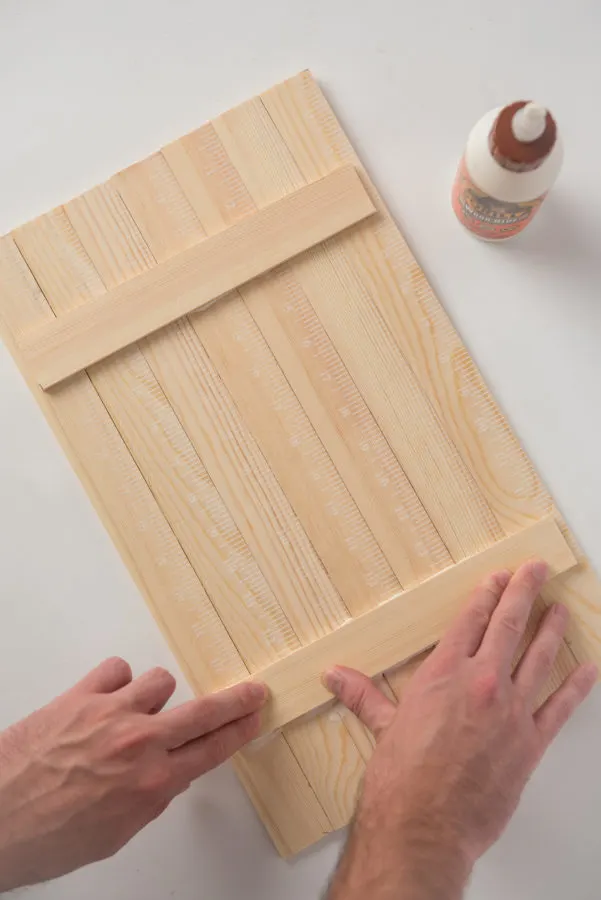
Once the 9 inch sticks are cut, use wood glue (I’m using gorilla wood glue) on both pieces and flip down (approximately 2 inches in from the edges) on to the back of the aligned sticks (6 sticks). Press down and hold for a few minutes.
Doing this allows the 9.5 inch pieces to lay across the other 6 sticks and acts as a brace to hold them all.
*Be sure not to over do it on the glue otherwise when you press down, it could possibly seep through to the front of the sign in-between the sticks.
Allow your glue to dry according to the time suggested on the bottle.
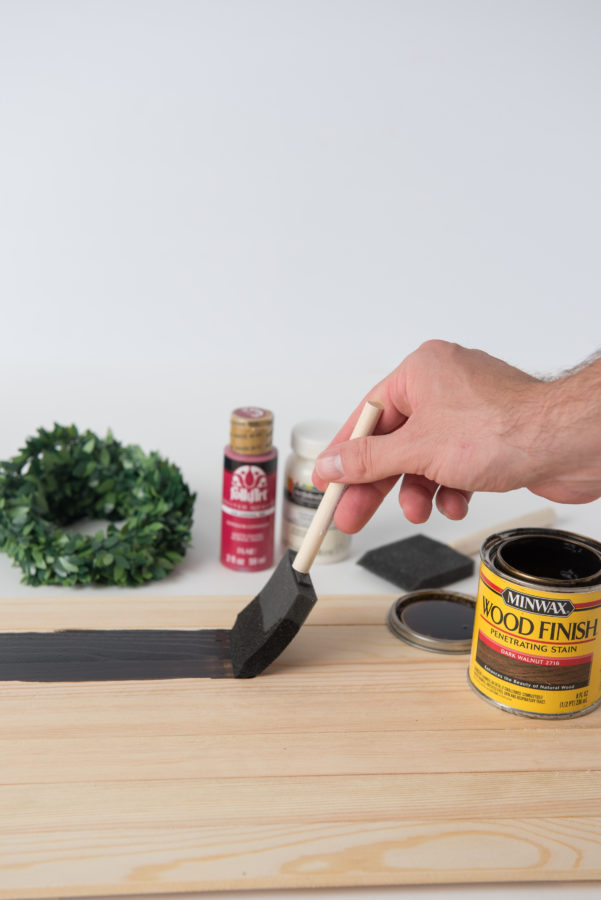
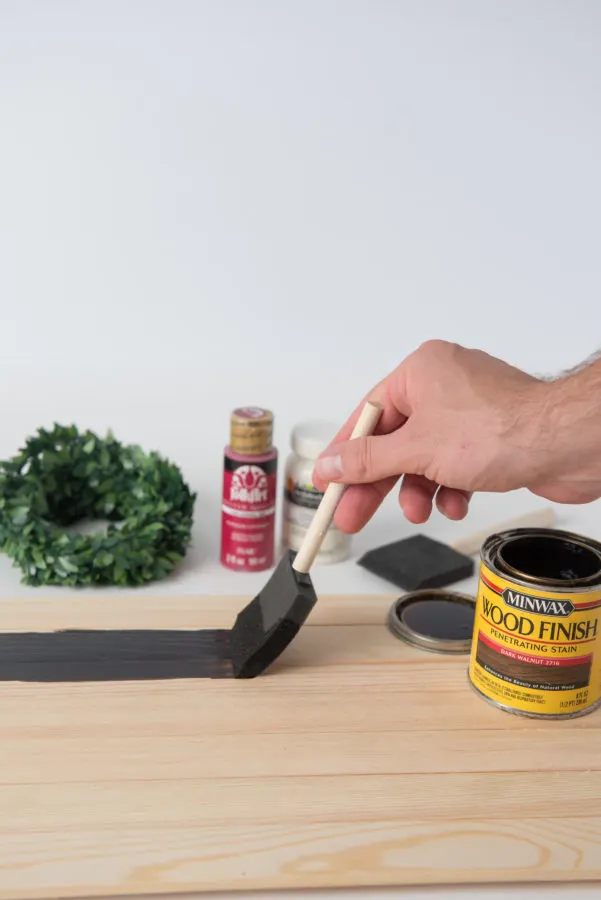
Once dry, use a sponge brush and wood stain and begin to stain the front and sides of your sign in a well ventilated area. Be cautious about the amount of stain you use. Using too much will lead to a darker color and not using enough will lead to a lighter color.
Set aside and allow to dry completely at least 24 hours or depending what is recommended on the can.
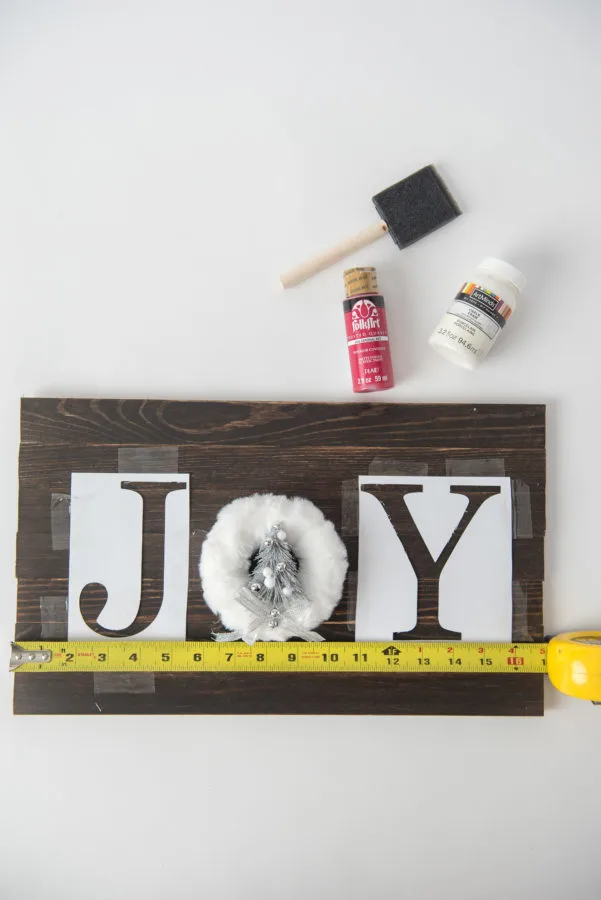
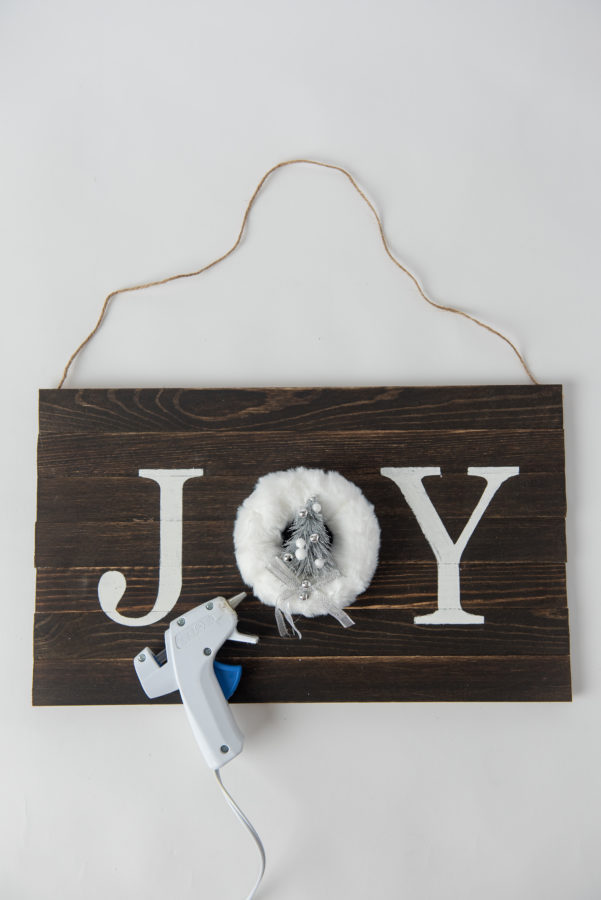
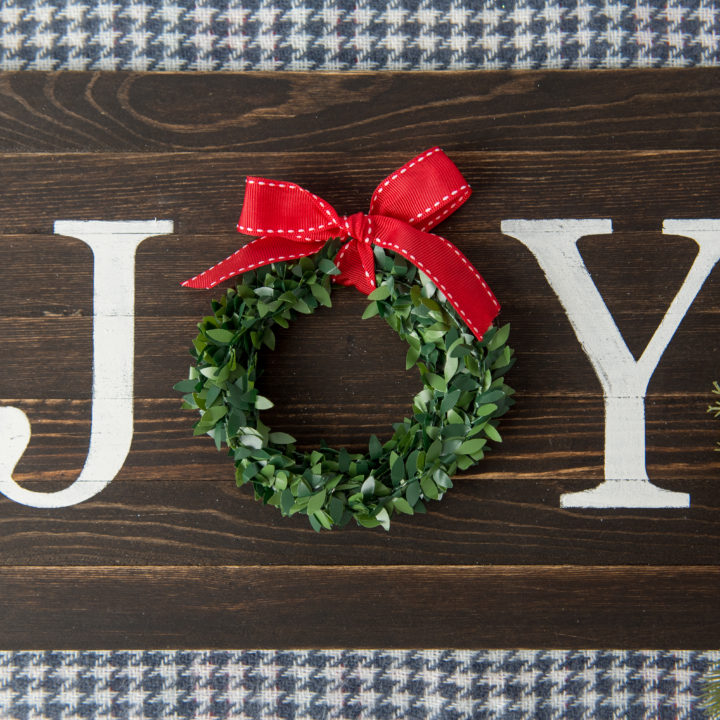
After stain has completely dried and set, be sure to measure your sign and mark the middle to attach your “O” ornament or mini wreath. Mine measures to be just about 17 inches width. Therefore, the “O” will be about 8.5 inches. Now glue your “O” ornament or wreath down. You can use wood glue, this will take much longer but I have found that hot glue works best.
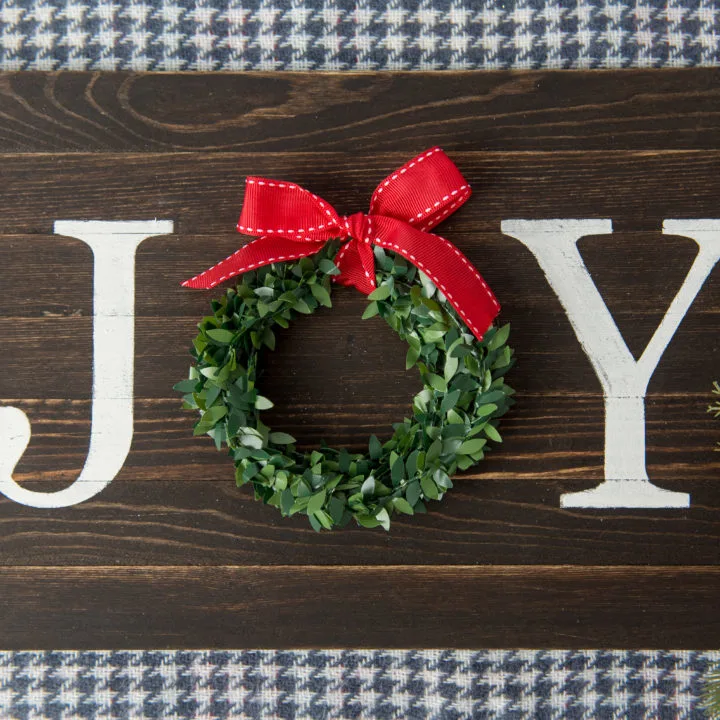
Next use the stencil purchased or made and find the middle from the edges of the sign to each side of your “O”. This will be approximately 3.5 inches for the “J” and 13.5 inches for the “Y”. Tape the stencil to the front of the sign.
Keep a measuring tape on hand to refer to where each letter will go.
Using the sponge brush and matte paint or chalk paint, and stipple the paint onto the stencil and sign. DO NOT BRUSH THE PAINT ON. Stipple the paint in layers until the coverage is to your desire. For a more rustic look, allow some of the wood to show through.
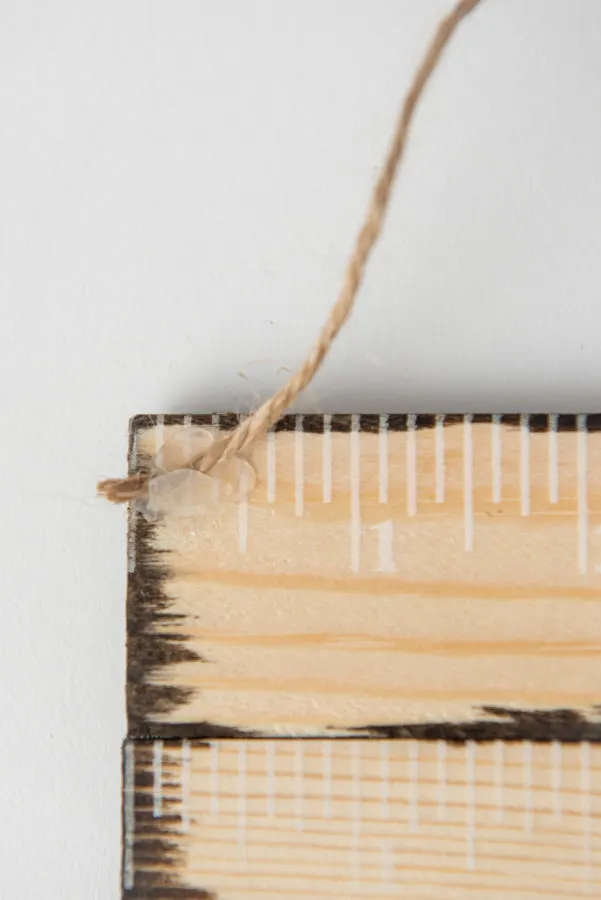
Remove the stencil and allow the paint to dry. Once everything is completely dry, hot glue twine to corner on the back for a hanging option.
… [Trackback]
[…] Read More to that Topic: butfirstjoy.com/diy-joy-wood-sign/ […]
… [Trackback]
[…] Find More here on that Topic: butfirstjoy.com/diy-joy-wood-sign/ […]
… [Trackback]
[…] Read More on that Topic: butfirstjoy.com/diy-joy-wood-sign/ […]
… [Trackback]
[…] Read More on to that Topic: butfirstjoy.com/diy-joy-wood-sign/ […]
… [Trackback]
[…] Find More here on that Topic: butfirstjoy.com/diy-joy-wood-sign/ […]
… [Trackback]
[…] Read More here on that Topic: butfirstjoy.com/diy-joy-wood-sign/ […]
… [Trackback]
[…] There you can find 19985 additional Information on that Topic: butfirstjoy.com/diy-joy-wood-sign/ […]
… [Trackback]
[…] Read More on that Topic: butfirstjoy.com/diy-joy-wood-sign/ […]
… [Trackback]
[…] Read More on that Topic: butfirstjoy.com/diy-joy-wood-sign/ […]
… [Trackback]
[…] Here you will find 13920 additional Info on that Topic: butfirstjoy.com/diy-joy-wood-sign/ […]
… [Trackback]
[…] Info to that Topic: butfirstjoy.com/diy-joy-wood-sign/ […]
… [Trackback]
[…] Find More on that Topic: butfirstjoy.com/diy-joy-wood-sign/ […]
… [Trackback]
[…] Find More Info here to that Topic: butfirstjoy.com/diy-joy-wood-sign/ […]
… [Trackback]
[…] Read More Info here to that Topic: butfirstjoy.com/diy-joy-wood-sign/ […]
… [Trackback]
[…] There you will find 81656 more Information on that Topic: butfirstjoy.com/diy-joy-wood-sign/ […]
… [Trackback]
[…] Find More Information here to that Topic: butfirstjoy.com/diy-joy-wood-sign/ […]
[…] I know I started with a project that’s pretty hands on, but this is something I would totally see in a store and want. If I can make it with my partner, even better! Plus, this can be used as a Christmas decoration inside or outside. This idea is from But first, Joy. […]