Let the countdown to Valentine's Day begin. Now that I have a child, I need to step up my holiday crafting! I love doing crafts but I'll admit that it's either a hit or miss with my creations. Sometimes they turn out great, other times it's a complete fail. Typically, my crafts for the blog turn out to be a fail so they don't even get posted, haha. I got lucky this time.
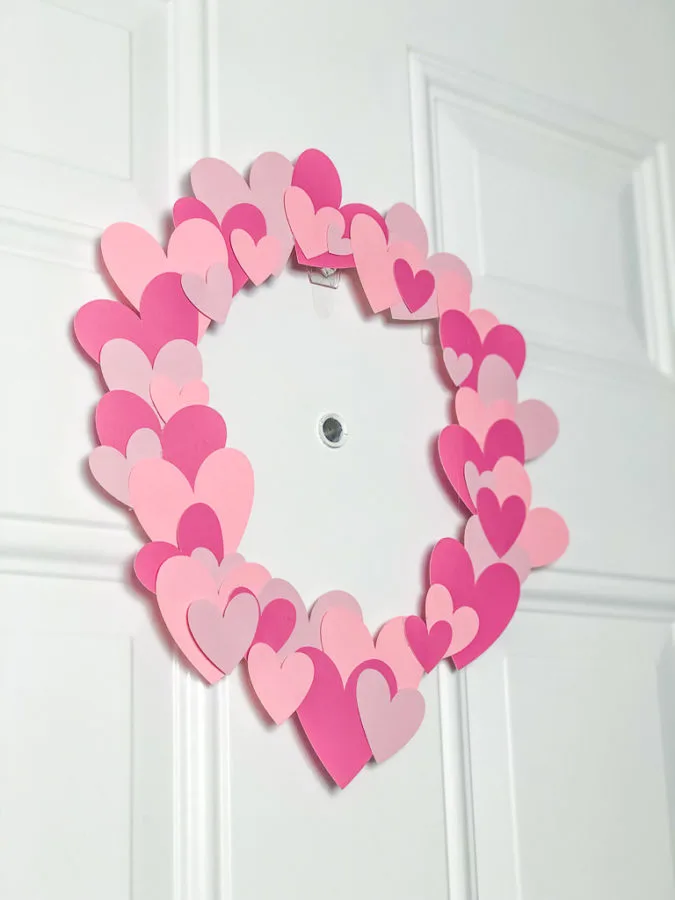
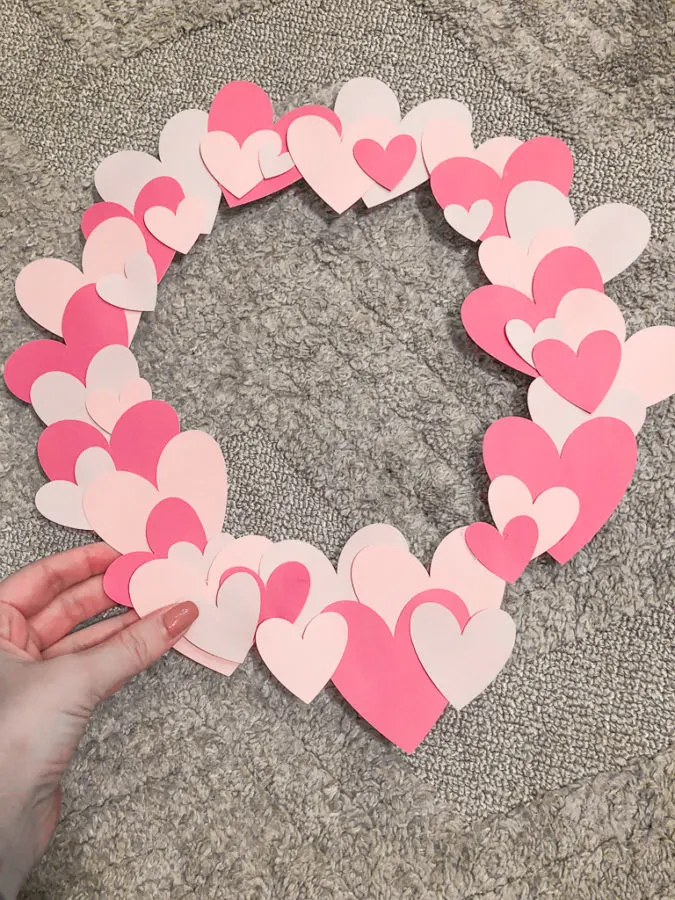
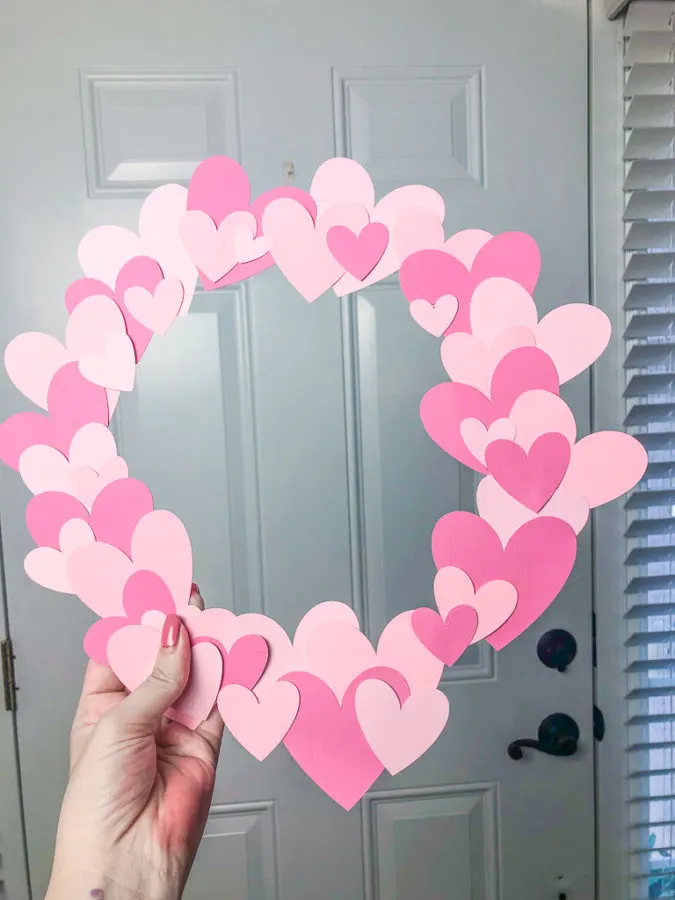
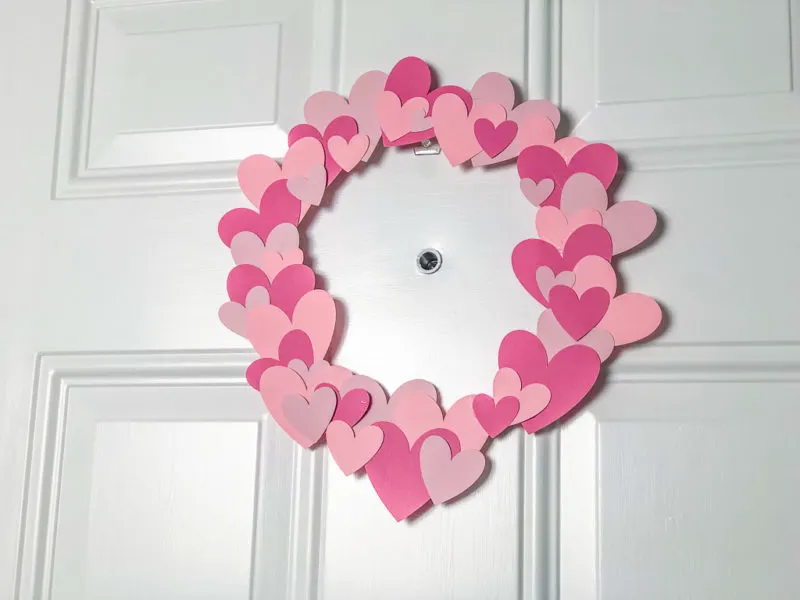
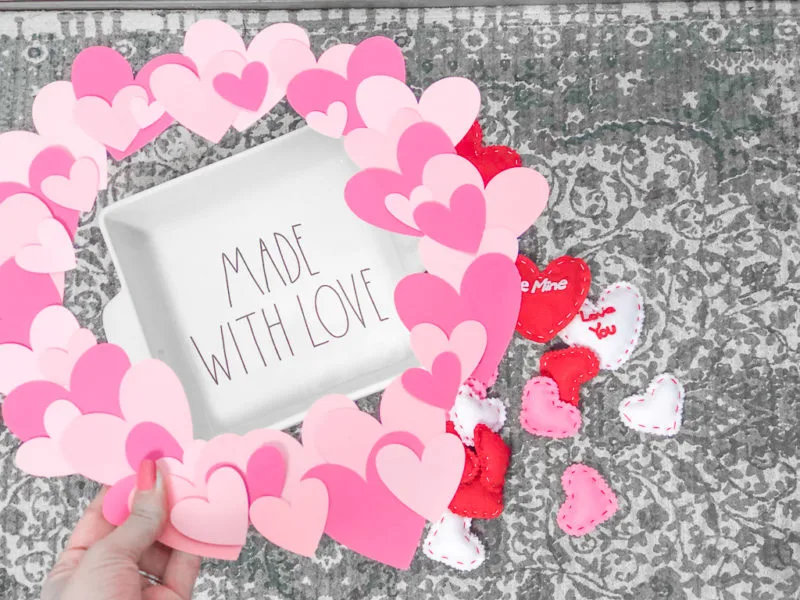
My Valentine's Day Wreath was made with paper hearts and it actually looks really cute, don't ya think? I wanted to add some sort of Valentine's Day love to our house to start the tradition for my son's very first Valentine's Day. It's also going to be his last, first holiday. I'm not okay. I also had some craft supplies just laying around that needed to be used – so I came up with this fun and easy wreath idea!
DIY Paper Heart Valentine's Day Wreath
So, I should first mention that this is an indoor wreath (duh) since it's made with paper hearts. You can likely use the supplies you have in your house to make this wreath – it's that easy!v

What You'll Need
- Scrapbook Paper in 3 different shades of pink or red (I scored a pack of pink scrapbook paper for 70% off during the Michaels after-Christmas sale!)
- Scissors
- Hot Glue Gun + Hot Glue Roll (because you'll be doing a lot of gluing) – I like to use hot glue because it gives the heart a little bit of dimension.
- Medium-sized Embroidery Hoop (or the size of your choice)
How to Make Your Valentine's Day Wreath
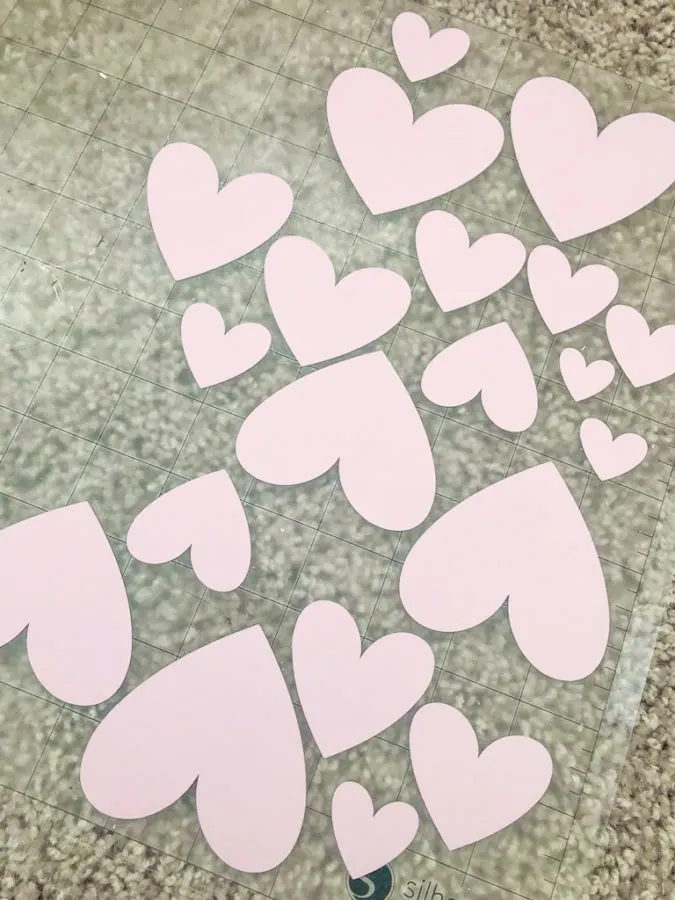
- Cut your hearts into 3-5 different sizes. My heart sizes ranged from 3 inches down to 1 inch. You can use the folding in half method to ensure your hearts are even or you can use your cutting machine. I used my Silhouette Cameo for these perfect hearts.Be sure you're cutting multiple sizes for each color of paper. I cut out full 12×12 sheets of scrapbook paper and had maybe 6 hearts leftover. It's always better to have more than you think you'll need.
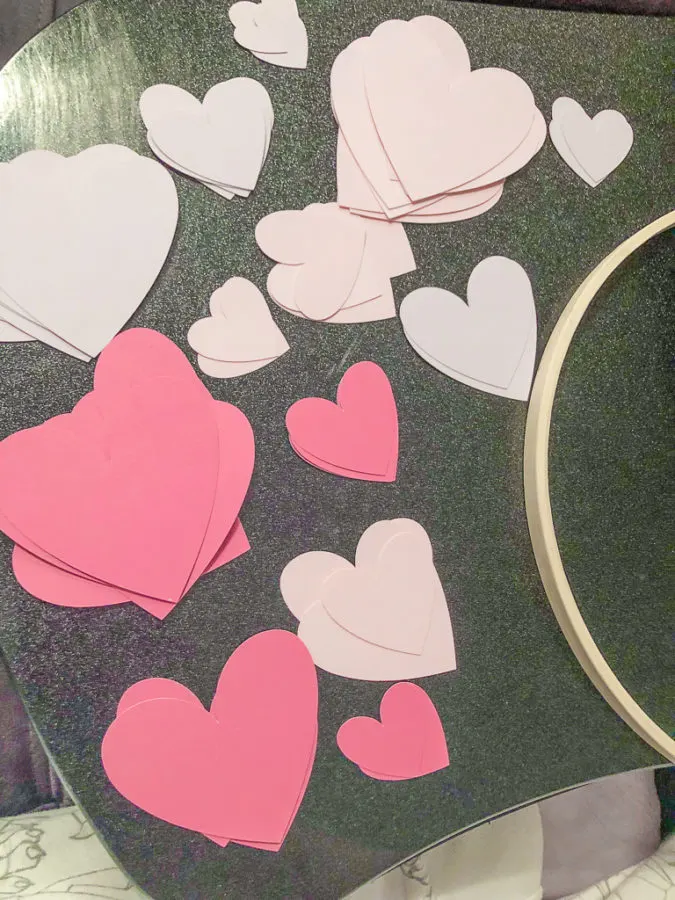
- Arrange your hearts on your workspace by color and size. This will make it so much easier when mapping out your paper heart wreath.
- Remove the inner piece of your embroidery hoop. That's the piece we'll be using.
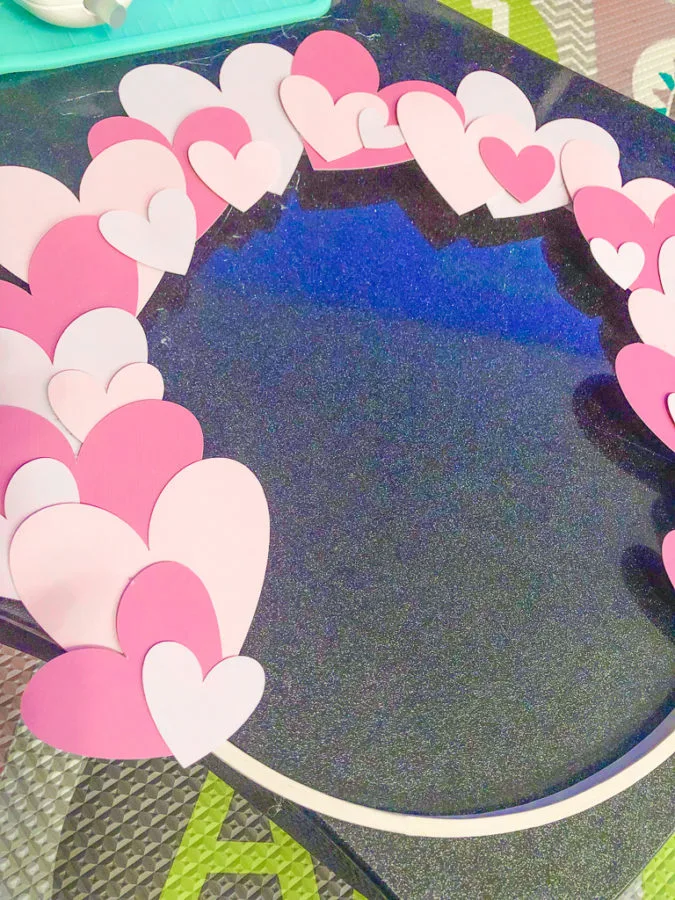
- Map out your wreath! This is where you'll stack and arrange hearts onto your embroidery hoop – don't glue just yet, just arrange. You don't need to arrange the entire wreath. Just do a few pieces to give you a good idea of how you want your Valentine's Day wreath to look.
- Slowly begin hot gluing those hearts onto the embroidery hoop. Take your time and don't overdo it on the glue. I always applied the glue to the wood and then added the hearts, piece by piece. Hearts that were stacked on top of others, I applied glue to the back.
- Continue until the entire hoop is covered. Be sure to mix the colors and sizes up and don't leave any open spaces.
- You can either hang the wreath on a command hook, as is, or you can glue/tie a small hoop of twine to hang your wreath.
That's it! I hope you think your wreath is just as pretty as I think mine is. This is a fun craft to do with your older kids who can safely handle a hot glue gun. You can even allow the young ones to participate by giving them the task of cutting hearts and helping with the arrangement! Now, the only question I have is:
Where will you hang your pretty DIY Valentine's Day wreath?



… [Trackback]
[…] Info on that Topic: butfirstjoy.com/diy-valentines-day-wreath/ […]
… [Trackback]
[…] Read More Information here on that Topic: butfirstjoy.com/diy-valentines-day-wreath/ […]
… [Trackback]
[…] Read More to that Topic: butfirstjoy.com/diy-valentines-day-wreath/ […]
… [Trackback]
[…] Find More on that Topic: butfirstjoy.com/diy-valentines-day-wreath/ […]
… [Trackback]
[…] Read More on that Topic: butfirstjoy.com/diy-valentines-day-wreath/ […]
… [Trackback]
[…] Read More on to that Topic: butfirstjoy.com/diy-valentines-day-wreath/ […]
… [Trackback]
[…] Information on that Topic: butfirstjoy.com/diy-valentines-day-wreath/ […]
… [Trackback]
[…] Read More on to that Topic: butfirstjoy.com/diy-valentines-day-wreath/ […]
… [Trackback]
[…] Read More Info here to that Topic: butfirstjoy.com/diy-valentines-day-wreath/ […]
… [Trackback]
[…] Find More on that Topic: butfirstjoy.com/diy-valentines-day-wreath/ […]
… [Trackback]
[…] Read More here on that Topic: butfirstjoy.com/diy-valentines-day-wreath/ […]
… [Trackback]
[…] Find More here to that Topic: butfirstjoy.com/diy-valentines-day-wreath/ […]
[…] 19. Valentine’s Day Paper Wreath DIY […]