In this tutorial, I'm going to show you how to make DIY faux wood Scrabble tiles for home decor with your Cricut Joy. This project is easy to do with a few Cricut supplies and this free project file.
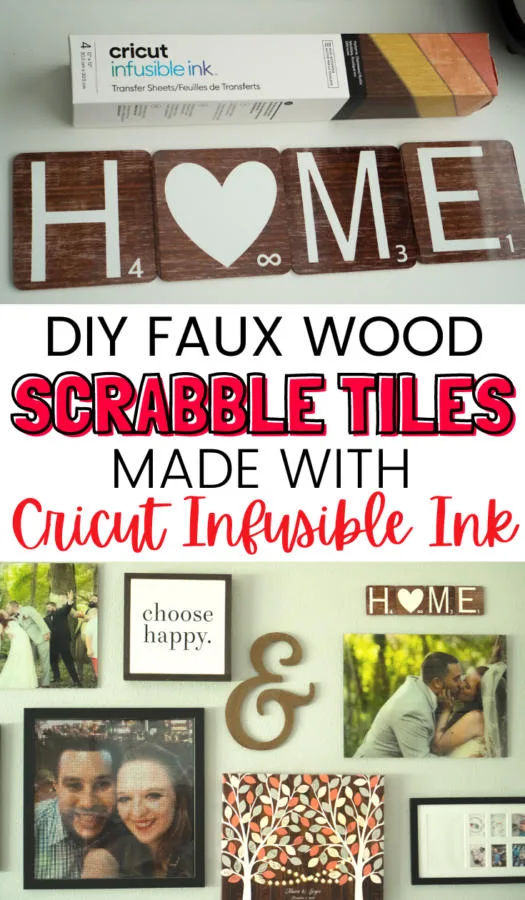
You guys know how much I enjoy working with Cricut's Infusible Ink; with Infusible Ink coasters being my speciality. For awhile now, I've been brainstorming other ways to use Cricut's blank coasters and Infusible Ink. Then, it dawned on me: why not make a sign?
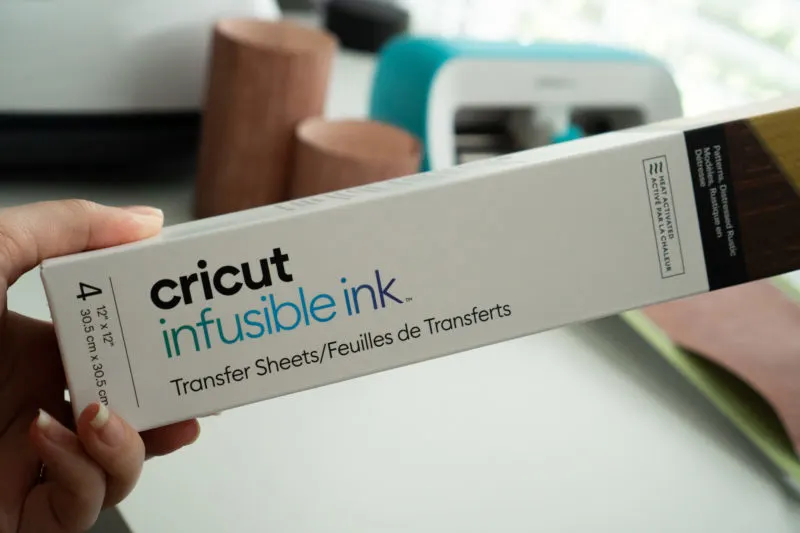
I knew if I made a sign, I would want it to look like wood. So, I searched through Cricut's huge selection of Infusible Ink Transfer Sheets and found the perfect set: Distressed Rustic.
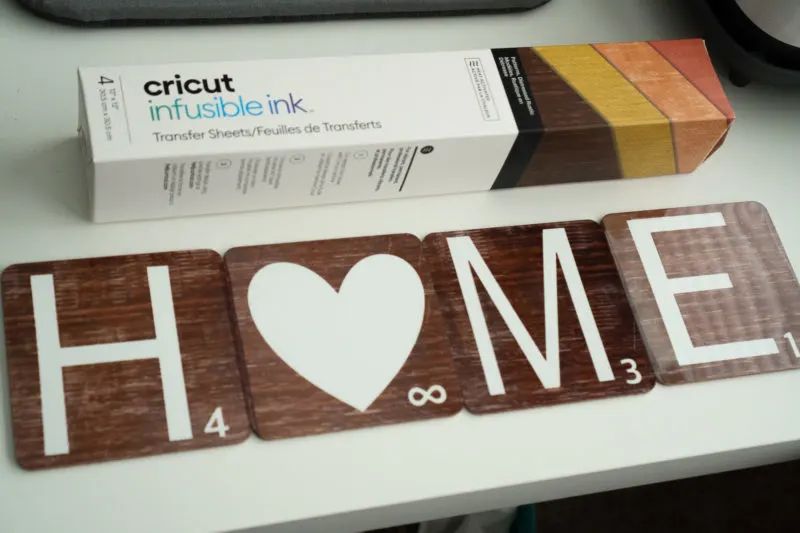
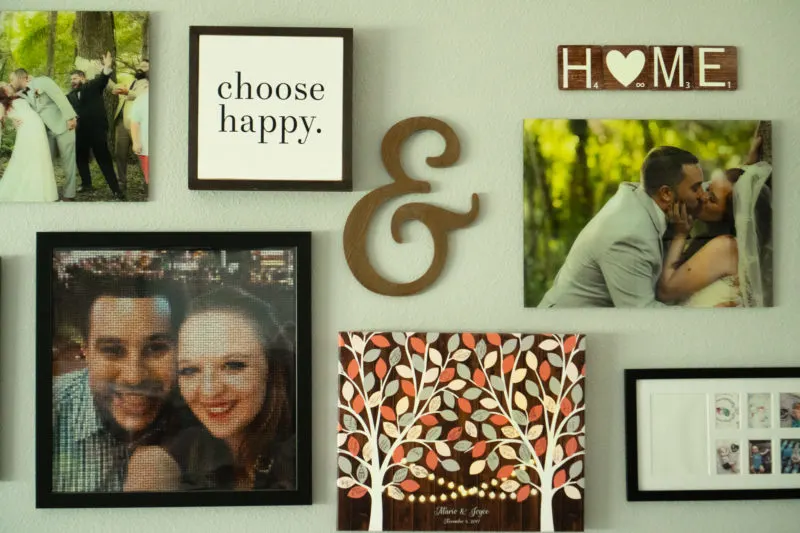
Next, I brainstormed ideas. I had some random Scrabble pieces for another project I'm working on and basically, that inspired this Faux Wood Scrabble Home Sign.
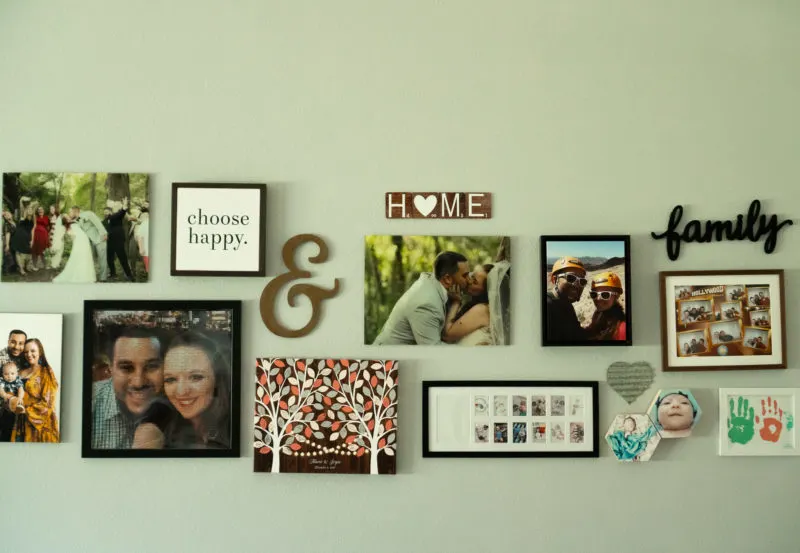
I chose the word Home because there's no place like it. Okay, that was cheesy – but seriously, who doesn't love the thought of HOME? I wanted this to be a good DIY gift idea for newlyweds or new homeowners. Plus, I liked the variety of numerical value for each letter.
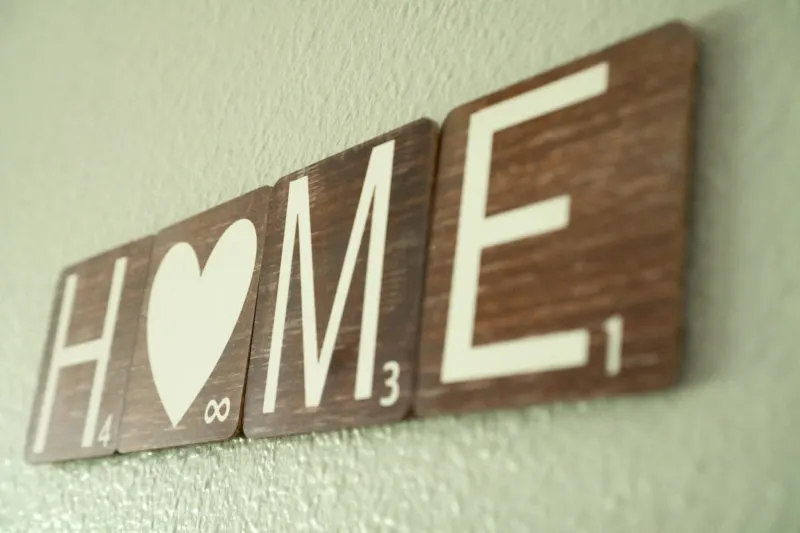
As for the heart, I used an infinity sign for the value to not only represent never ending love in a home, but because it is a sentimental sign in my marriage.
DIY Faux Wood Scrabble Tiles with Cricut Infusible Ink
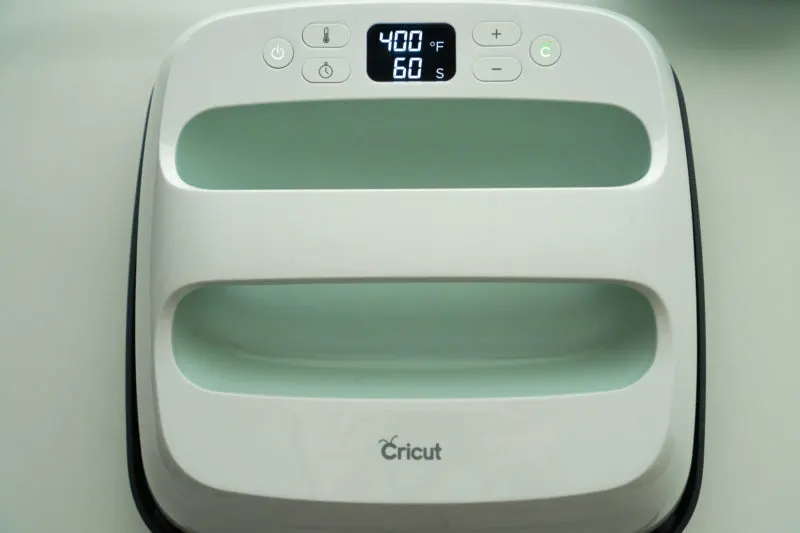
To begin, you will need the following supplies – plus my project file. This file is all set for you to cut right away. Please be mindful that the sizing is specifically for the Cricut Blank Coasters, square.
Materials Needed to Create Faux Wood Scrabble Sign
- Faux Wood Scrabble Tiles project file
- Cricut Joy cutting machine
- Cricut StandardGrip Mat or Cricut LightGrip Mat
- Cricut EasyPress 2
- Cricut EasyPress Mat (I used a towel because my EasyPress Mat hasn't arrived yet)
- Cricut Coaster Blank, Square (compatible with Infusible Ink)
- Cricut Joy Infusible Ink Transfer Sheets, Distressed Rustic
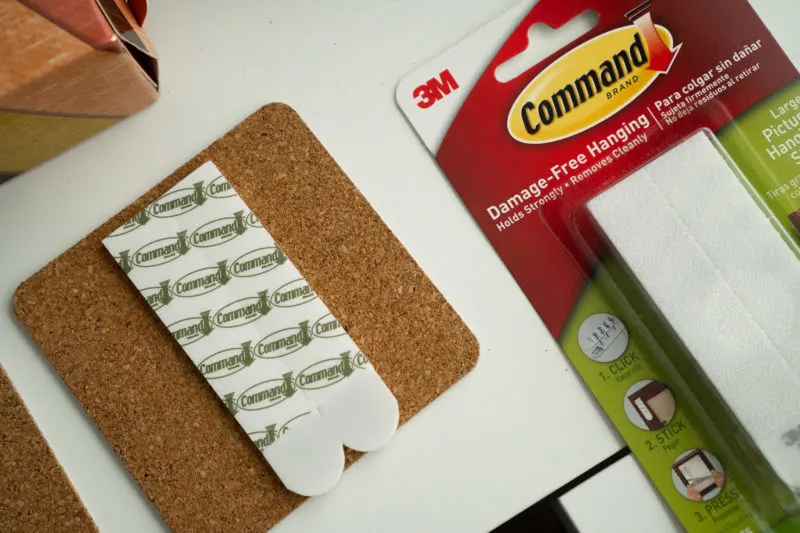
- Command Strips (Pack of 4)
- Alcohol prep pads to clean surface before applying sign
How To Make Infusible Ink Faux Wood Scrabble Tiles Sign
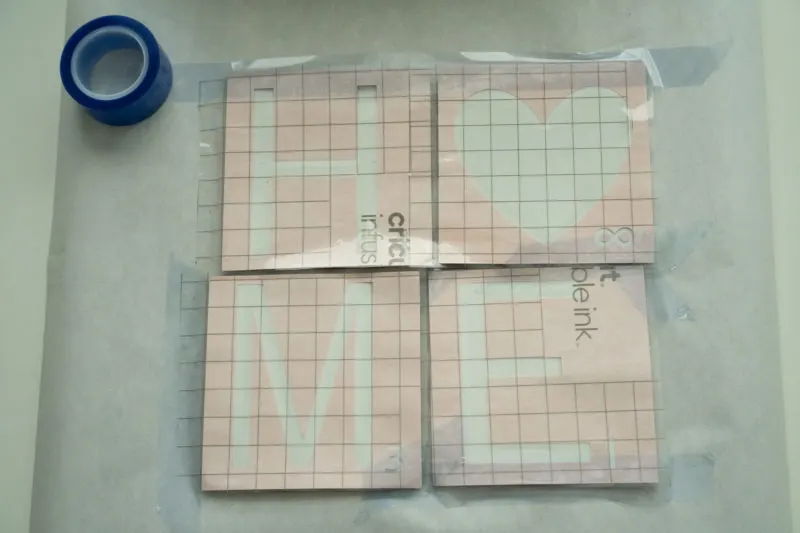
- You'll begin by following these instructions for making coasters with Infusible Ink Transfer Sheets.
- Open Velcro Command Strips and apply each set to the back of each coaster vertically. Apply pressure to each.
- Clean surface where you'd like the sign to go with alcohol prep pads.
- Line Scrabble Tiles up and mark the left of the H tile so you know exactly where to put it on the wall.
- When ready, apply each tile side by side, applying 20 seconds of pressure to each one.
Tips for the best results:
- You may want to move around the tiles a bit once on the wall to make them flush with one another.
- Be sure you're covering every piece of the coaster with the Infusible Ink Transfer Sheet or you'll end up with a white line along the edge.

… [Trackback]
[…] Read More Info here on that Topic: butfirstjoy.com/faux-wood-scrabble-tiles-sign-cricut/ […]
… [Trackback]
[…] Find More here to that Topic: butfirstjoy.com/faux-wood-scrabble-tiles-sign-cricut/ […]
… [Trackback]
[…] There you can find 63254 additional Info on that Topic: butfirstjoy.com/faux-wood-scrabble-tiles-sign-cricut/ […]
… [Trackback]
[…] Find More Information here to that Topic: butfirstjoy.com/faux-wood-scrabble-tiles-sign-cricut/ […]
… [Trackback]
[…] Find More here to that Topic: butfirstjoy.com/faux-wood-scrabble-tiles-sign-cricut/ […]
… [Trackback]
[…] Find More Information here on that Topic: butfirstjoy.com/faux-wood-scrabble-tiles-sign-cricut/ […]
… [Trackback]
[…] Find More Information here to that Topic: butfirstjoy.com/faux-wood-scrabble-tiles-sign-cricut/ […]
… [Trackback]
[…] Find More Info here to that Topic: butfirstjoy.com/faux-wood-scrabble-tiles-sign-cricut/ […]
… [Trackback]
[…] Information on that Topic: butfirstjoy.com/faux-wood-scrabble-tiles-sign-cricut/ […]
… [Trackback]
[…] Here you can find 81510 additional Information on that Topic: butfirstjoy.com/faux-wood-scrabble-tiles-sign-cricut/ […]
… [Trackback]
[…] Find More on to that Topic: butfirstjoy.com/faux-wood-scrabble-tiles-sign-cricut/ […]
… [Trackback]
[…] Read More to that Topic: butfirstjoy.com/faux-wood-scrabble-tiles-sign-cricut/ […]
… [Trackback]
[…] There you can find 95995 more Information to that Topic: butfirstjoy.com/faux-wood-scrabble-tiles-sign-cricut/ […]
… [Trackback]
[…] Find More on that Topic: butfirstjoy.com/faux-wood-scrabble-tiles-sign-cricut/ […]
… [Trackback]
[…] Find More Information here on that Topic: butfirstjoy.com/faux-wood-scrabble-tiles-sign-cricut/ […]
… [Trackback]
[…] Find More Info here on that Topic: butfirstjoy.com/faux-wood-scrabble-tiles-sign-cricut/ […]
… [Trackback]
[…] Information on that Topic: butfirstjoy.com/faux-wood-scrabble-tiles-sign-cricut/ […]
… [Trackback]
[…] Information to that Topic: butfirstjoy.com/faux-wood-scrabble-tiles-sign-cricut/ […]
… [Trackback]
[…] There you can find 44578 more Information on that Topic: butfirstjoy.com/faux-wood-scrabble-tiles-sign-cricut/ […]
… [Trackback]
[…] Information to that Topic: butfirstjoy.com/faux-wood-scrabble-tiles-sign-cricut/ […]
… [Trackback]
[…] Information on that Topic: butfirstjoy.com/faux-wood-scrabble-tiles-sign-cricut/ […]
… [Trackback]
[…] There you can find 45535 more Information on that Topic: butfirstjoy.com/faux-wood-scrabble-tiles-sign-cricut/ […]
… [Trackback]
[…] Read More here to that Topic: butfirstjoy.com/faux-wood-scrabble-tiles-sign-cricut/ […]
… [Trackback]
[…] Find More to that Topic: butfirstjoy.com/faux-wood-scrabble-tiles-sign-cricut/ […]
… [Trackback]
[…] Read More to that Topic: butfirstjoy.com/faux-wood-scrabble-tiles-sign-cricut/ […]
… [Trackback]
[…] Here you will find 72088 more Information to that Topic: butfirstjoy.com/faux-wood-scrabble-tiles-sign-cricut/ […]