
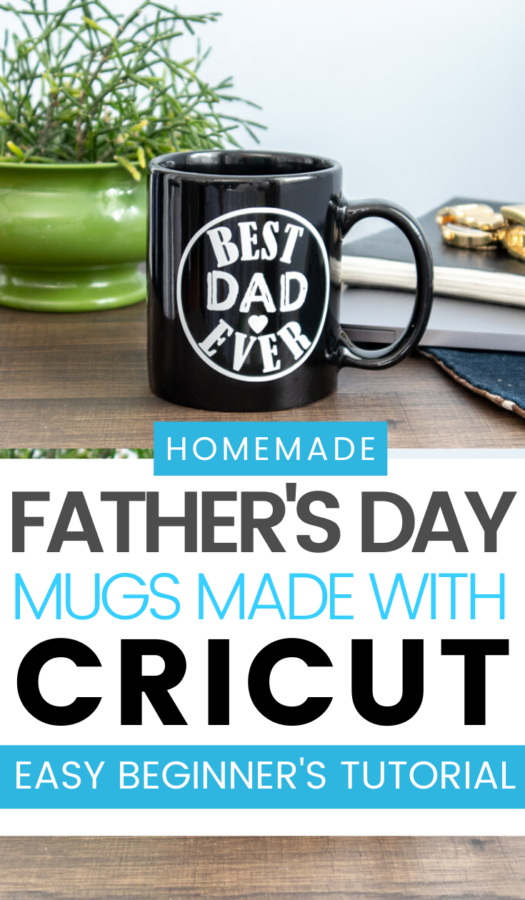
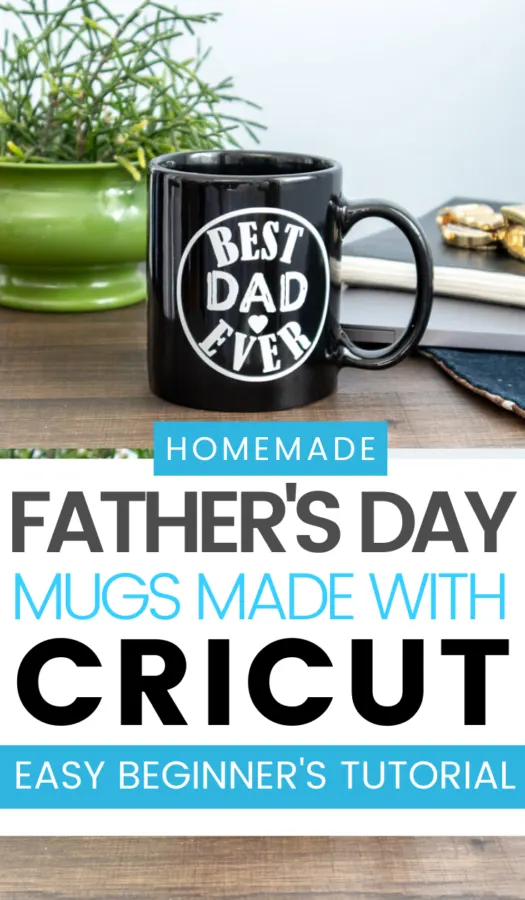
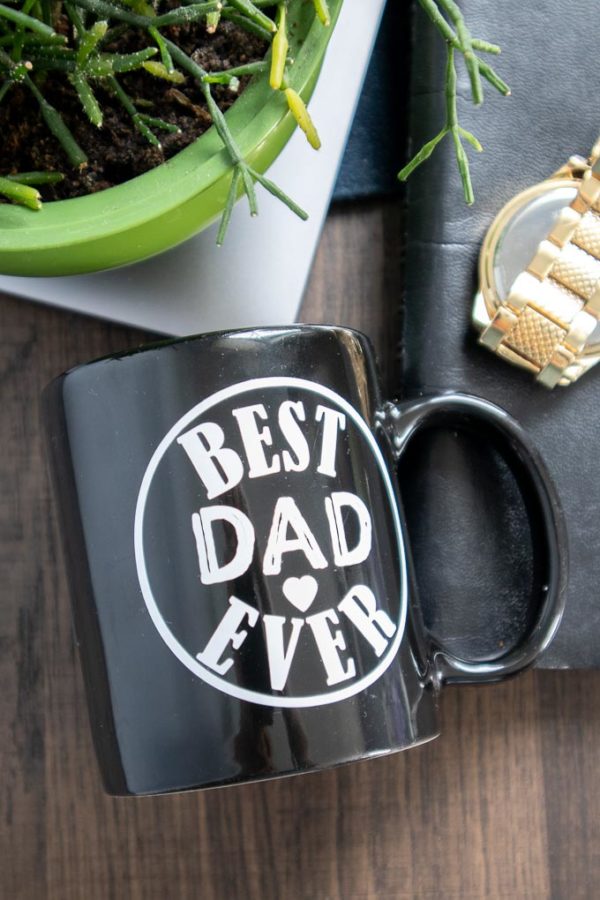
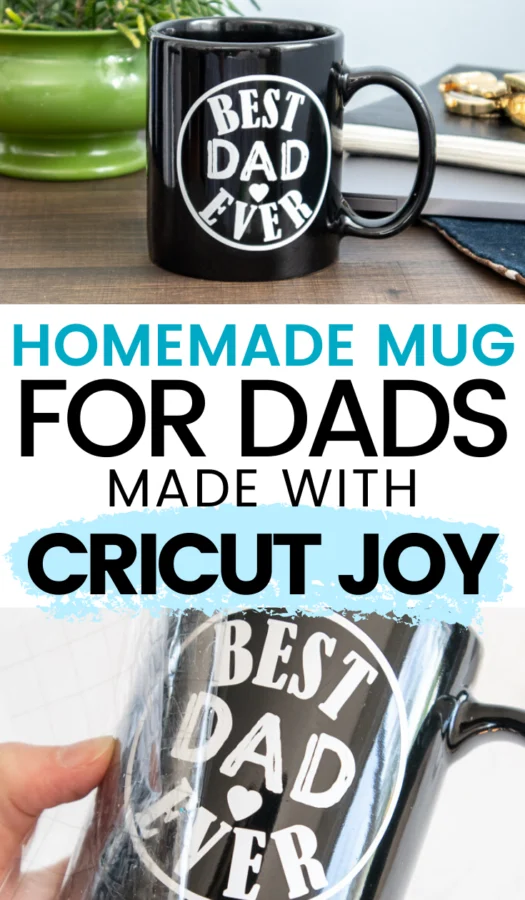
If you're looking for the perfect handmade gift for dads, I recommend this Best Dad Ever Mug made with the Cricut Joy. This beginner's tutorial is the perfect way to make dad feel special any time of the year. Plus, it includes a free SVG file.


To begin, you'll need to collect all of the Cricut Joy materials. This tutorial is very easy so you probably already have the supplies on hand. I'll also provide you with a list of the must-haves below.
How To Make The Handmade Best Dad Ever Mug
This handmade mug is the perfect gift for dad on Father's Day, birthdays, or even Christmas. It could even be a great gift for a first-time dad. Have your children get hands on the process by allowing them to choose the mug or vinyl color.

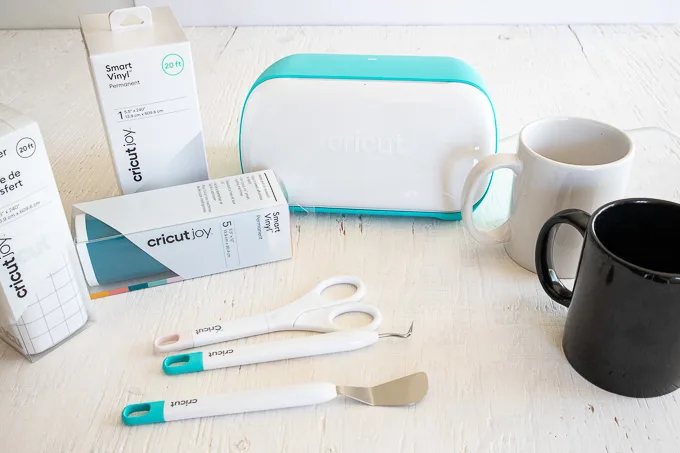
Supplies Needed:
- Best Dad Ever SVG File
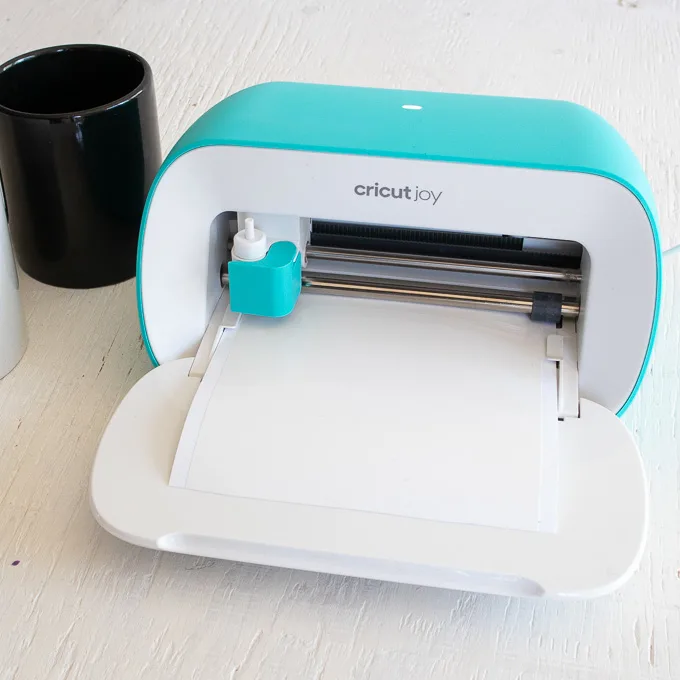
- Cricut Joy (or other cutting machine) with Fine Point Blade
- StandardGrip Mat
- Cricut Smart Vinyl, Permanent (in a contrasting color of your choosing – ie. white vinyl for a black mug or teal (from Beachside Sampler) vinyl for a white mug)
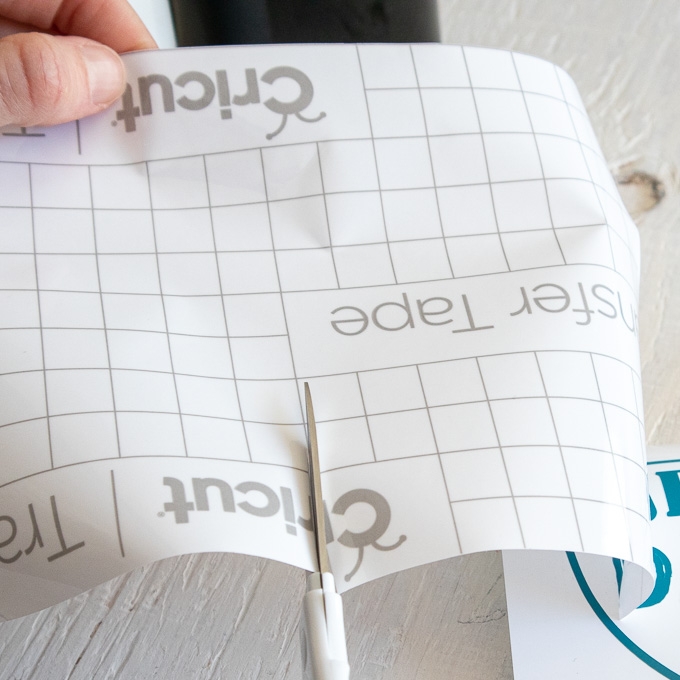
- Cricut Transfer Tape
- Ceramic Mug (in the color of your choice)
- Scissors
- Weeder tool
Preparing the Images:
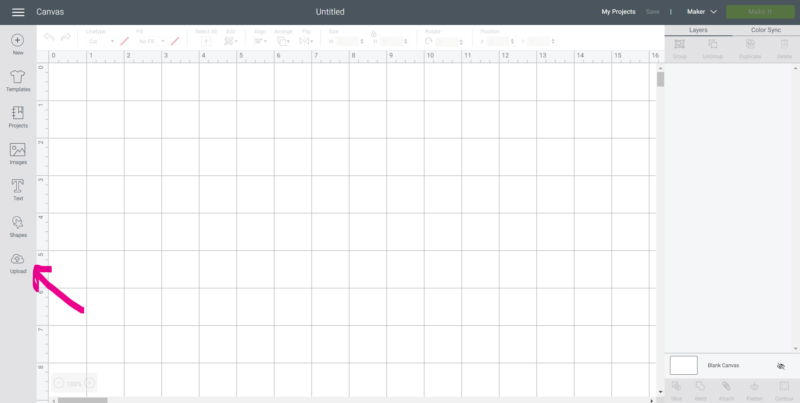
1. Open Cricut Design Space.
2. Click on the “+” sign to start a new project, opening up a blank canvas.
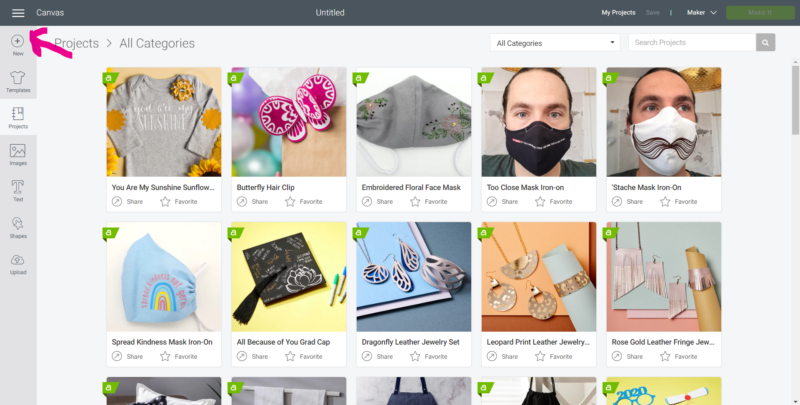

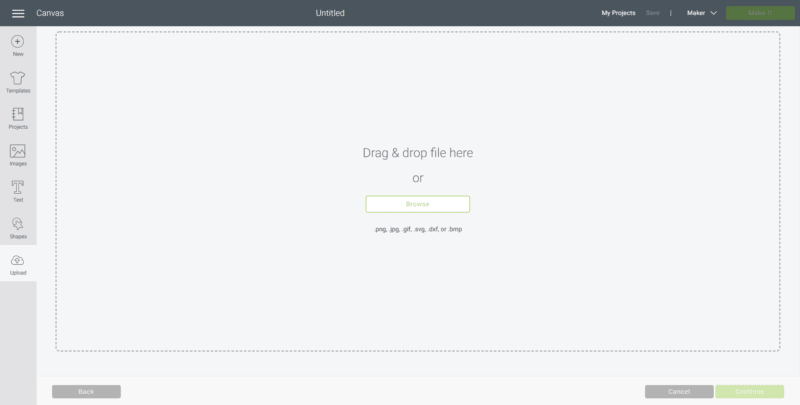
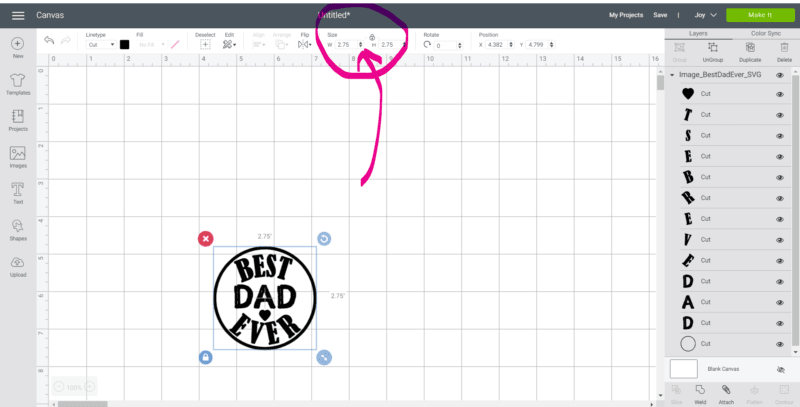
3. Click on the “Upload” button from the toolbar and browse your downloaded files to insert the SVG file.


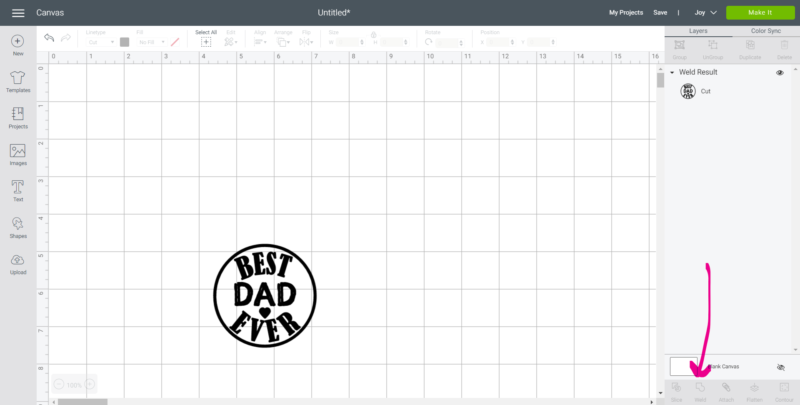
4. The cut image will appear on the canvas.
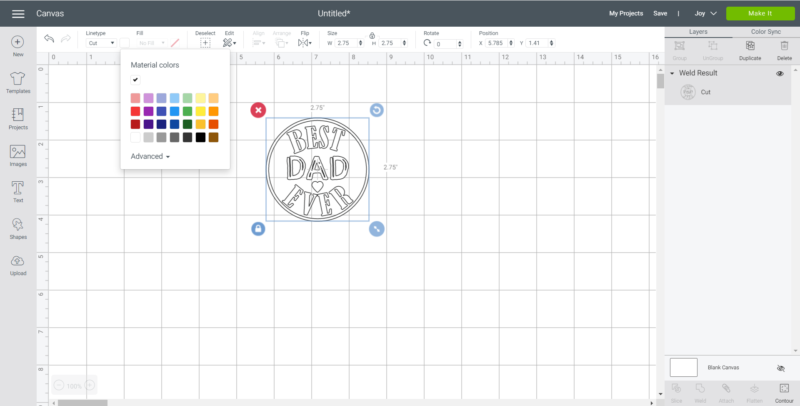
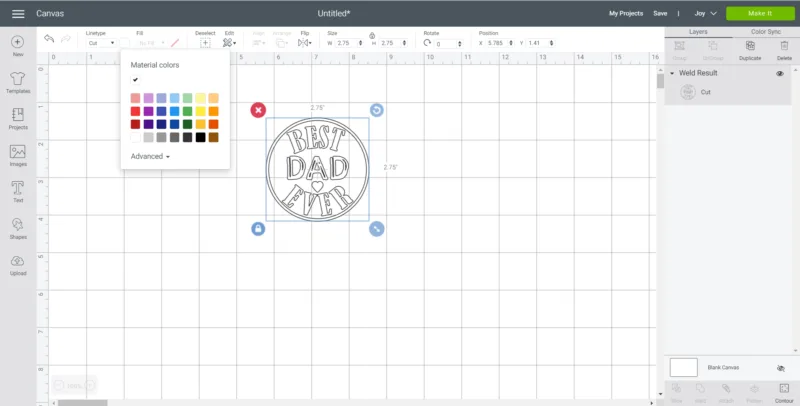
5. With the image selected, click on the “Weld” button to secure all parts of the image together for cutting.
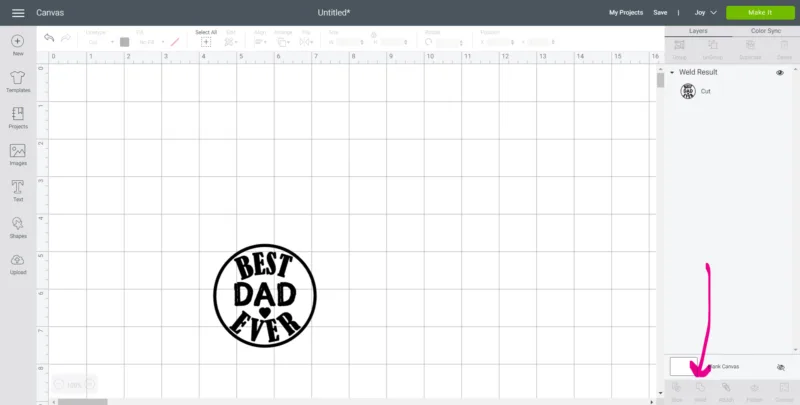
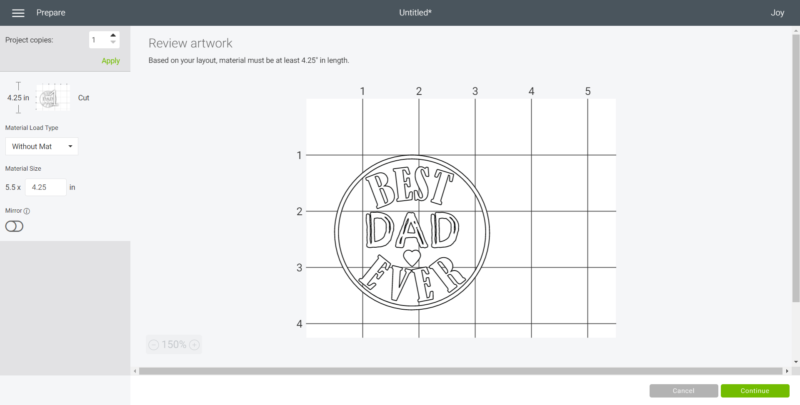
6. Maintain the size (2.75” high) or adjust to fit your mug. To adjust the size, highlight the image and click on the size box in the top toolbar. Change the measurement to suit your mug size accordingly.

7. Change the image color if desired to match with the material color.
Cutting the Permanent Smart Vinyl:

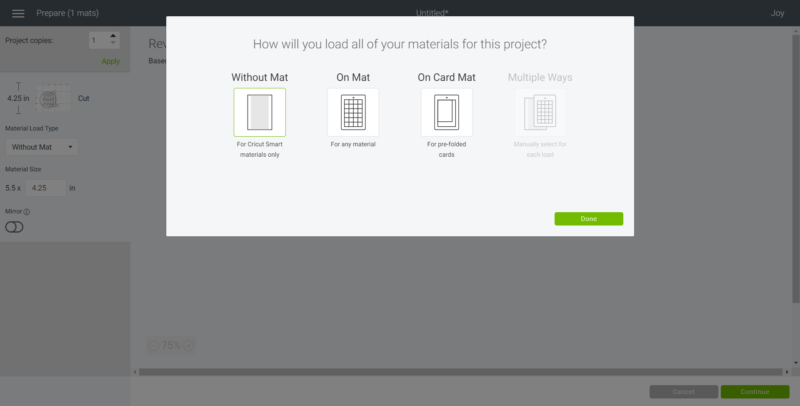
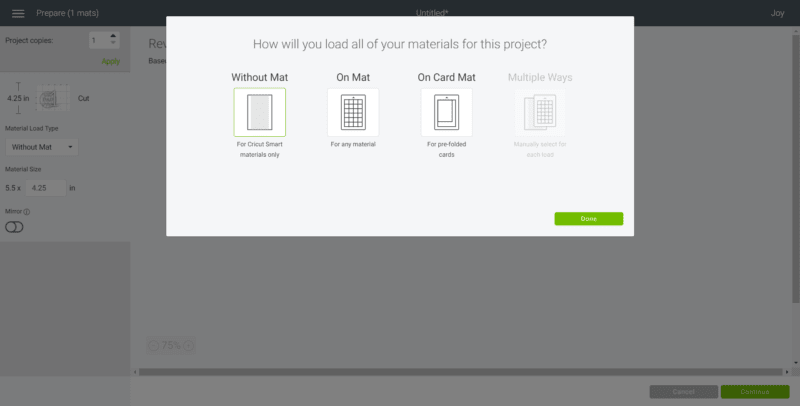
8. Select “Make It” in the upper right corner to proceed with cutting.
9. If using Cricut Joy Smart Vinyl, choose “no mat” for cutting.
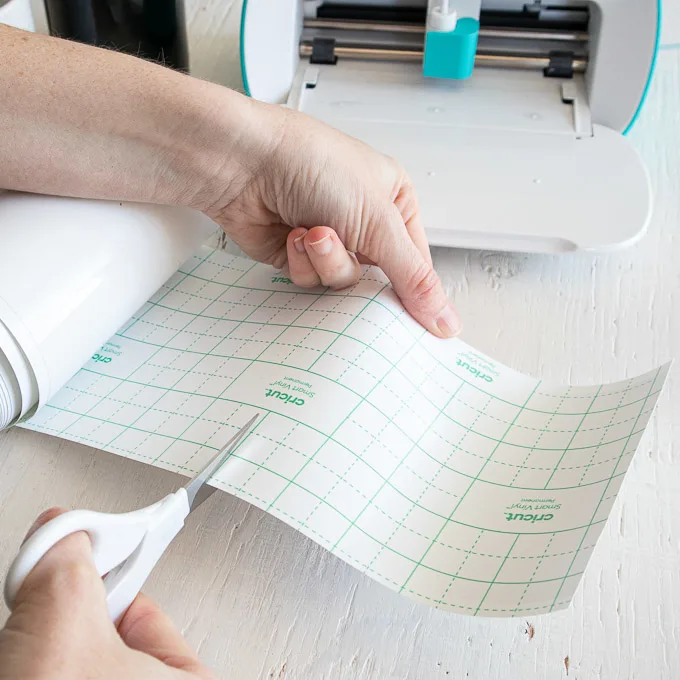
10. Note the size of the Smart Vinyl needed and cut the length of the vinyl accordingly. In this case, cut the vinyl to 4.25” long.
11. Choose the Smart Vinyl, Permanent from the list of options in the drop down menu.

12. Following the instructions prompted on the screen, cut out the vinyl.
How to Assemble the Dad Mugs
1. Gather supplies.
2. Thoroughly wash mugs with soap and hot water and let them dry completely before using.

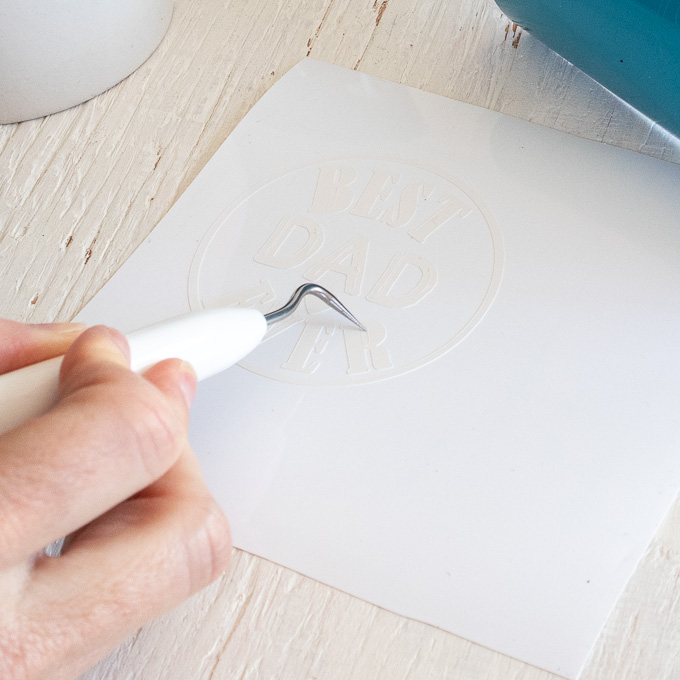
3. Cut around the image with a pair of scissors.
4. Using the weeding tool, peel away the excess vinyl around the cut images and discard.


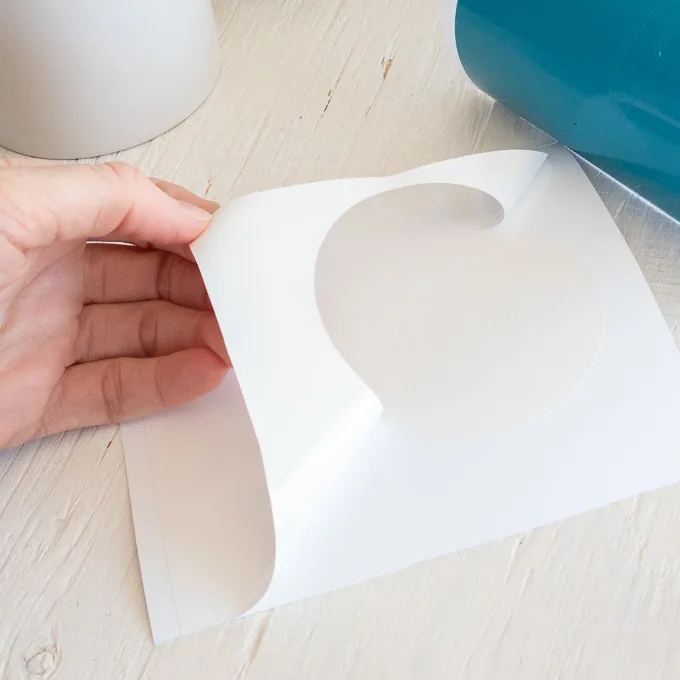

5. Cut a piece of transfer tape a bit larger than the size of the image.
6. Peel away the transfer tape backing and place the transfer tape overtop of the cut image. Gently rub the vinyl to help it stick to the transfer tape.


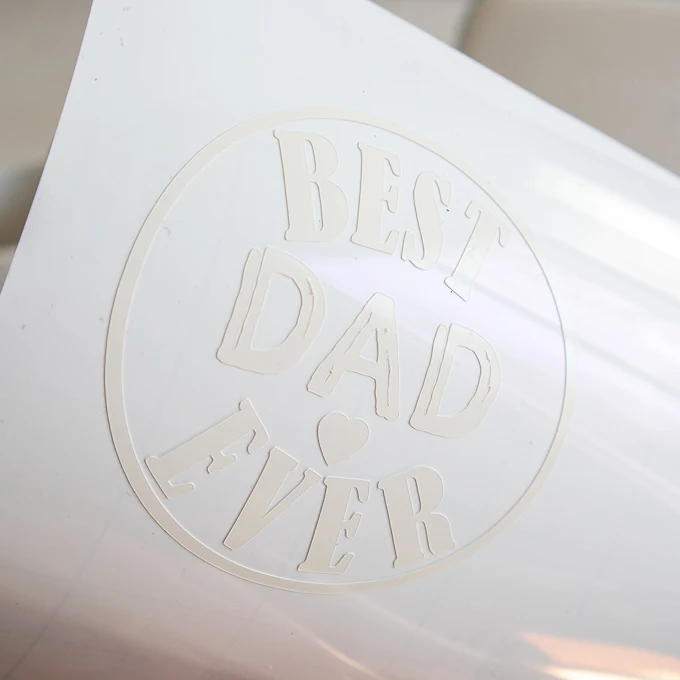
7. Peel away the vinyl backing, leaving just the image adhered to the transfer tape.
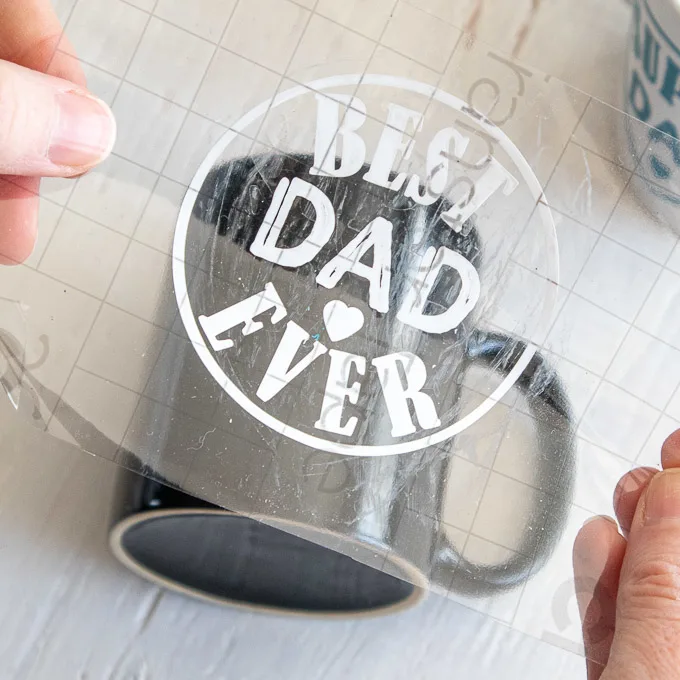
8. Carefully consider the placement before applying as the permanent vinyl can’t be removed if placed incorrectly. Position the image with the transfer tape on to the smooth side of the mug and press in place.
9. Press the image down with your fingers or with the Cricut scraping tool to help it to stick to the mug.
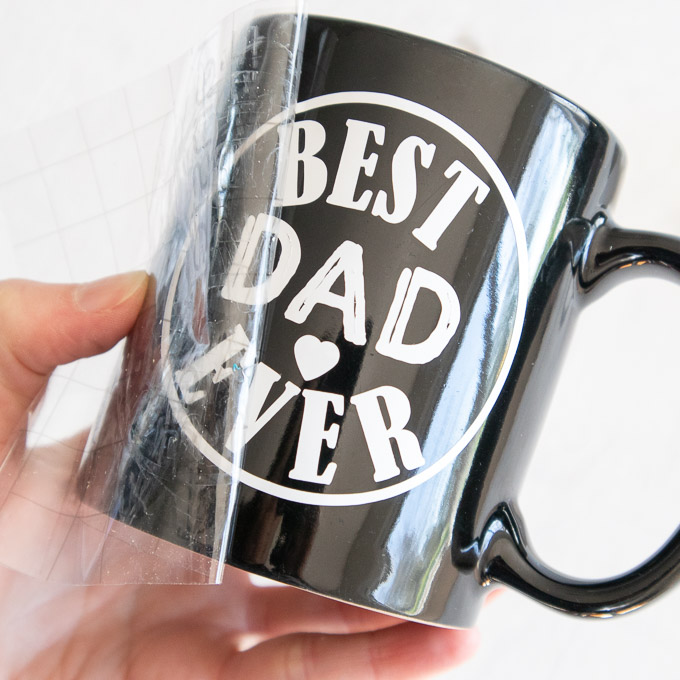
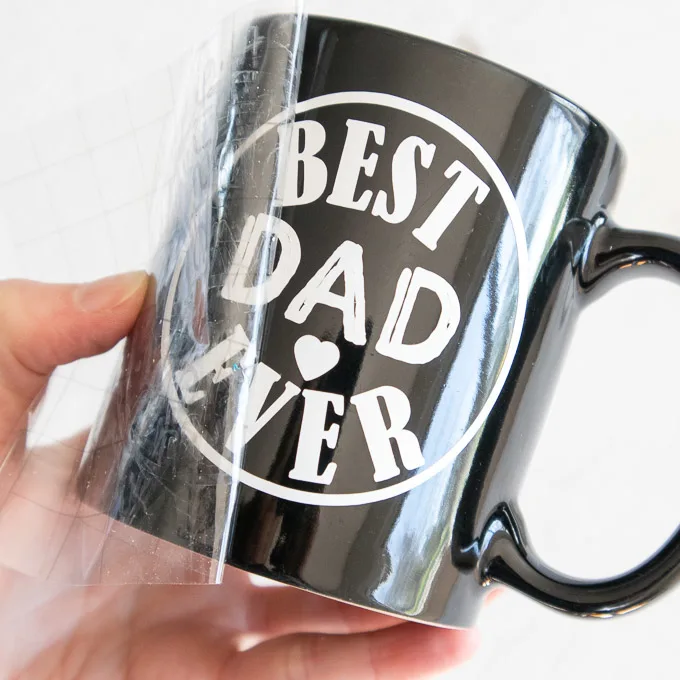
10. Slowly remove the transfer tape leaving the vinyl image on the mug.

If you're looking for more things to create with your Cricut Joy, be sure to check out my latest creations:
You can also visit the Cricut Inspiration page for more ideas!

… [Trackback]
[…] Find More on on that Topic: butfirstjoy.com/handmade-best-dad-ever-mug-cricut-joy/ […]
Embroidered Blouse
… [Trackback]
[…] Read More here on that Topic: butfirstjoy.com/handmade-best-dad-ever-mug-cricut-joy/ […]
… [Trackback]
[…] There you will find 37365 more Info on that Topic: butfirstjoy.com/handmade-best-dad-ever-mug-cricut-joy/ […]
… [Trackback]
[…] Information to that Topic: butfirstjoy.com/handmade-best-dad-ever-mug-cricut-joy/ […]
… [Trackback]
[…] Find More Info here to that Topic: butfirstjoy.com/handmade-best-dad-ever-mug-cricut-joy/ […]
… [Trackback]
[…] Read More here on that Topic: butfirstjoy.com/handmade-best-dad-ever-mug-cricut-joy/ […]
… [Trackback]
[…] Info to that Topic: butfirstjoy.com/handmade-best-dad-ever-mug-cricut-joy/ […]
… [Trackback]
[…] Find More Info here to that Topic: butfirstjoy.com/handmade-best-dad-ever-mug-cricut-joy/ […]
… [Trackback]
[…] There you can find 70066 more Information to that Topic: butfirstjoy.com/handmade-best-dad-ever-mug-cricut-joy/ […]
… [Trackback]
[…] Info on that Topic: butfirstjoy.com/handmade-best-dad-ever-mug-cricut-joy/ […]
… [Trackback]
[…] Read More Info here to that Topic: butfirstjoy.com/handmade-best-dad-ever-mug-cricut-joy/ […]
… [Trackback]
[…] Read More Information here on that Topic: butfirstjoy.com/handmade-best-dad-ever-mug-cricut-joy/ […]
… [Trackback]
[…] Information to that Topic: butfirstjoy.com/handmade-best-dad-ever-mug-cricut-joy/ […]
… [Trackback]
[…] Information to that Topic: butfirstjoy.com/handmade-best-dad-ever-mug-cricut-joy/ […]
… [Trackback]
[…] Information to that Topic: butfirstjoy.com/handmade-best-dad-ever-mug-cricut-joy/ […]
… [Trackback]
[…] Information on that Topic: butfirstjoy.com/handmade-best-dad-ever-mug-cricut-joy/ […]
… [Trackback]
[…] Info to that Topic: butfirstjoy.com/handmade-best-dad-ever-mug-cricut-joy/ […]
… [Trackback]
[…] Read More Info here on that Topic: butfirstjoy.com/handmade-best-dad-ever-mug-cricut-joy/ […]
… [Trackback]
[…] Read More to that Topic: butfirstjoy.com/handmade-best-dad-ever-mug-cricut-joy/ […]
… [Trackback]
[…] Info on that Topic: butfirstjoy.com/handmade-best-dad-ever-mug-cricut-joy/ […]
… [Trackback]
[…] Find More Information here to that Topic: butfirstjoy.com/handmade-best-dad-ever-mug-cricut-joy/ […]
… [Trackback]
[…] Information on that Topic: butfirstjoy.com/handmade-best-dad-ever-mug-cricut-joy/ […]
… [Trackback]
[…] Read More here to that Topic: butfirstjoy.com/handmade-best-dad-ever-mug-cricut-joy/ […]
… [Trackback]
[…] Find More here to that Topic: butfirstjoy.com/handmade-best-dad-ever-mug-cricut-joy/ […]
… [Trackback]
[…] Find More Information here to that Topic: butfirstjoy.com/handmade-best-dad-ever-mug-cricut-joy/ […]