
After seeing this idea in a lot of my craft groups, I figured I'd share a tutorial on how to make a paper flower shadow box with Cricut.
This is a project I've always wanted to attempt because it used mixed materials which I always appreciate. Plus, using paper and crafting with my hands is basically my love language.
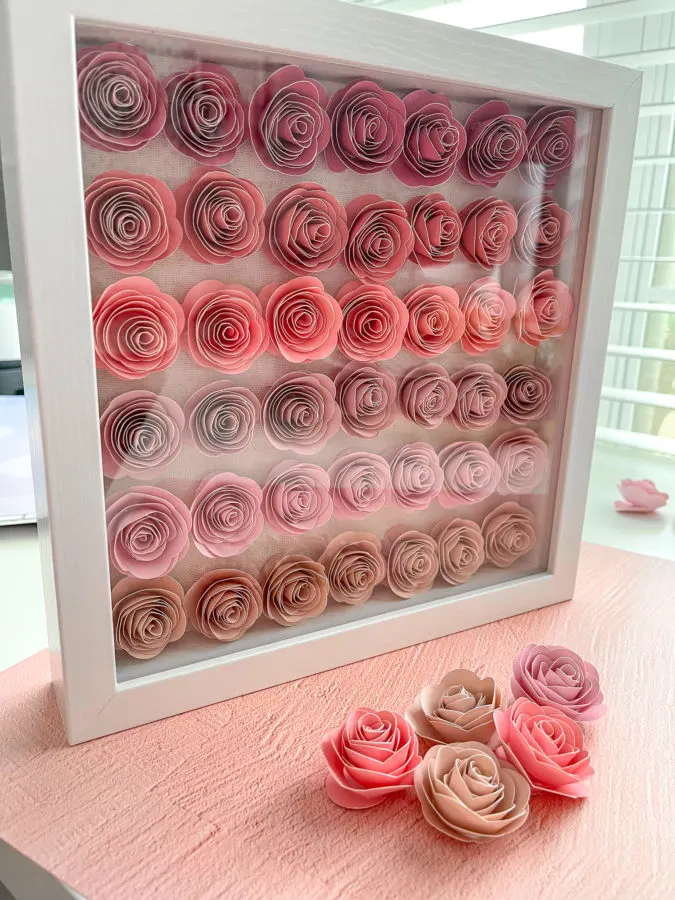
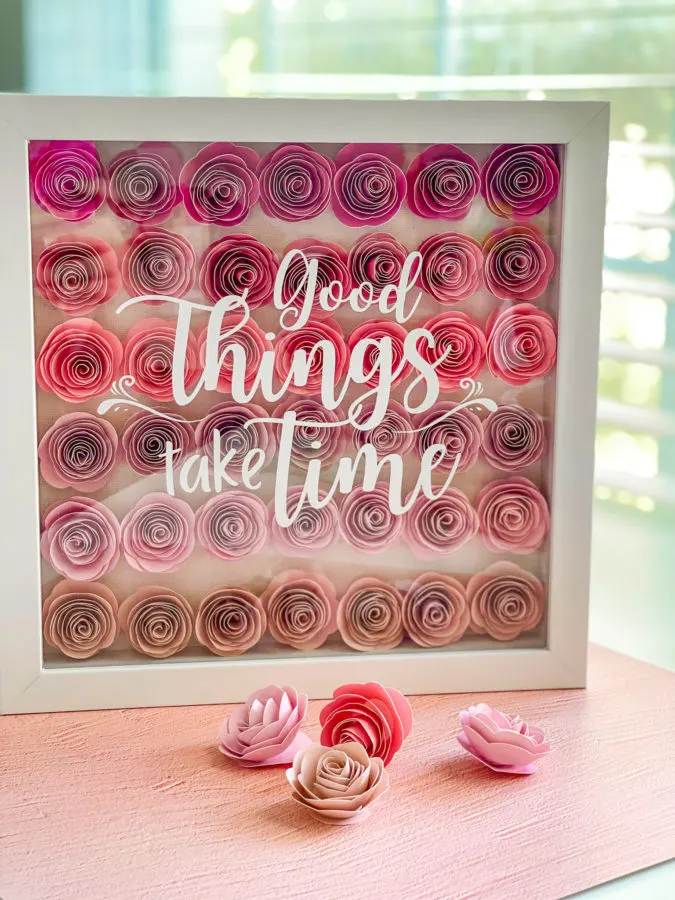
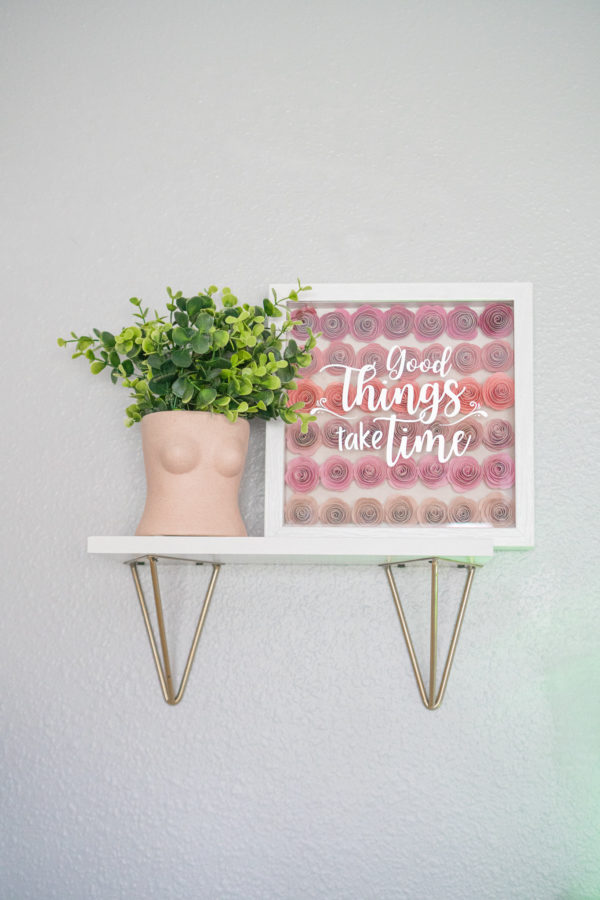
The paper flower shadow box decor I made is specifically for my home office. I've been strict this lately about doing nice things for myself. So, rather than creating this shadow box as a gift, I made it as something that will inspire me every time I see it.

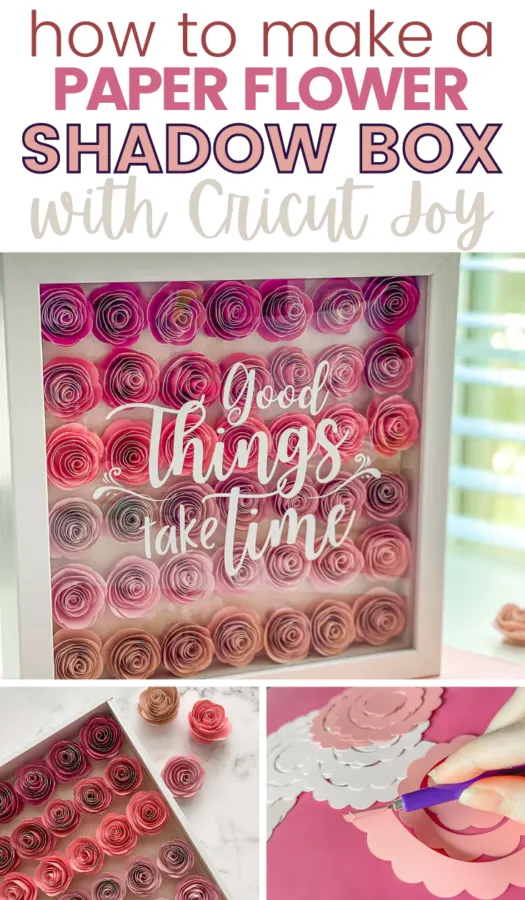
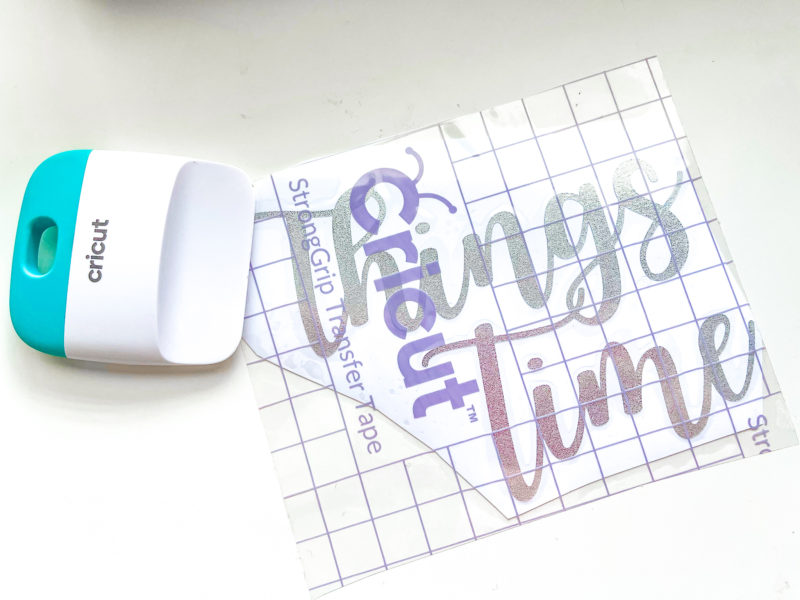
The quote on the outside is something that really speaks to me. It randomly came to me and has been my motto for the year, “Good Things Take Time“.
Rather than buying an SVG from Etsy, I decided to put my time into designing this quote in Canva. I wanted to not only use fonts that I personally love, but I wanted to challenge myself. Plus, I needed the shape and sizing to be just right for my 9×9 shadow box.
You can grab the “Good Things Take Time” SVG here if you'd like to use the same quote. However, I highly encourage you to choose a quote that resonates with you or the recipient of this DIY shadow box decor.
If the quote I used inspire you, as it does me, then feel free to use it! I only ask that you don't distribute it to others, but refer them to this post instead.
Before beginning, I recommend subscribing to Cricut Access for over 100k images and thousands of beautiful fonts for your Cricut designs. It's not a requirement for this tutorial but it makes creating so much more fun!
Cricut Paper Flower Shadow Box Supplies
- Cricut Design Space Item #: M64E1075 (for paper flowers) (Size to 4 inches width)
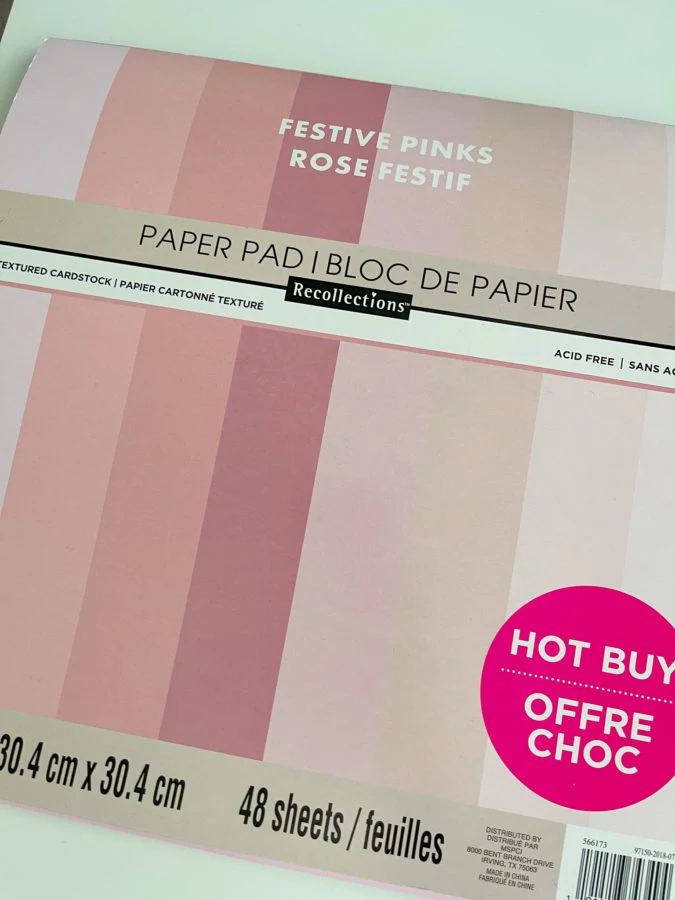
- Pack of cardstock (65-80 lb) in the colors of your choice – Use at least 6 different colors for an ombré paper flower shadow box.
IMPORTANT: Be sure the cardstock is double sided. The colors should be on both sides. - Cricut Joy (or other Cricut Cutting Machine)
- StandardGrip Mat
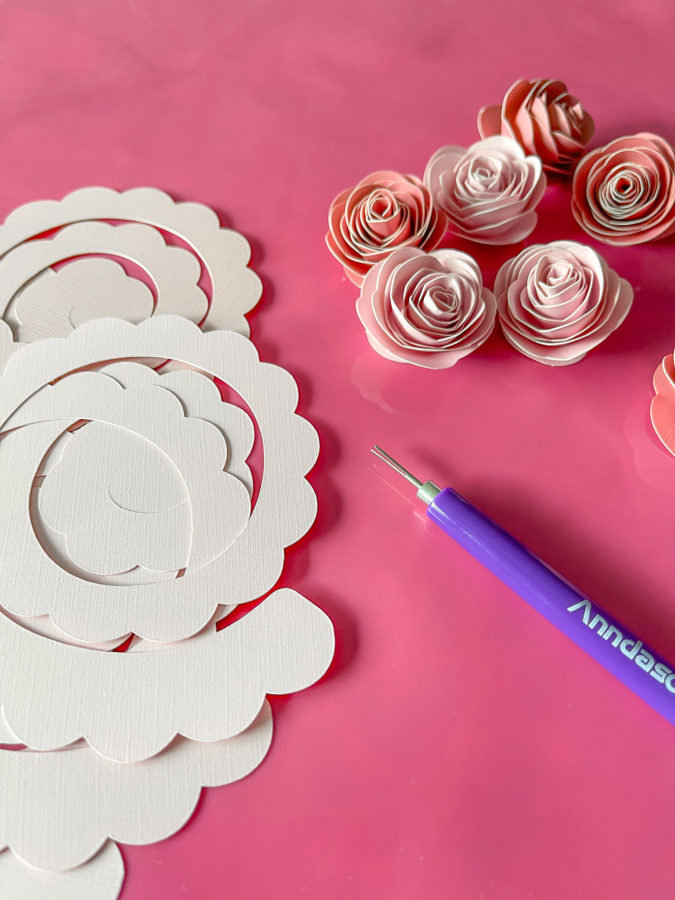
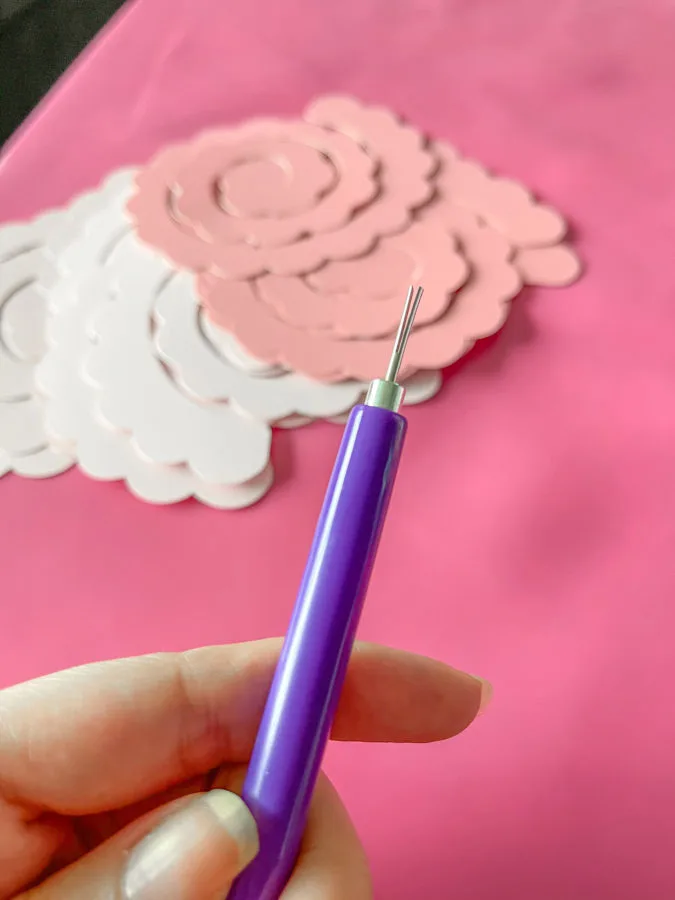
- Quilling tool
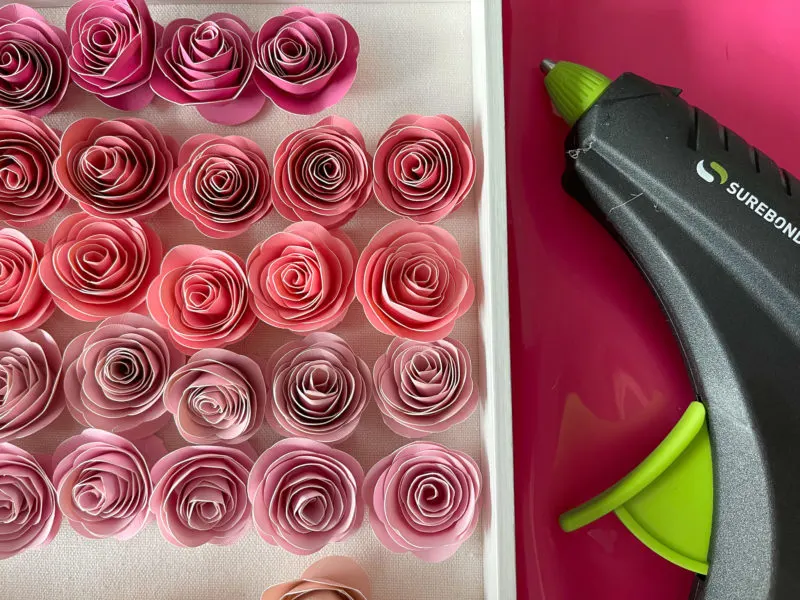
- Hot Glue Gun (Surebonder is my favorite because it doesn't need to be plugged in)
- 9×9 Shadow Box (I use Studio Decor brand)
- Smart Permanent Vinyl Shimmer – Silver
- Cricut Tool Set (you'll need the weeding tool and scraper)
- StrongGrip Transfer Tape
Grab the Free Quote SVG for this Project
Click the photo below or click here to grab the free “Good Things Take Time” Quote SVG!

How to Make Paper Flower Shadow Box with Cricut
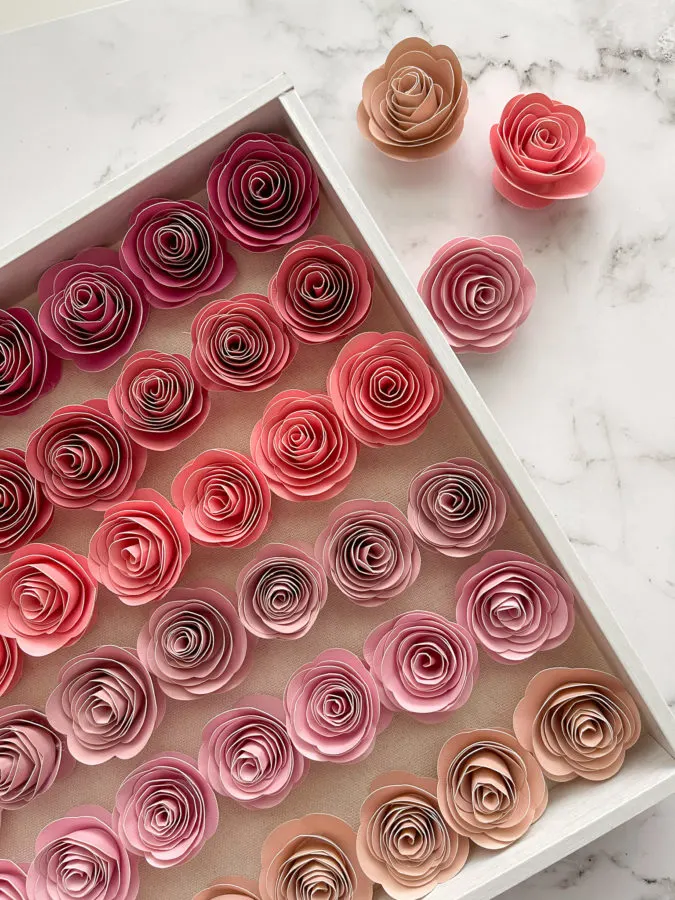
The flowers I made on my Cricut Joy used the item #:M64E1075 in Cricut Design Space. I sized these to 4 inches wide, 3 per sheet.

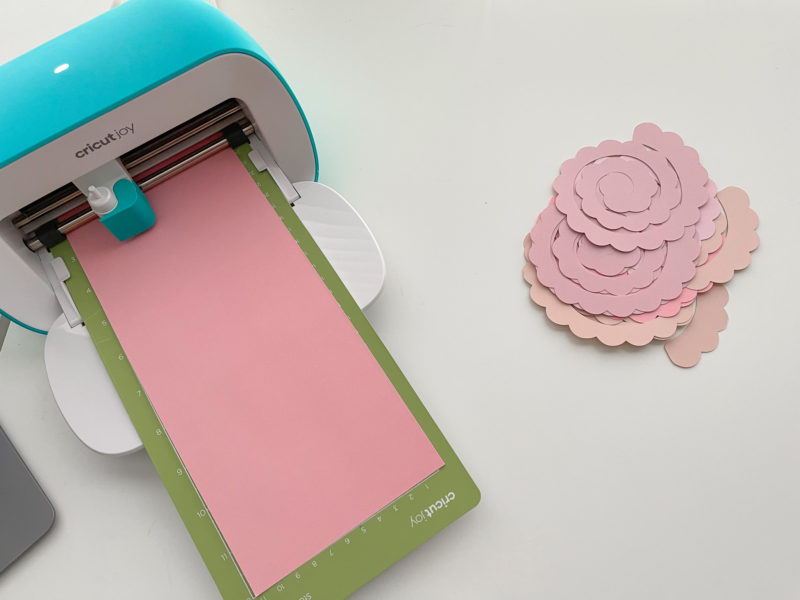
1. First, you'll trim the cardstock to fit your mat. If you're using the Cricut Joy, I'd recommend trimming of the pages ahead of time. You can make 3 flowers per StandardGrip Cricut Joy mat, so trim this size: 4.5 x 12.
2. You will need 14 – 4.5 x 12 strips, which is enough to make 42 flowers for your 9×9 Shadow Box.
3. In Cricut Design Space, size the flower as needed and duplicate it by 3.
4. Place your cardstock on the cut mat and press down using scraper tool.
5. Click “Make It” and using the “Medium Cardstock – 80lb” setting. Don't worry, this setting is perfect even if you're using 65lb cardstock.
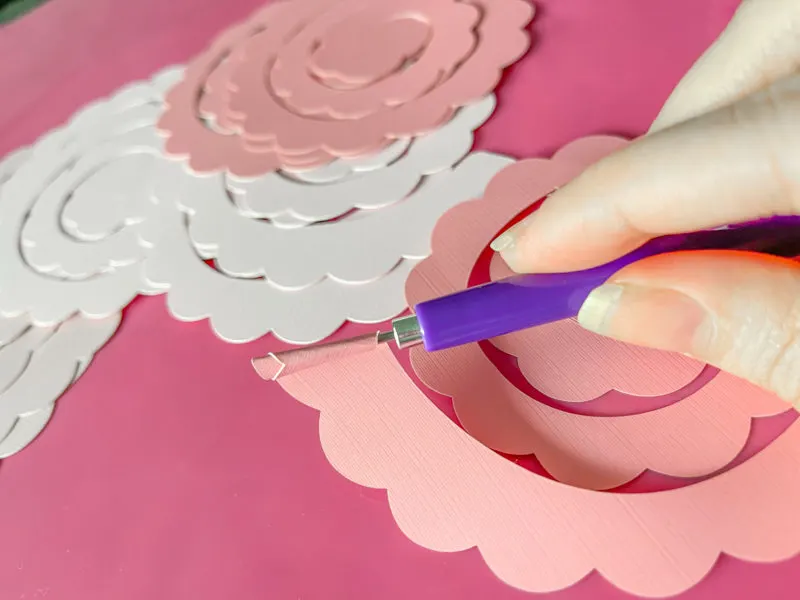
6. You should easily be able to weed everything in one slow pull of the extra cardstock. Then, carefully peel the mat off of the flower cuts (to avoid bending the cardstock).
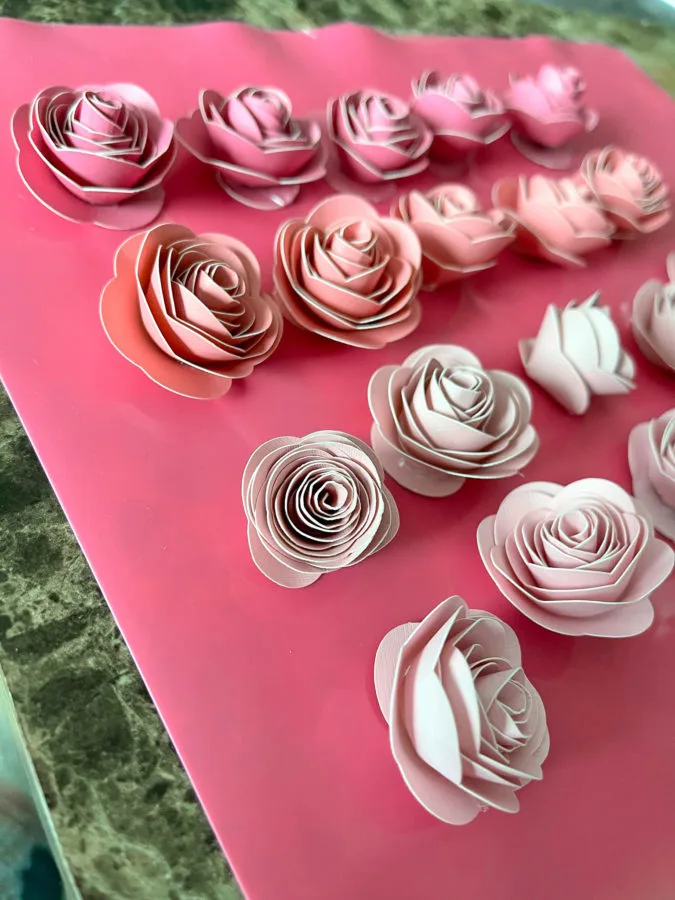
*Make 7 flowers – per color (6 colors).
You will be making 6 rows. If you'd like your shadow box to be more full, then you'll make 48 flowers, using 7 different cardstock colors.


How to Assemble Paper Flowers with Cricut Joy (or other machine)
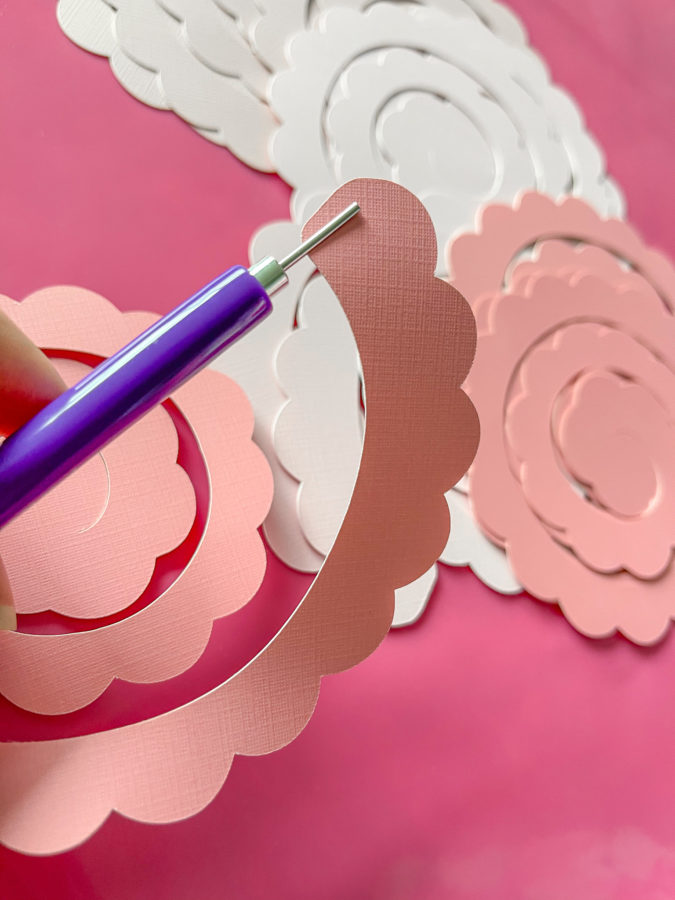
7. Using your quilling tool, slide the outer end of a flower into the slot.
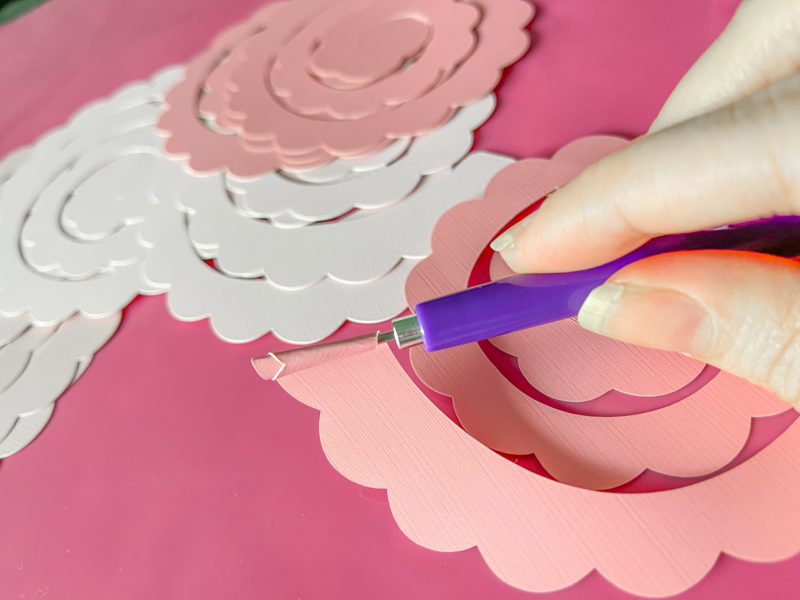
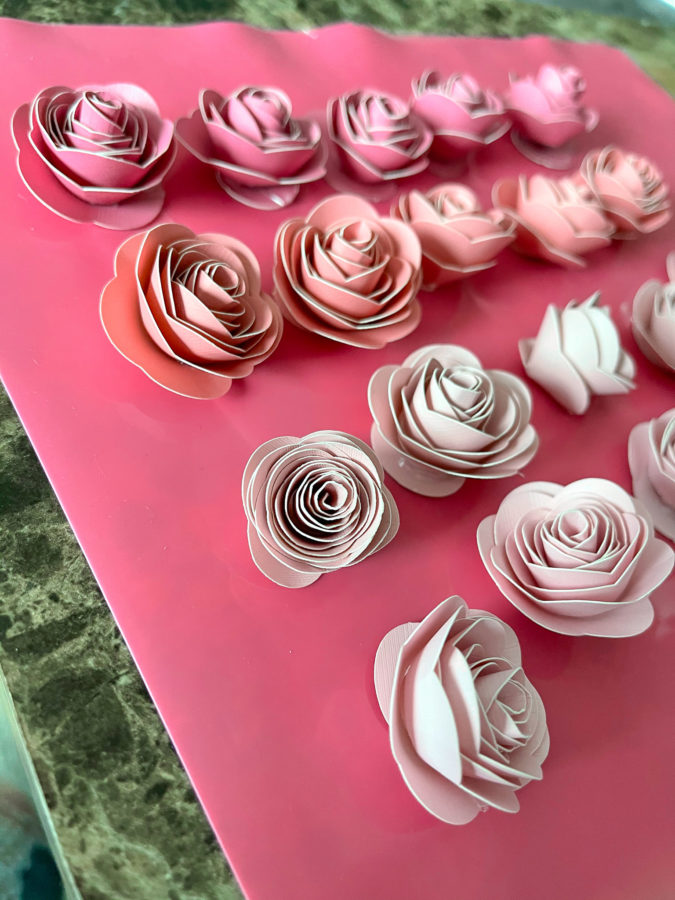
8. Next, you'll carefully roll the paper by spinning the tool with one hand and shaping the flower/holding it into place with the other. Keep it nice and tight).
9. When you reach the end, pull the quilling tool away from the paper flower and let the flower loosen in your hand.
10. At this point you can flip the flap at the end under the flower and glue it with a hot glue gun.
11. If you'd prefer, you can wait until you finish rolling all of your flowers to hot glue them. Personally, I made flowers color-by-color and glued after completed each color (row).
Note: This process is very easy but can feel tedious. It took me around 3 days to finish all of my flowers because I needed to take breaks in between.


How to Assemble Paper Flower Shadow Box
Now is the fun, yet intimidating part – adding your flowers to the shadow box.
12. First, heat up your glue gun to prepare.
13. Next, take the back of your shadow box off of the front. You should also remove the insert, if there is one.
14. Place the back on a table (be sure it isn't upside down by checking the hanger on the back).
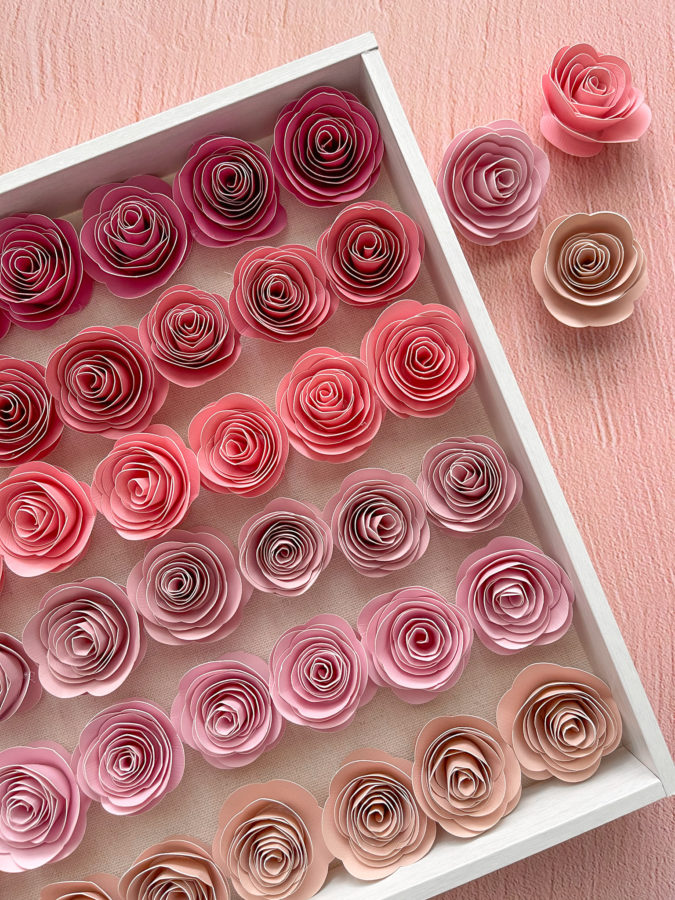
15. Align the insert perfectly with the back and begin setting up your rows. I put my darkest color at the very top, with my lightest at the bottom.
16. Once you have an idea of which colors go where and how far apart you'll be spacing the rows, you can begin hot gluing your flowers!
17. Begin, by gluing your flowers to all 4 corners. This keeps the shadow box insert in place.
18. Now, carefully fill the rows with 7 flowers each, 6 rows total. Again, you can use 7 rows if you'd prefer a more full look.
19. Press each paper flower in the center after applying glue in order to keep it from gluing crooked.
20. Now, carefully place the front of the shadowbox onto the back, securing the metal closures. Be sure flowers aren't getting stuck as you're doing this.
PRO TIP: Clean the glass inside and out before assembling the box and applying vinyl. The last thing you want is to find lint inside the box after closing it.


Apply the Vinyl to Cricut Shadow Box
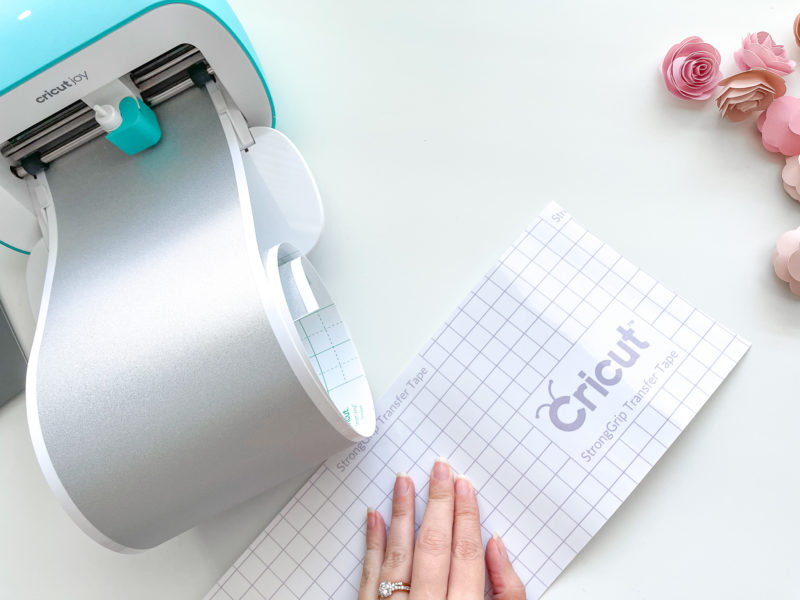
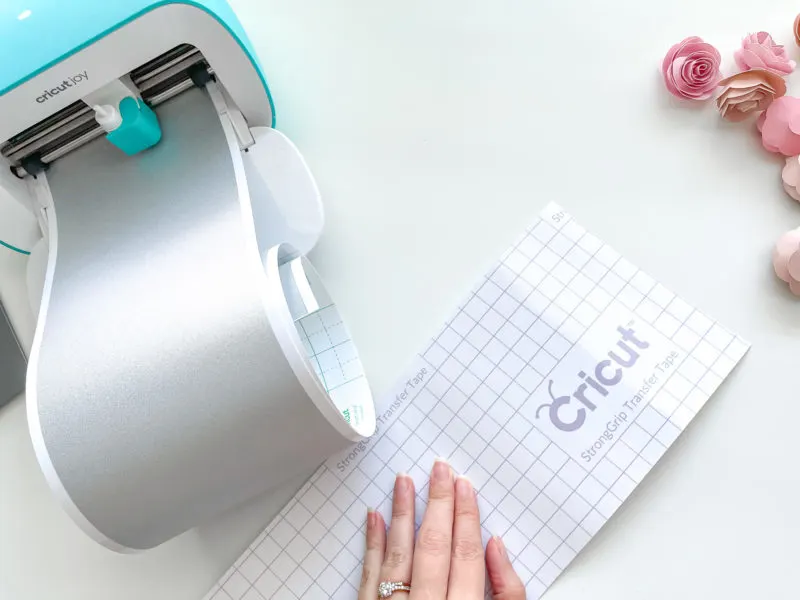
21. Finally, you'll grab the lovely Silver Shimmer Cricut Smart Vinyl and feed it into the machine, without a mat.
22. Choose the Permanent Smart Vinyl cut setting.
If your box is 9×9, your quote should be around 6.5 inches in length and width. I wouldn't recommend making it too big because you don't want to cover the beautiful flowers.
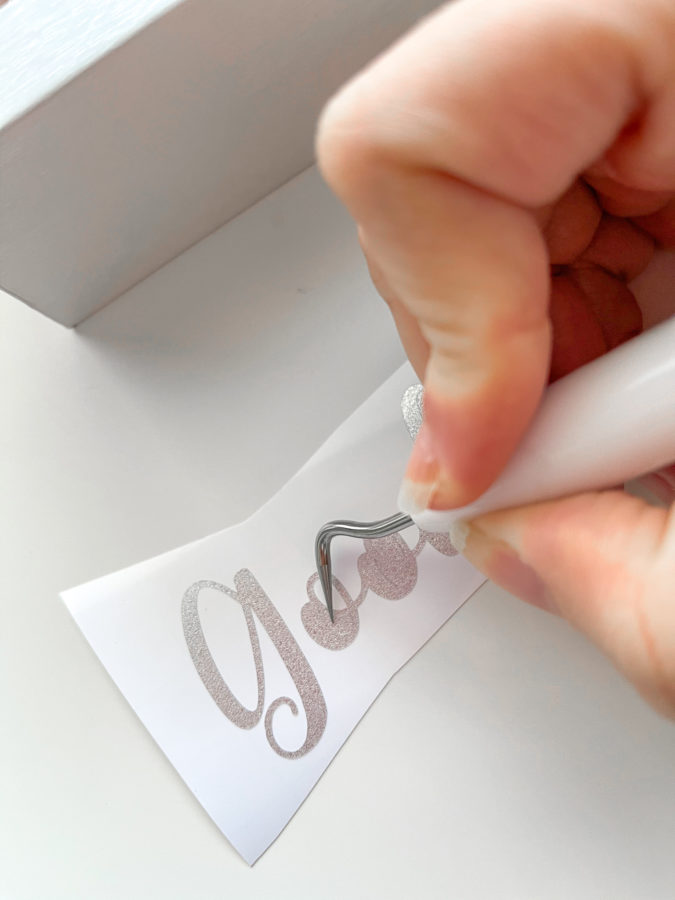
23. Weed the vinyl with your Cricut Weeding Tools and add StrongGrip Transfer Tape to the top. Use your scraper tool to firmly press transfer tape onto vinyl. Scrape the top and bottom of vinyl.

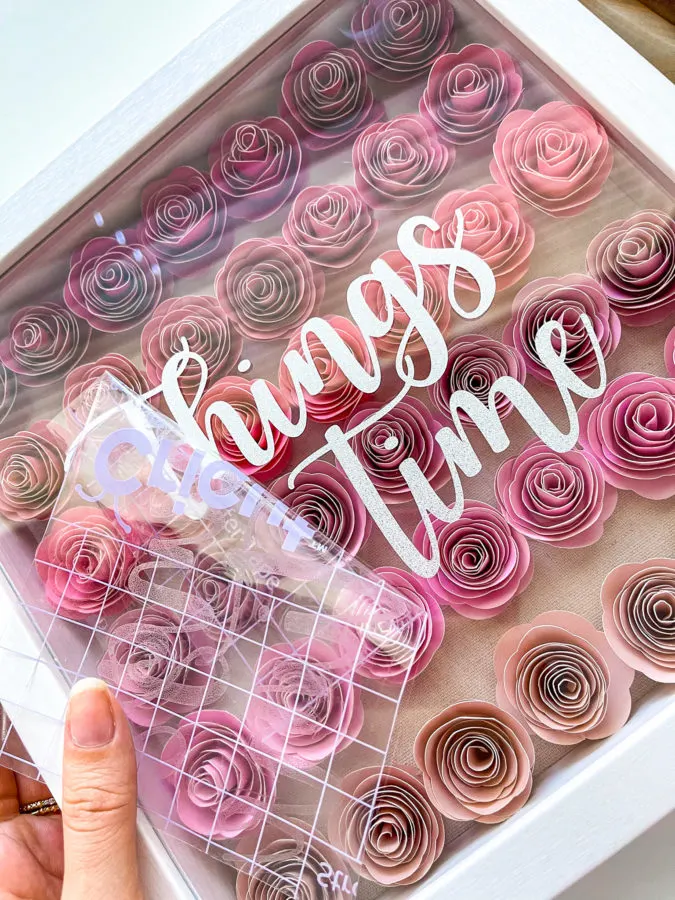
24. Carefully remove the vinyl and place in the center of your shadow box. I judge the center by counting the rows and flowers. Use your scraper tool to ensure it's pressed securely.
25. Remove transfer tape and you're done!
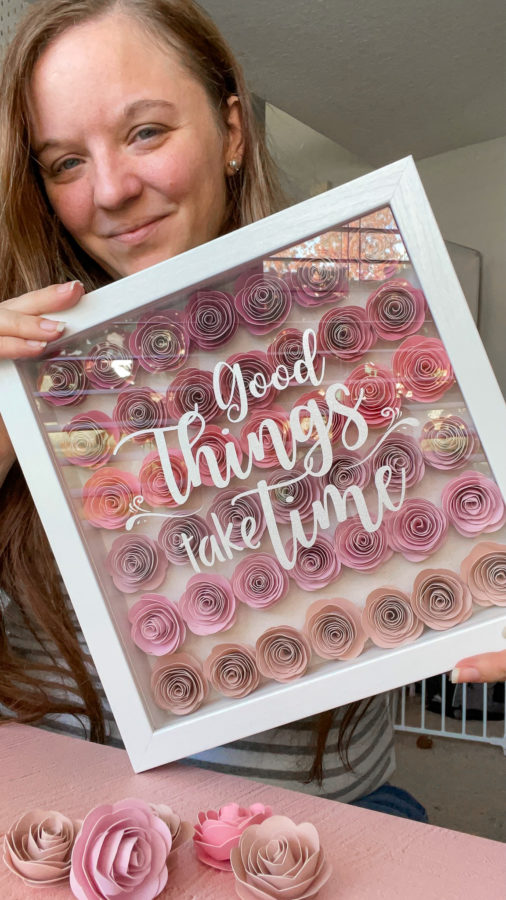
You now have a beautiful, handmade paper flower shadow box to give as a gift or for personal home decor.

This is very beautiful! I just got a new shadow box actually!