
For the longest time, I wanted to learn how to make a homemade leather journal for my spiritual work with my Cricut machine. After a lot of failed attempts, I finally figured out the right tutorial for a beautiful and easy-to-make journal.
Sending a special thank you to Cricut for sponsoring this tutorial.
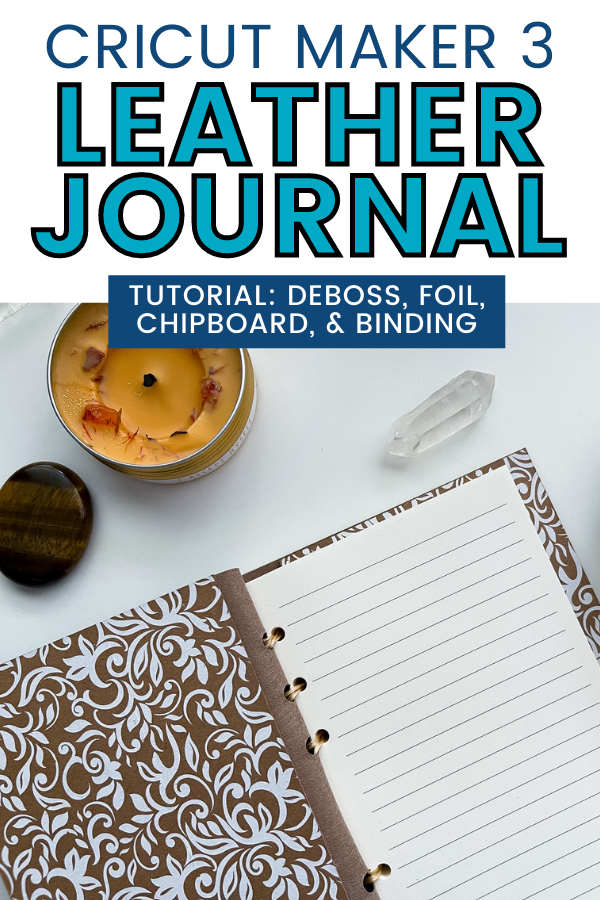

In this tutorial, I'll teach you how to make a leather journal with some of Cricut Maker 3's best blades and supplies. We will be using a variety of techniques to make a journal that will not only last, but will impress others. This is a great handmade gift idea or something great to add to your spiritual rituals. You'll be designing, cutting, and binding the entire journal yourself!
So, let's jump right in and get to making this beautiful journal from scratch!

How To Make a Homemade Leather Journal with Cricut Maker 3
To begin, I want to share that you can definitely make a journal using other Cricut machines. However, the Cricut Maker 3 offers endless possibilities. You can use a variety of blades and just about any material that you can think of.
This tutorial uses a lot of different techniques and materials, so be ready for a fun-filled and lengthy project that is 100% worth it.
While this isn't necessarily a beginner project, this tutorial makes it easy enough for anyone to do. Basically, I did all the heavy lifting and I'm laying it out for you. All you need to do is follow along closely.

Cricut Supplies You'll Need
These are all the supplies you'll need to make the exact spiritual journal that I made:
Cricut Design Space Project File
This is the project file you can use if you'd like to create the exact journal that I made. This has the design files and all the correct settings:
- Cricut Access – I highly recommend subscribing to get access to the best fonts and design files.
- My Homemade Leather Journal Project File – *IMPORTANT* This design is spaced perfectly so please try not to move anything around.
In case you need it, here's the #s to designs I used in design space:
- Lotus Flower Design: #MAC3E5C4
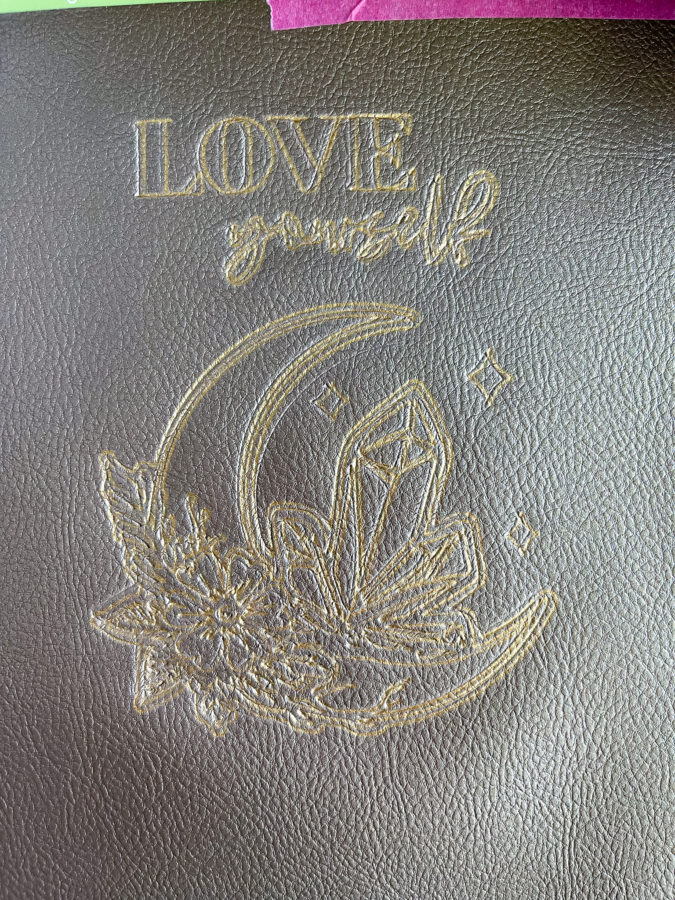
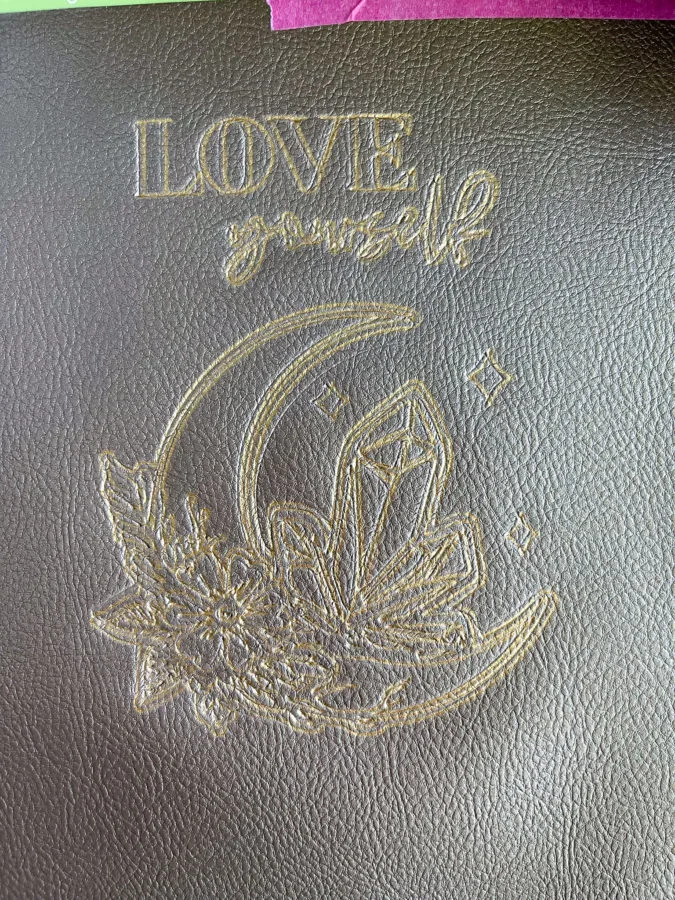
- Love Yourself Quote: #M2A00F29F
- Moon With Flowers and Crystals: #M2C8525A5
Cricut Machines & Tools
- Cricut Maker 3
- StandardGrip Machine Mat (For leather & vinyl)
- StrongGrip Mat (for Chipboard)
- Fine Tip Debossing Tool
- Knife Blade
- Foil Transfer Kit – You'll be using the BOLD tip (3 rings) and GOLD foil transfer sheets for this project.
- Premium Fine Point Blade
- Brayer
Cricut Materials:
- Cricut Faux Leather – Pebbled, Champagne
- Foil Transfer Sheets, GOLD
- Cricut Chipboard, Damask
Other Supplies You'll Need

Making The Leather Journal:
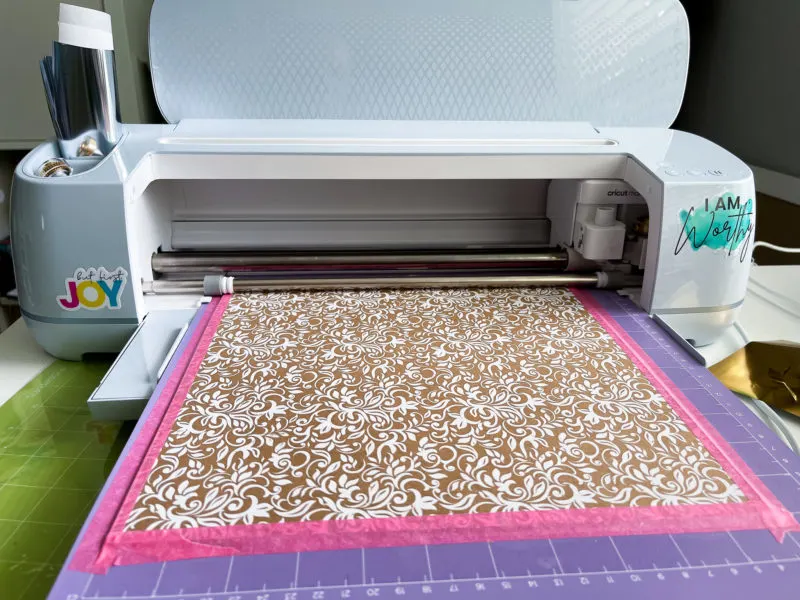
Part 1: Cutting the Chipboard
The Damask Chipboard in this project will be used on the inside of the journal's front and back cover to keep it sturdy.

1. Open the Spiritual Leather Journal Project File and click MAKE IT.
2. Choose “On Mat” for every piece of this project, as we will not be using smart materials this time around.
3. Next, add your Damask Chipboard to your StrongGrip Machine Mat using your Brayer tool.
4. Add masking tape to the sides of the chipboard to keep it in place.
5. Choose Chipboard – 1.5mm as your material.
6. Now, follow on-screen instructions to cut your design.
PLEASE NOTE: Cutting chipboard is a very long process as it takes over 10 cuts to cut all the way through the chipboard. So, plan ahead for this part of your homemade leather journal.
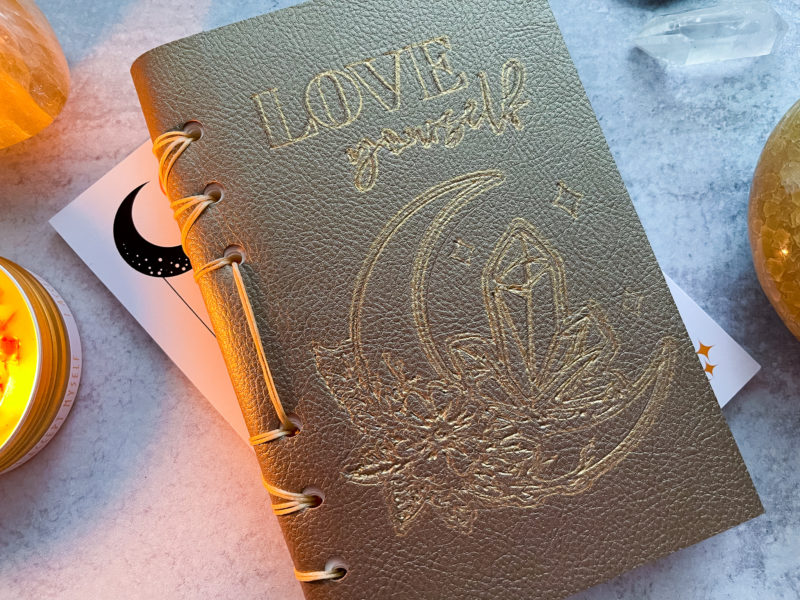
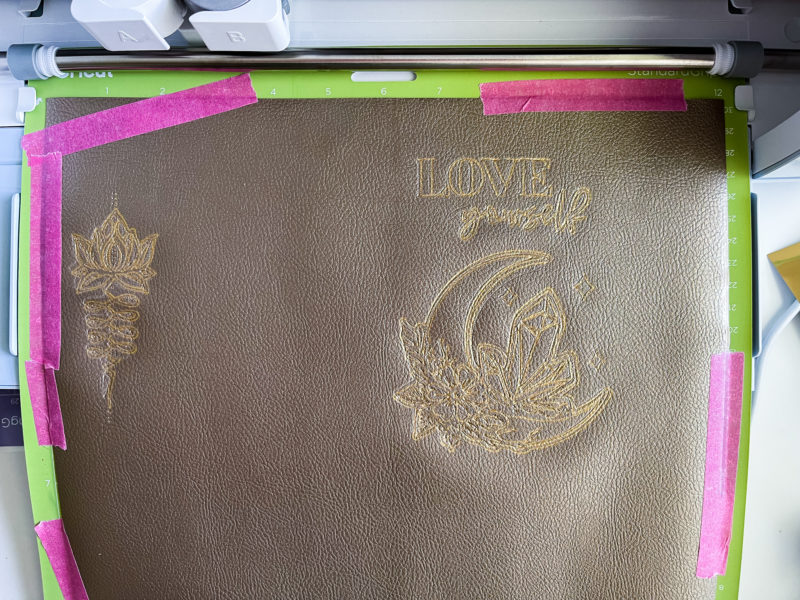
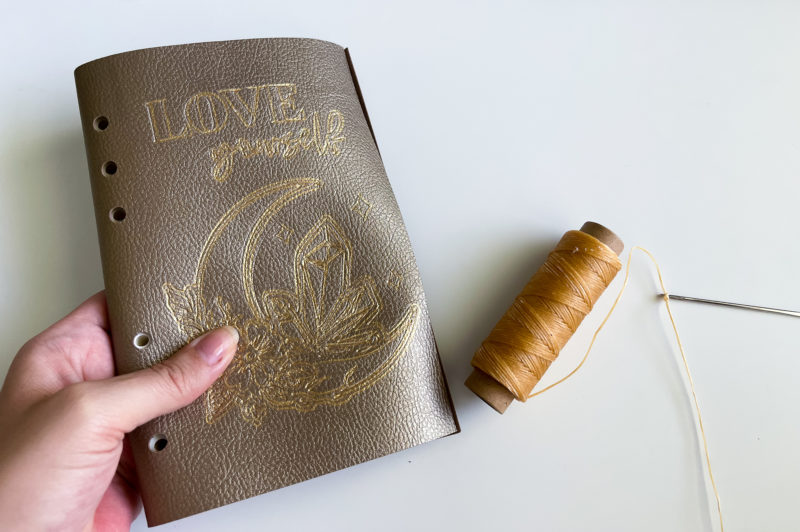
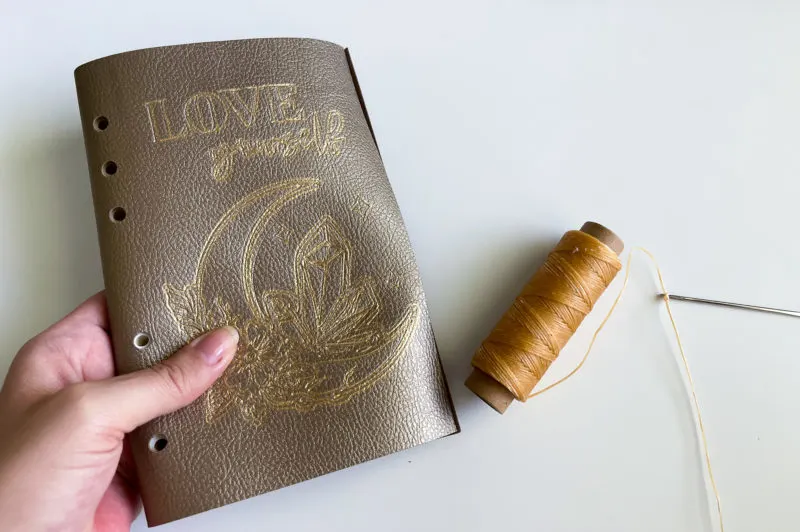
Part 2: Cutting, Debossing, and Foiling the Leather Journal Cover
Once you've cut your Cricut Chipboard portion for this project, unload your mat and remove the chipboard from the mat. Carefully remove any masking tape that may have been on the journal panels – the tape can rip the design if not careful. Set aside, as we will be using a different mat for Part 2.

1. Cricut Design Space should now direct you to switch our your blade, mat, and material. Follow the on-screen instructions.
2. The settings on the left of your screen should show “on mat” and “12×12”.
3. Now, place your Faux Leather FACE UP on your StandardGrip Machine Mat. (Pebbled side should be face up for this specific project because we will be adding designs to the top.)
4. Use your Brayer tool to make sure the leather will stay in place.
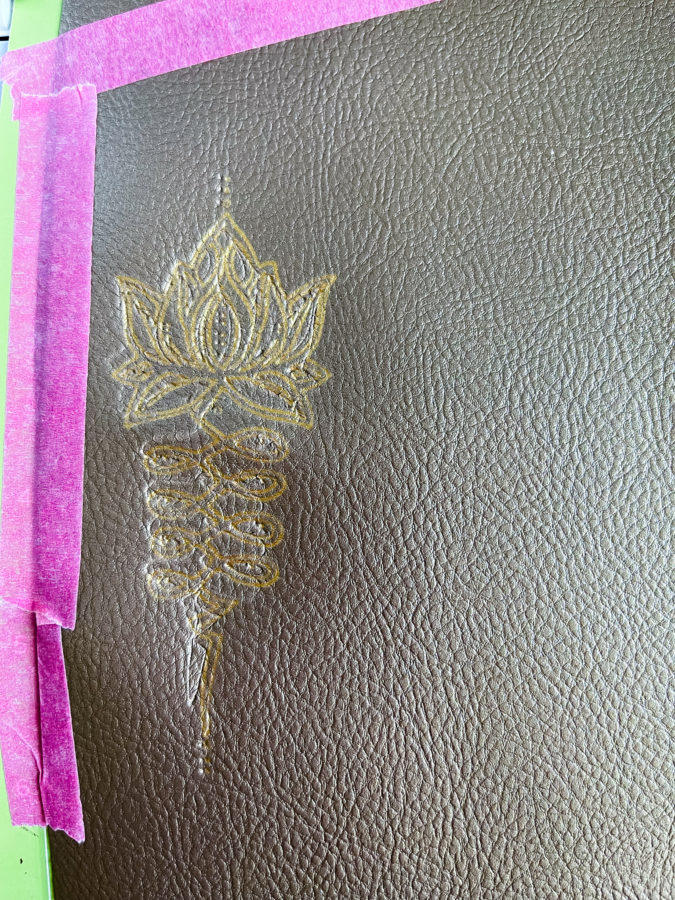
Debossing:
Cricut Design Space will begin with the Debossing portion of the design. Follow the on-screen instructions:
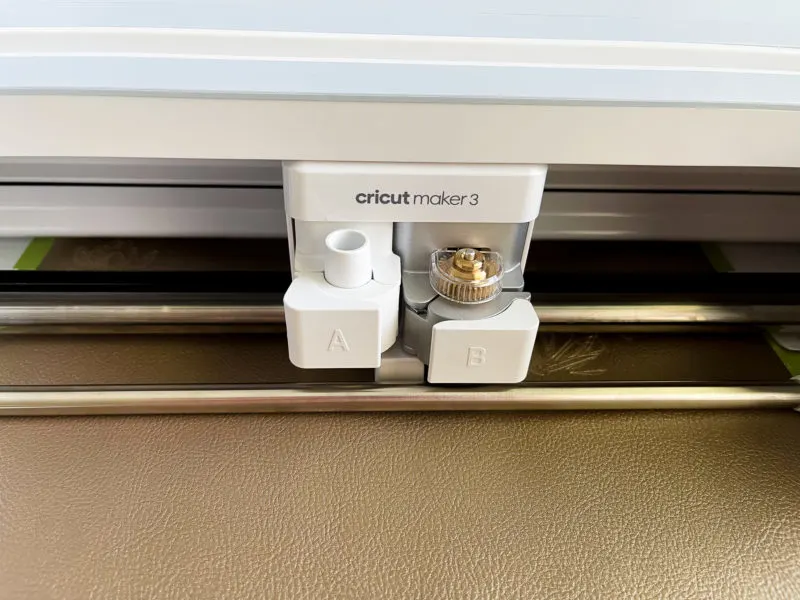
5. Place the Debossing tool in Clamp B.
6. Next, insert Mat and push cut.
IMPORTANT: After the machine is done cutting – DO NOT remove the mat from your machine. You need everything to be in place for the debossing and gold foil transfer to align perfectly.
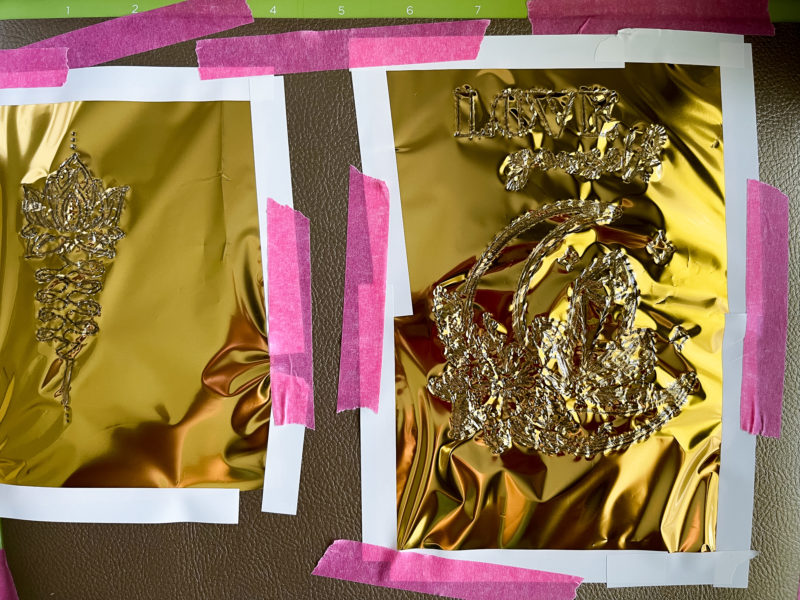
Foiling:
At this point, the on-screen instructions should tell you to prepare for the FOILING portion of the handmade Cricut journal. This is what to do next:


7. Insert the BOLD Foil tool into Clamp B for this part. The BOLD tip is the one with 3 circles around the base of the tip.
8. Very carefully, tape the gold foil over the debossed portion of the design with the GOLD FOIL FACING UP. The kit includes tape or you can use your own masking tape.
TIPS FOR WORKING WITH CRICUT FOIL:
- Be sure the foil is stretched as tight as possible over the debossed design. Don't leave any loose parts.
- Tape every side and corner of the foil. This is very important as the foil with fold and crinkle, if not.
- Cut the foil to fit over the design prior to taping on. Don't put too much extra foil JUST IN CASE the tip touches a part of the design you don't want to be foiled.
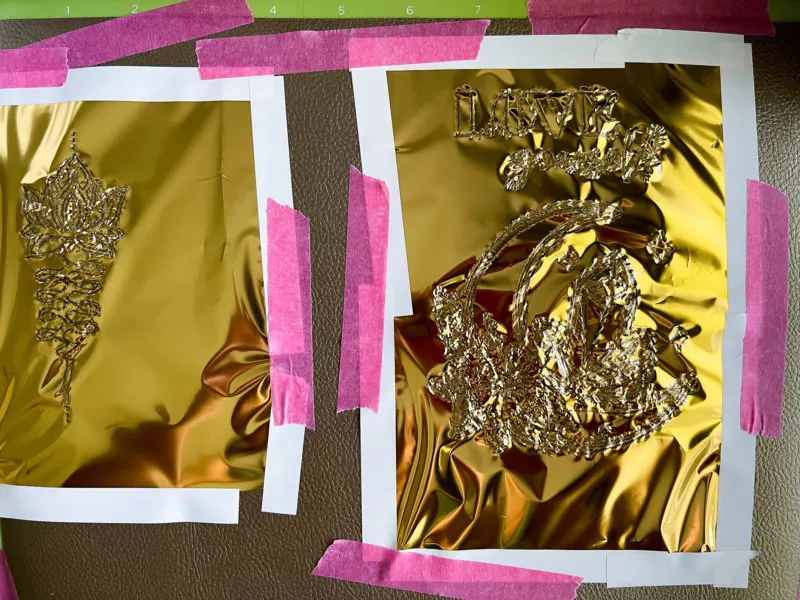
- Carefully remove foil after cutting, as to not damage the leather.
- Don't place tape over any of the design that will be foiled.
IMPORTANT: After the machine is done cutting – DO NOT remove the mat from your machine. You need everything to be in place for the cut to be perfect at the end.
Cutting:
Finally, your machine is ready to cut your leather journal cover out. This is the easiest part of the whole process!


9. Be sure your Fine Point Blade is installed into Clamp B.
10. Set material as Textured/Pebbled Faux Leather.
11. Cut following on-screen instructions.
IMPORTANT: After the machine is done cutting – DO NOT remove the mat from your machine. You need everything to be in place for the debossing and gold foil transfer.
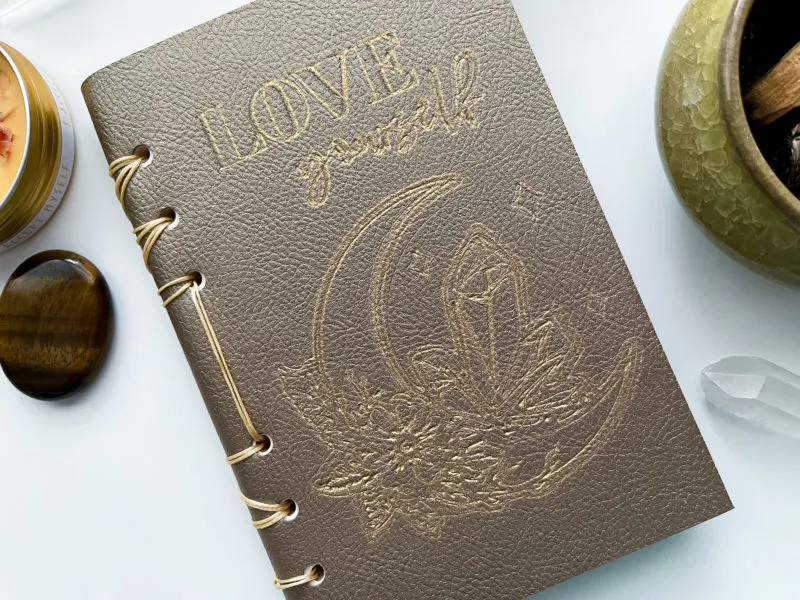
Part 3: How to Assemble Your Handmade Leather Journal
Gather all your materials and prepare to assemble your journal!
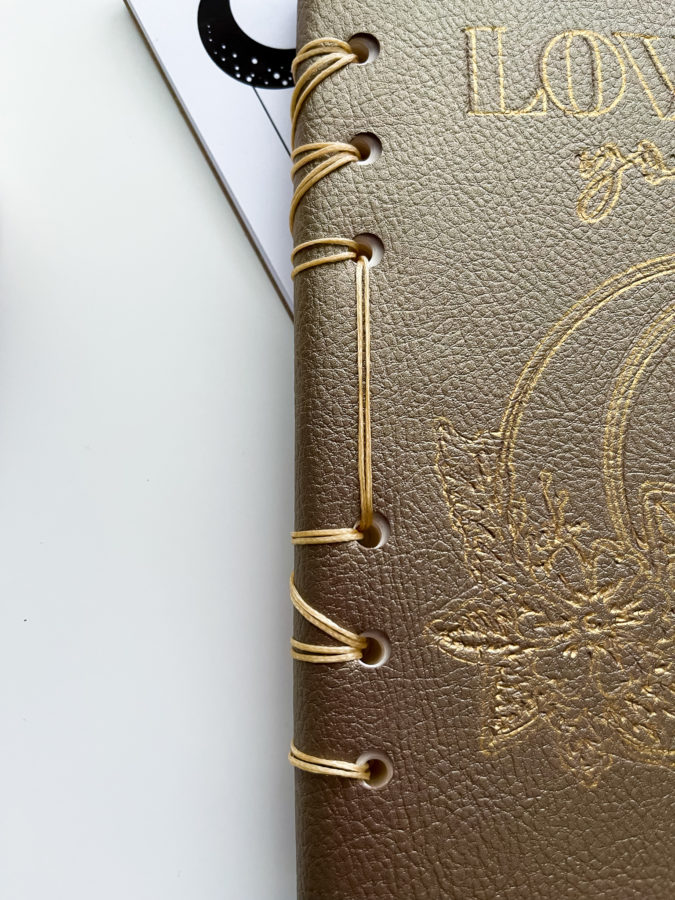
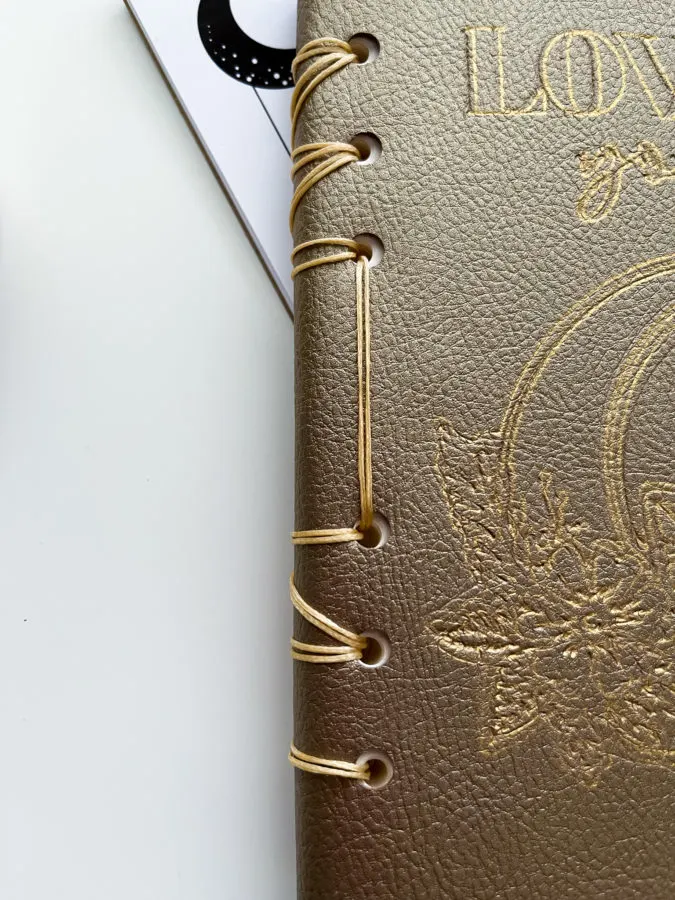
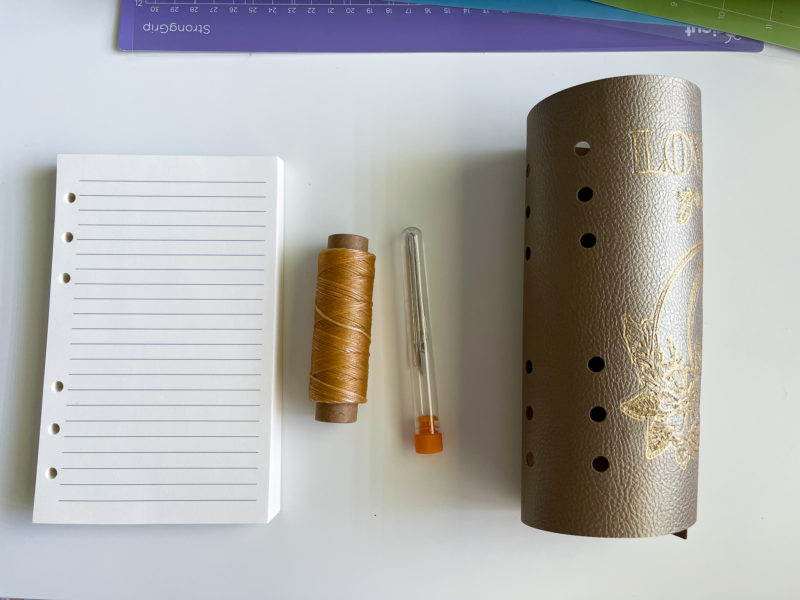
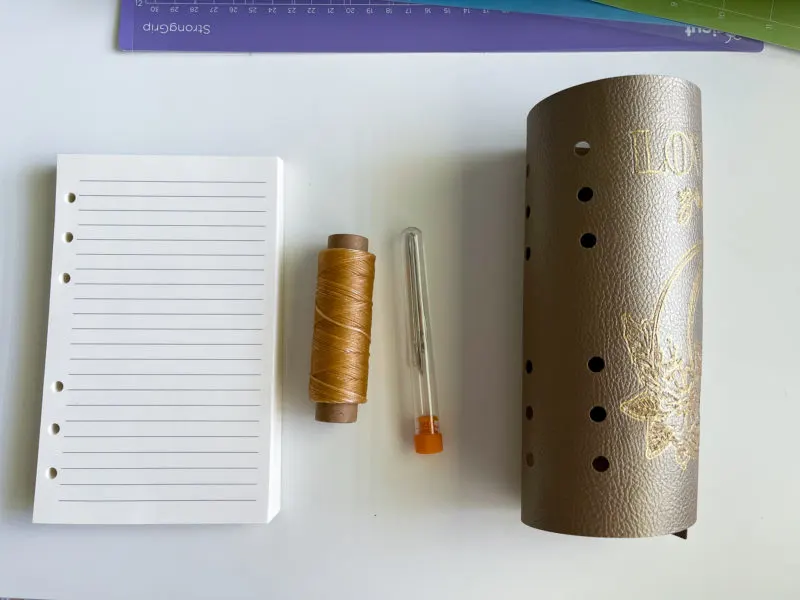
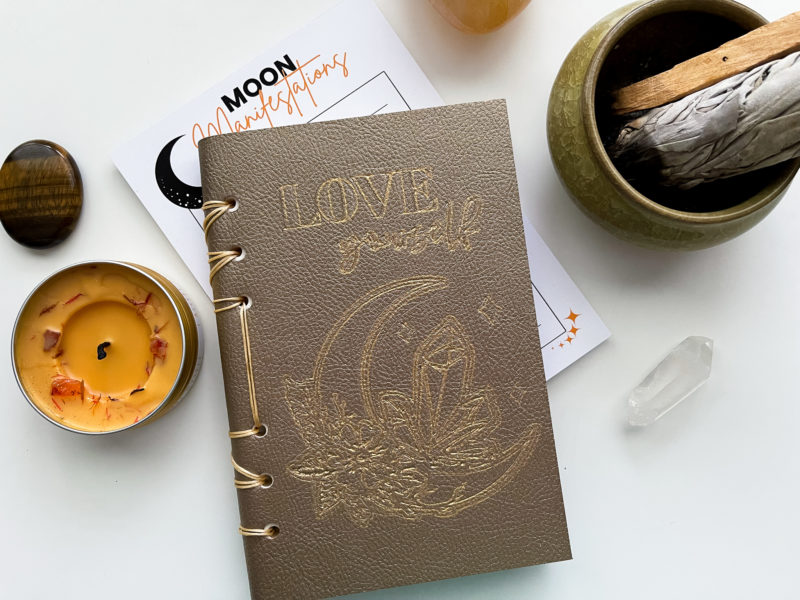
How to bind the leather journal:
1. To begin, place your journal paper inside the leather cover, aligning the holes of the paper with the holes of the leather journal cover.
2. Next, you'll need your waxed thread and large eye sewing needle.
2. Cut a long piece of thread and tie the ends together.
3. Weave the thread through the bottom hole with the needle, starting at the back and weaving through the front. Create a knot by weaving part of the thread under the weaved portion.
4. Weave front to back until you reach the top of the journal. Finish by making another knot and cutting any access thread.
Adding the chipboard:
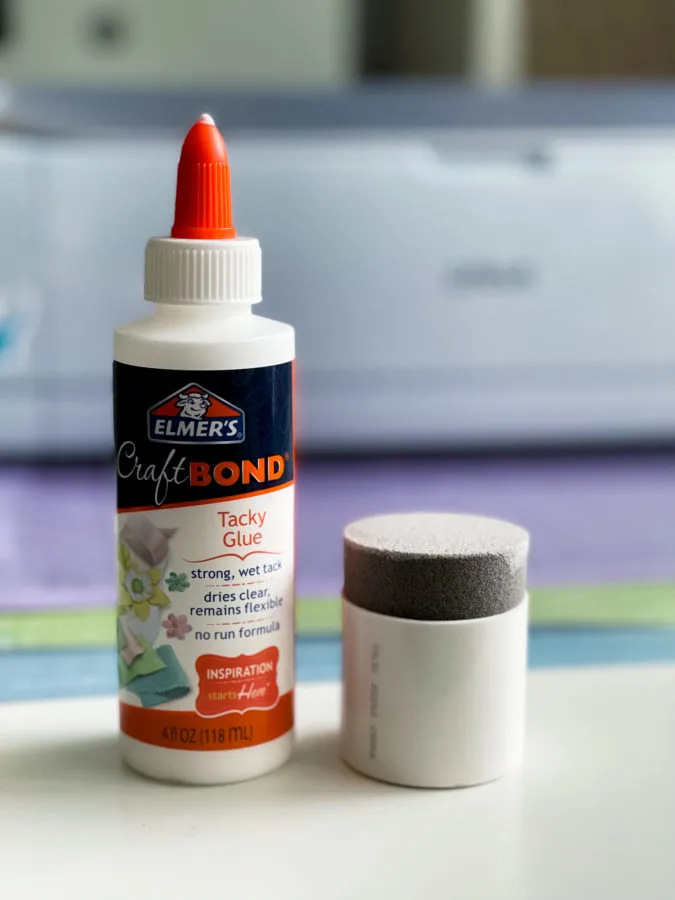
5. Finally, you'll grab your Tacky Glue, Sponge Brush, and previously cut Chipboard.
6. Dab Tacky Glue all over one piece of the chipboard. Be sure ever section is covered – especially the edges and corners. Don't be too generous with the glue.

7. Align the chipboard with the corners of the inner, front journal cover and push together. Wipe the edges of any excess glue.
8. Do the same for the inner, back cover.
9. IMPORTANT: Place the entire journal, closed, under a heavy object and leave for a few hours. This is very important because the wet glue could cause the chipboard to bend and warp.


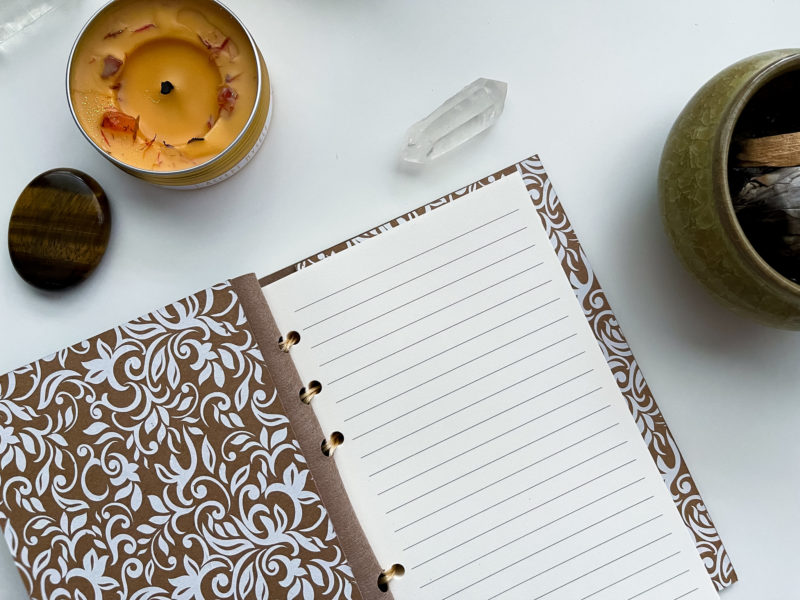
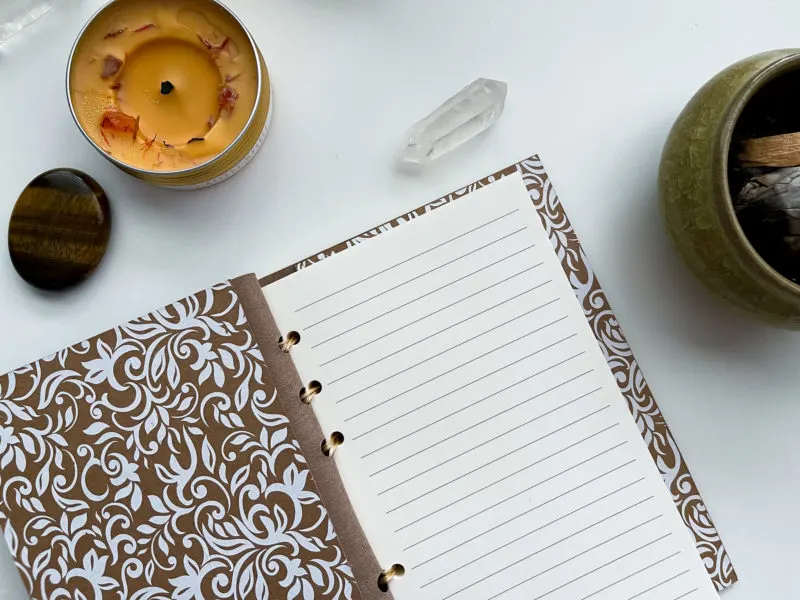
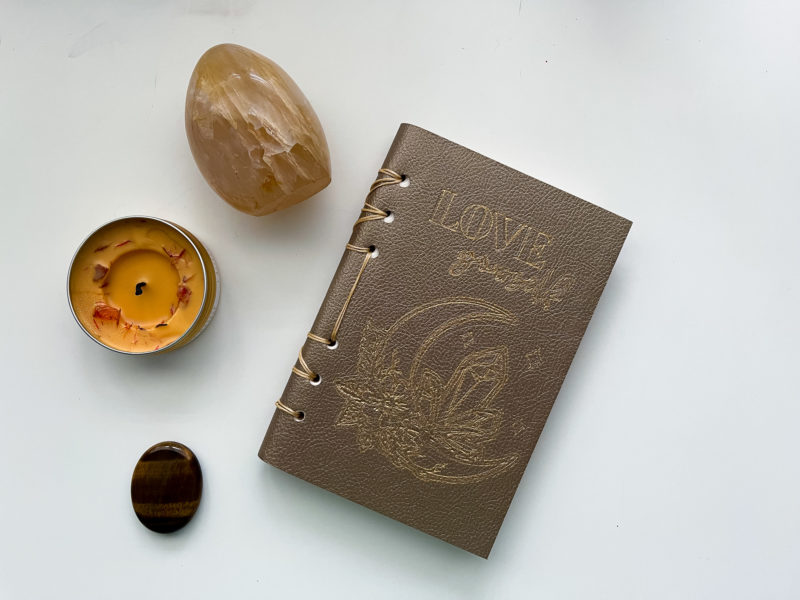
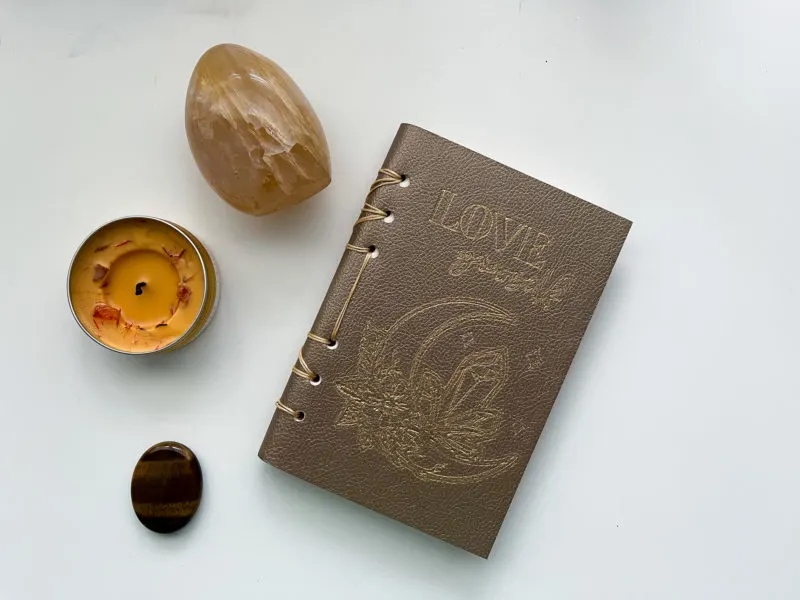
That's it! You now know how to make a homemade leather journal with your Cricut Maker 3. Have fun experimenting with different designs and sizes. Here are a few important FAQs to read before getting started:
FAQ For How To Make a Homemade Leather Journal with Cricut
1. Can I use suede?
While I love the look and feel of suede, I don't recommend using it for this particular project as it doesn't do well with embossing or gold foil. I tried and it wasn't pretty.
2. Can I use genuine leather?
Absolutely! Genuine leather would probably be even more beautiful! In fact, a smoother leather would be a better choice for the debossing. All I had was textured so that's what I went with.
Just be sure to check your cut setting should you choose to go with genuine leather. Also, faux leather can be cut with a Premium Fine Point Blade, whereas genuine leather may need a Deep Point Blade.
3. Can I engrave the design instead?
You can definitely engrave leather but I prefer the look of the debossing instead. I tried both and the engraving wasn't as smooth on this particular textured faux leather.
4. How many pages will this journal fit?
The journal I made fits 100 sheets of this A6 journal paper. I'm sure it could fit more if I tried. It's also important to remember that a heavier weighted paper will take up more space in your journal.
I hope you enjoyed learning how to make a homemade leather journal for all your personal, spiritual, or gifting needs! If you need ideas for journaling – check out my journaling posts!
… [Trackback]
[…] Here you will find 2359 additional Info to that Topic: butfirstjoy.com/how-to-make-a-homemade-leather-journal-cricut/ […]
… [Trackback]
[…] Find More Information here to that Topic: butfirstjoy.com/how-to-make-a-homemade-leather-journal-cricut/ […]
… [Trackback]
[…] Find More to that Topic: butfirstjoy.com/how-to-make-a-homemade-leather-journal-cricut/ […]
… [Trackback]
[…] Information on that Topic: butfirstjoy.com/how-to-make-a-homemade-leather-journal-cricut/ […]