
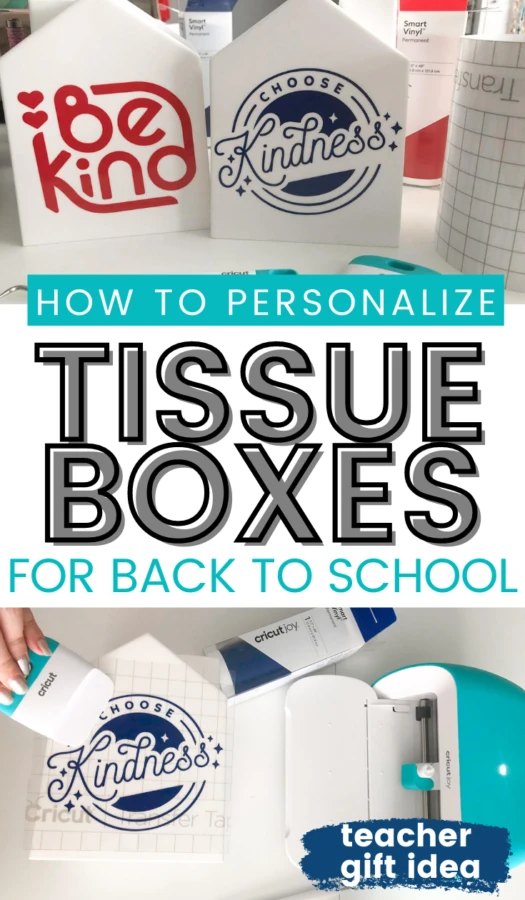
School is back in session and it's time to recognize the teachers who are heading back into the classroom. Using some fun craft blanks, my favorite Cricut supplies, and my Cricut Joy – I made personalized back to school teacher gifts!
This is a sponsored post written by me on behalf of Cricut. All opinions are 100% mine.

Personalized Back to School Teacher Gifts
I'm sharing my easy Teacher Kindness Tissue Boxes for the Classroom and Teacher Face Masks tutorials for those who want to give a gift to a teacher this year. Plus, you can access the free back to school cut files right in Cricut Design Space – here and here.
Before beginning, I recommend subscribing to Cricut Access for over 100k images and thousands of beautiful fonts for your Cricut designs. It's not a requirement for this tutorial but it makes creating so much more fun!

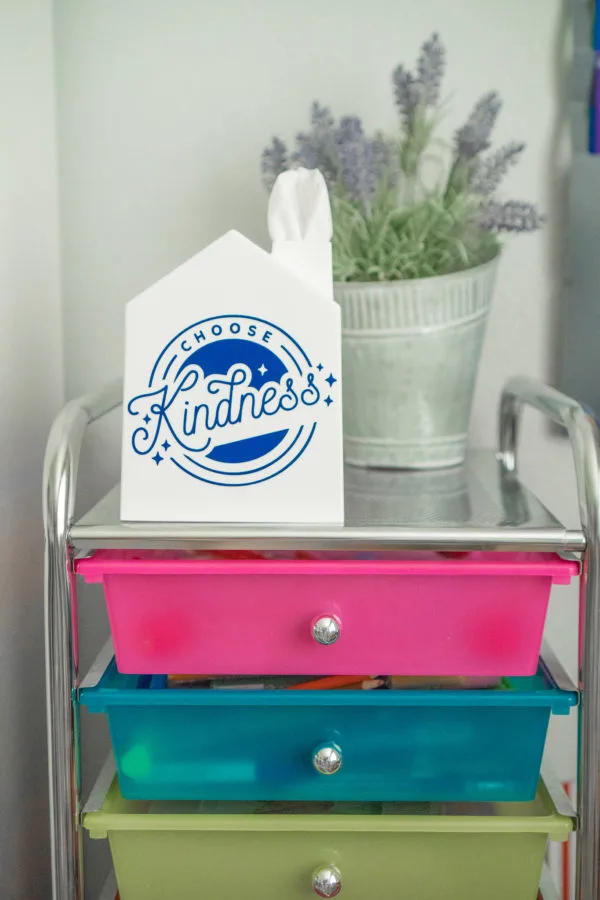
DIY Kindness Tissue Boxes for the Classroom
One thing I loved as a child, was seeing my new classrooms for the first time. My favorite classrooms were the ones with personality: lots of colors, inspiring sayings, and unique images. Now that I’m an adult and mother, I really see the hard work teachers put into making their classrooms unique and fun for students. That’s why I love nothing more than to create personalized gifts for my teacher friends.

Using your Cricut Joy, this free cut file from Design Space, plus various Cricut supplies – you can make some, as well!
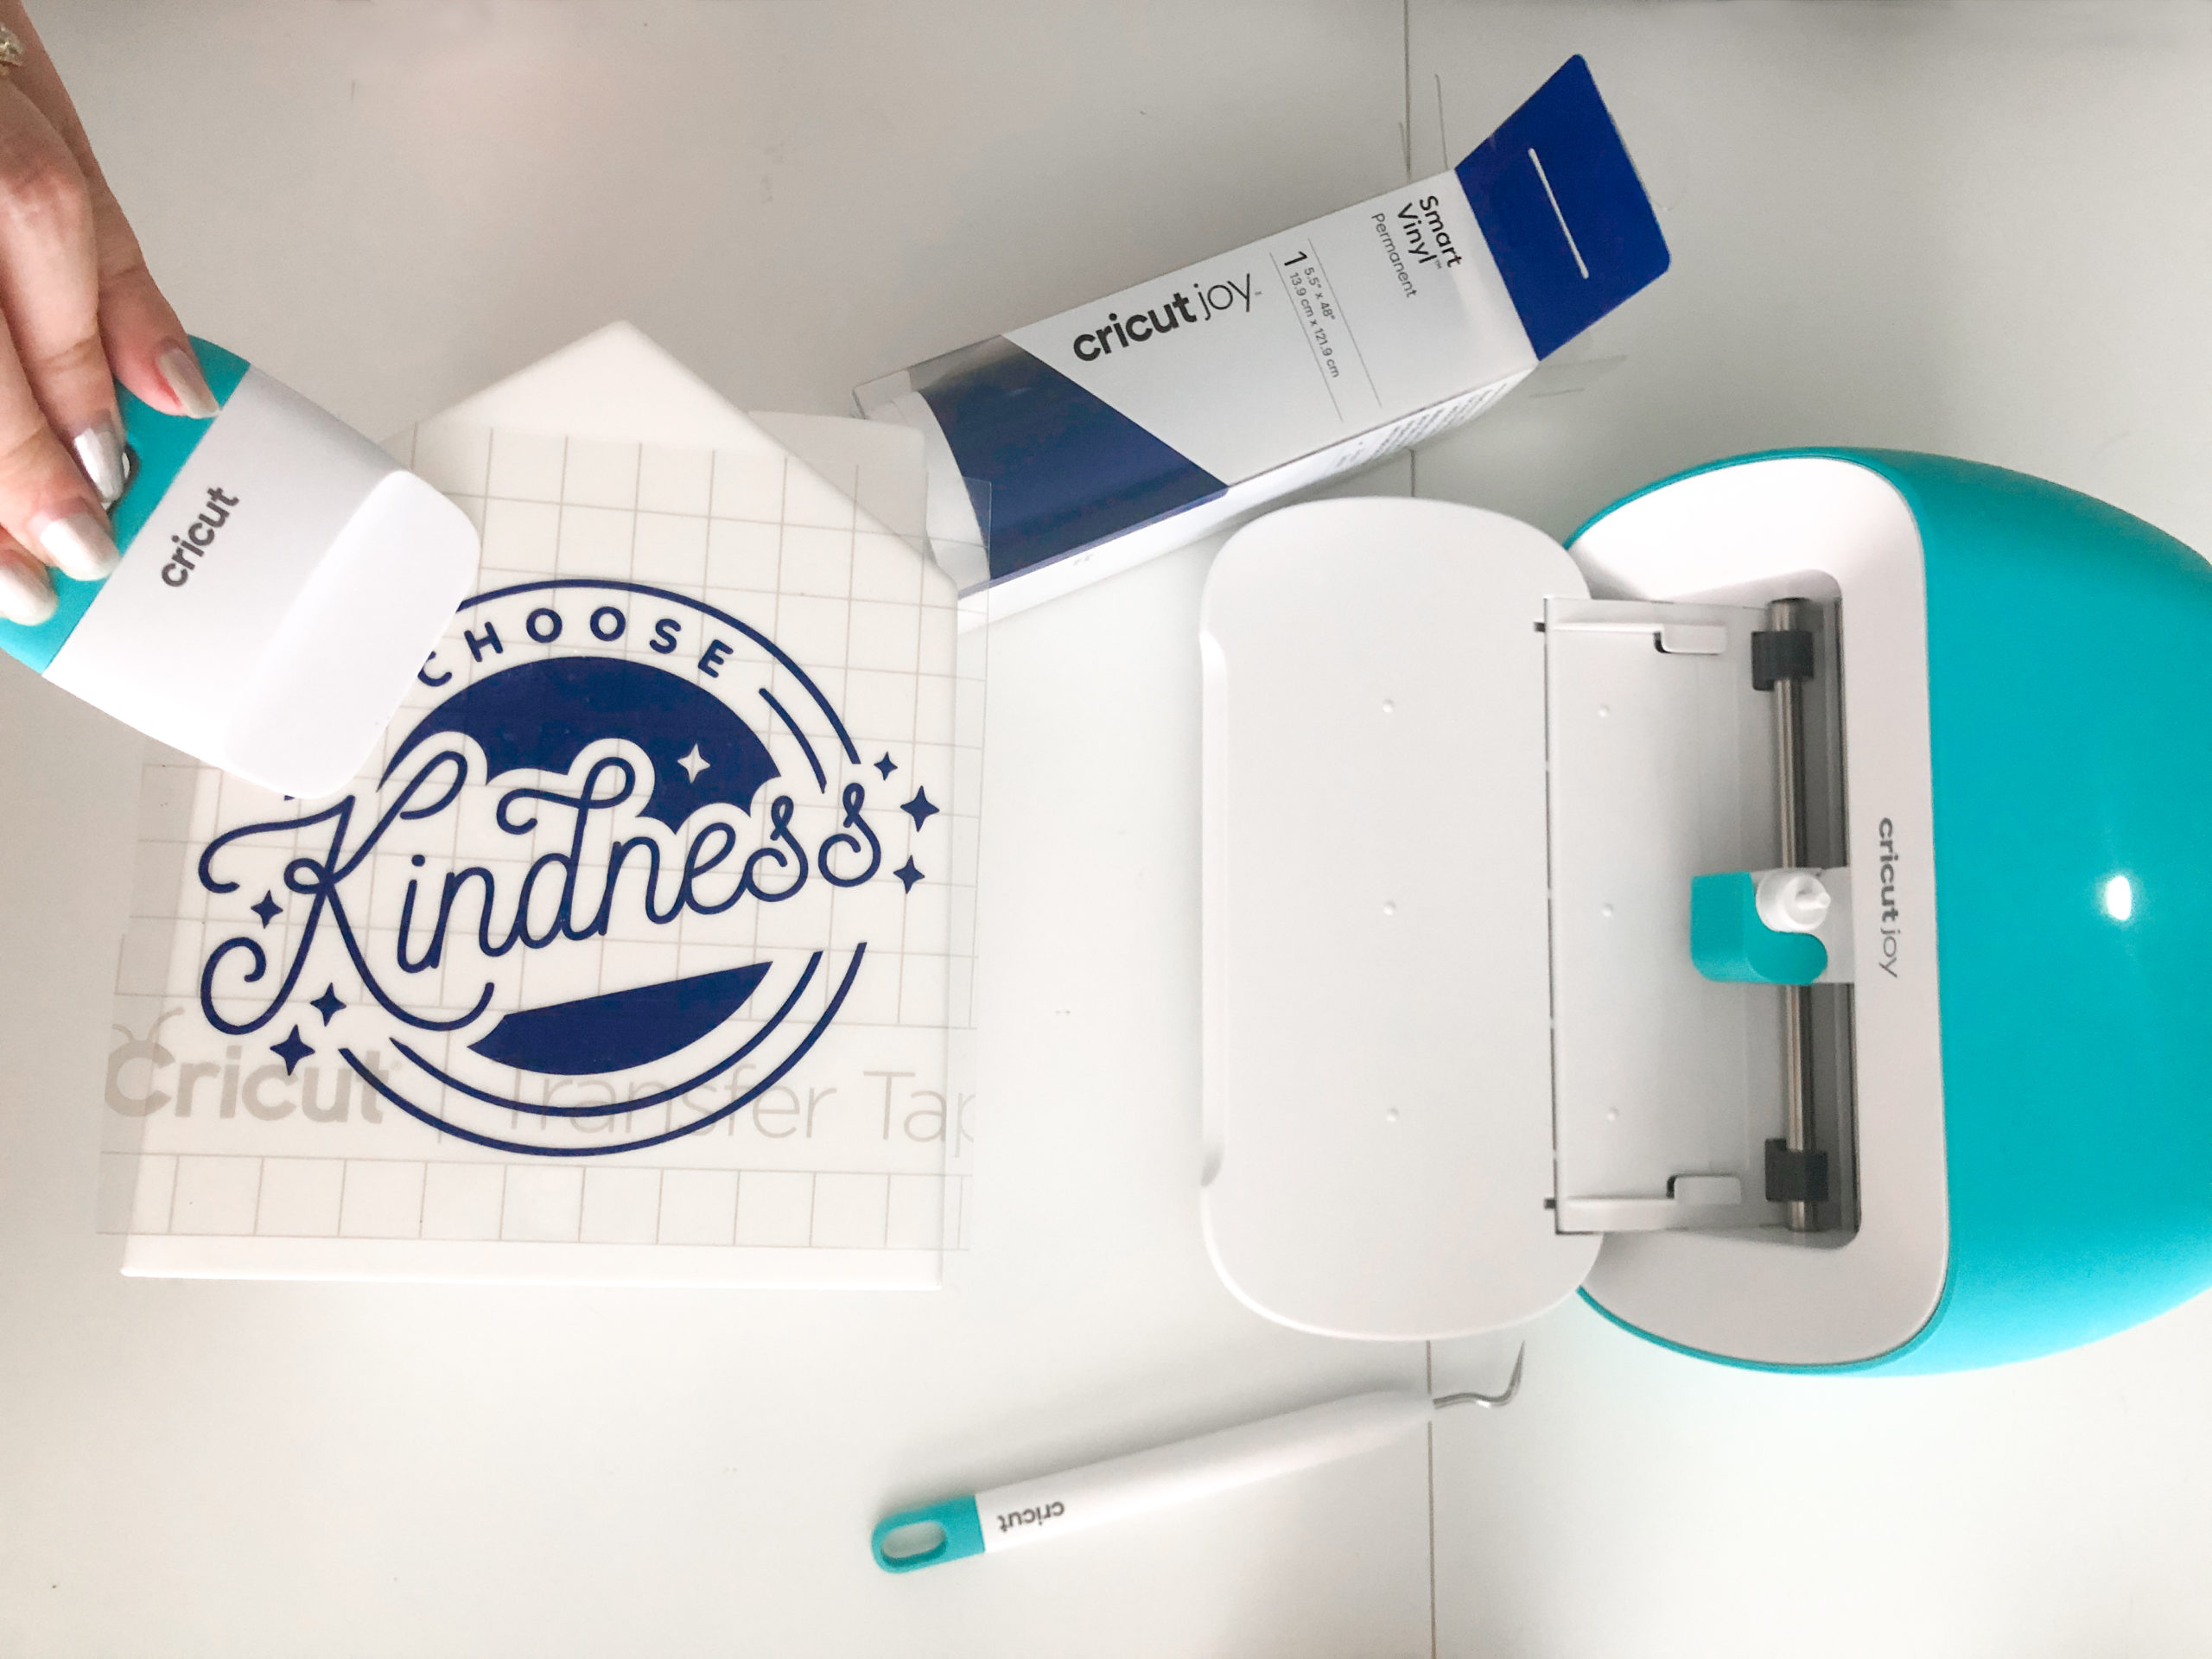
Supplies Needed:
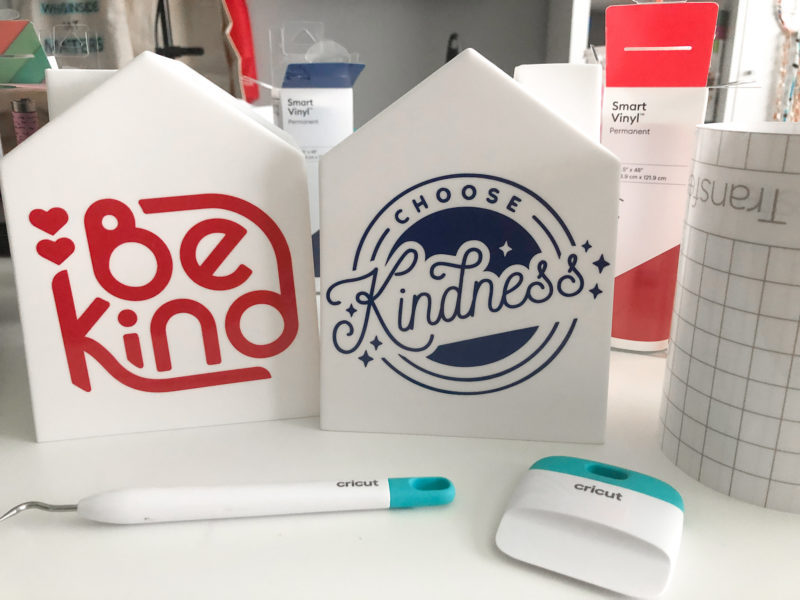
- Kindness Sayings – Get the free cut files here
- Blank Tissue Box Cover – I used these cute house-shaped tissue boxes
- Cricut Joy (or other Cricut cutting machine)
- Fine Point Blade
- Cricut Joy Starter Tool Set (this project uses the Weeder and Scraper) Transfer Tape
- Cricut Joy Smart Permanent Vinyl – I used Blue and Tomato Red
How To:
- Open the Kindness Sayings file in Cricut Design Space here.
- Resize as needed for the tissue box cover you're working with. Mine are sized perfectly for the tissue boxes I used.
Note: If you're only cutting one of the designs in this project, click the little eye on the right of the screen to hide the other. - Click “Make It”.
- Choose “Without Mat” if using Cricut Joy Smart Vinyl.
- SETTINGS: Choose Cricut Smart Vinyl Permanent as your base material, leave pressure as default, and load the vinyl into the machine as directed. Click Go and cut!
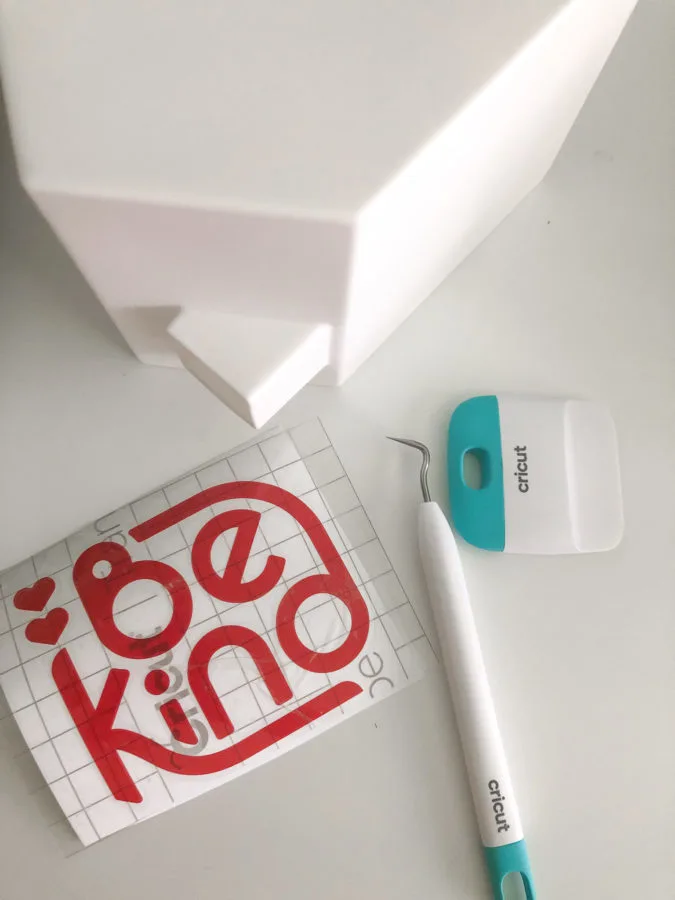
- Remove vinyl from mat, remove unwanted pieces using the Cricut weeder tool.


- Adhere transfer tape to the top of the weeded, ready-to-go design. I use the scraper tool to rub hard on every tiny piece. You don't want to lose small design elements or letters.
- Be sure your tissue box is cleaned and ready for the design. I use alcohol wipes to clean my craft blanks.

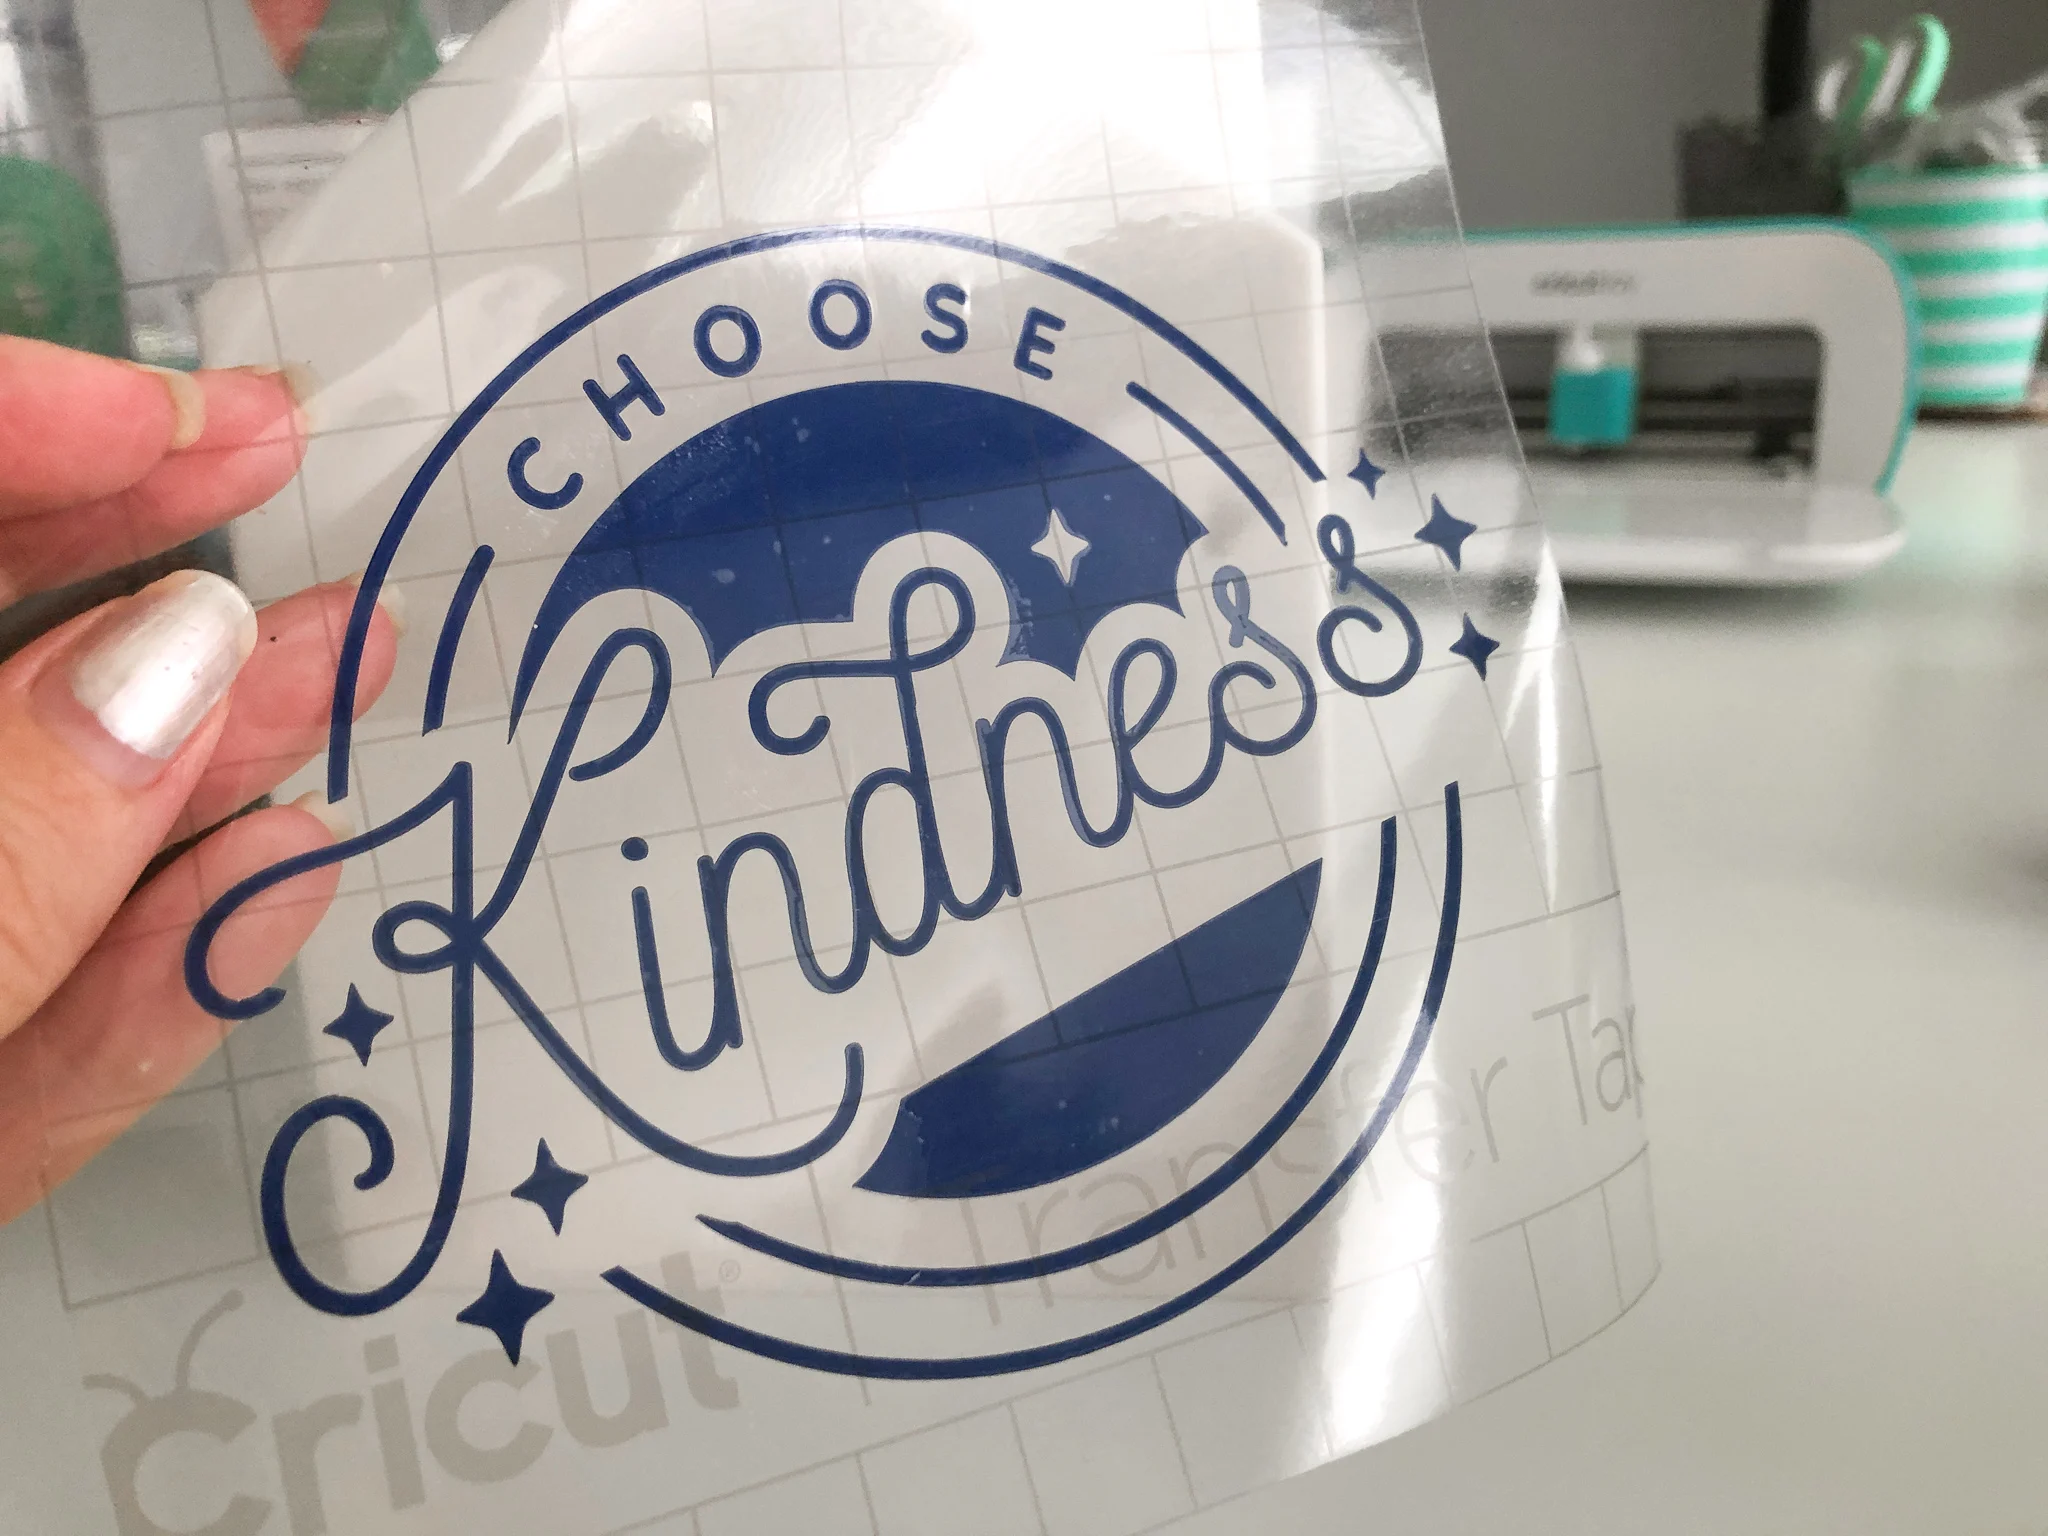
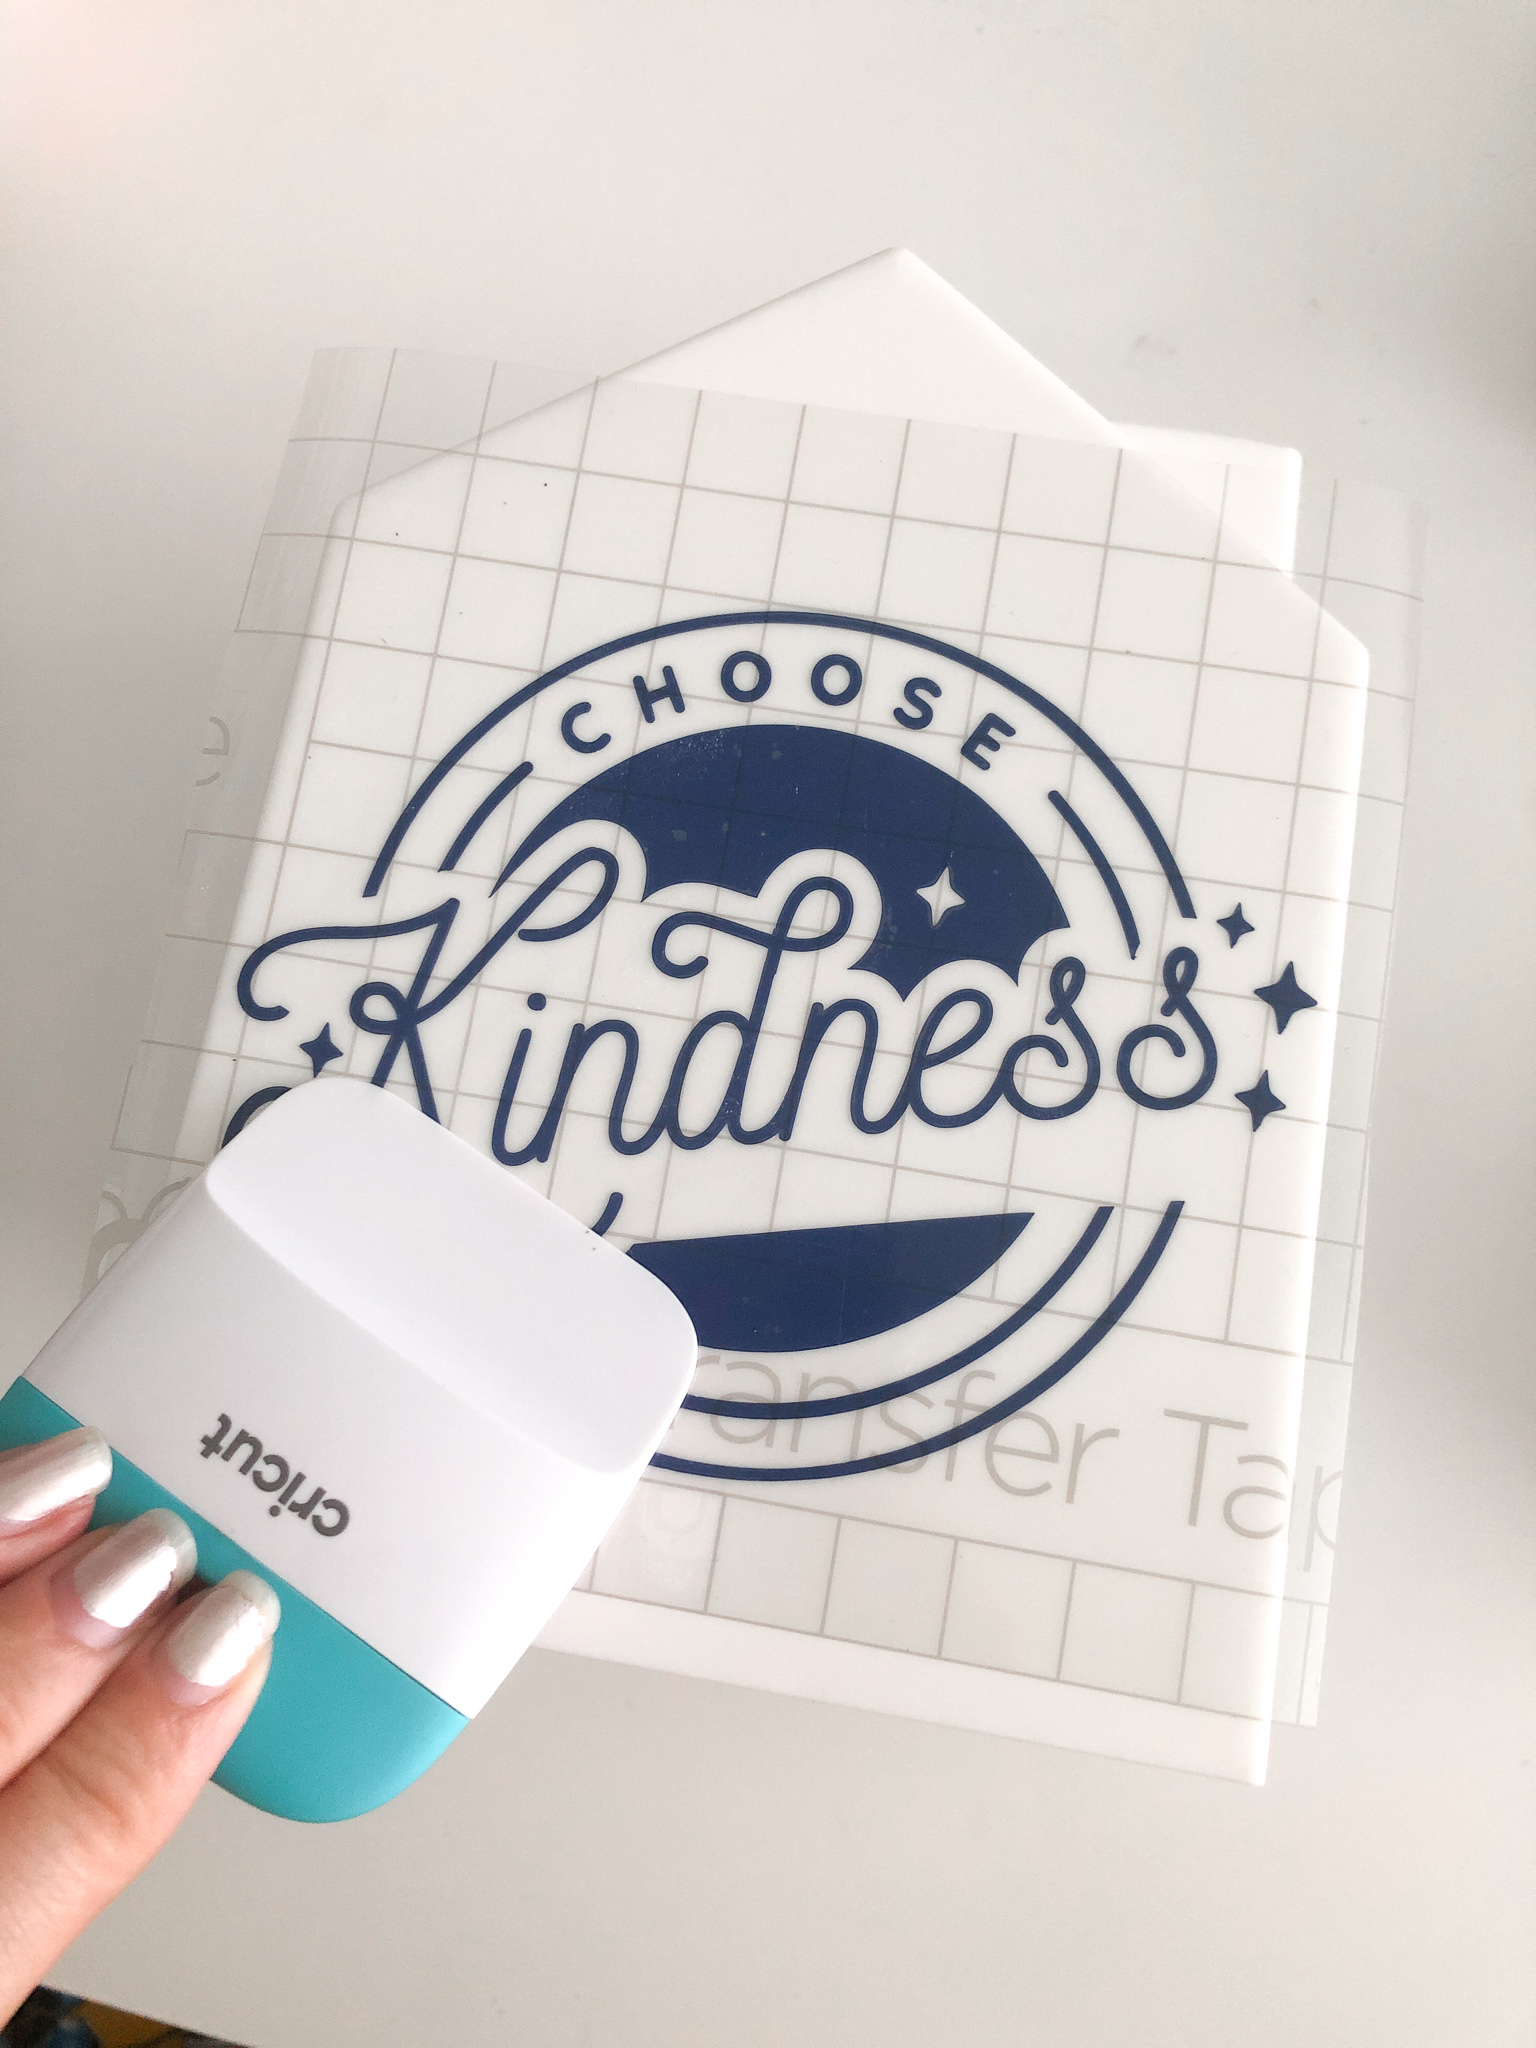
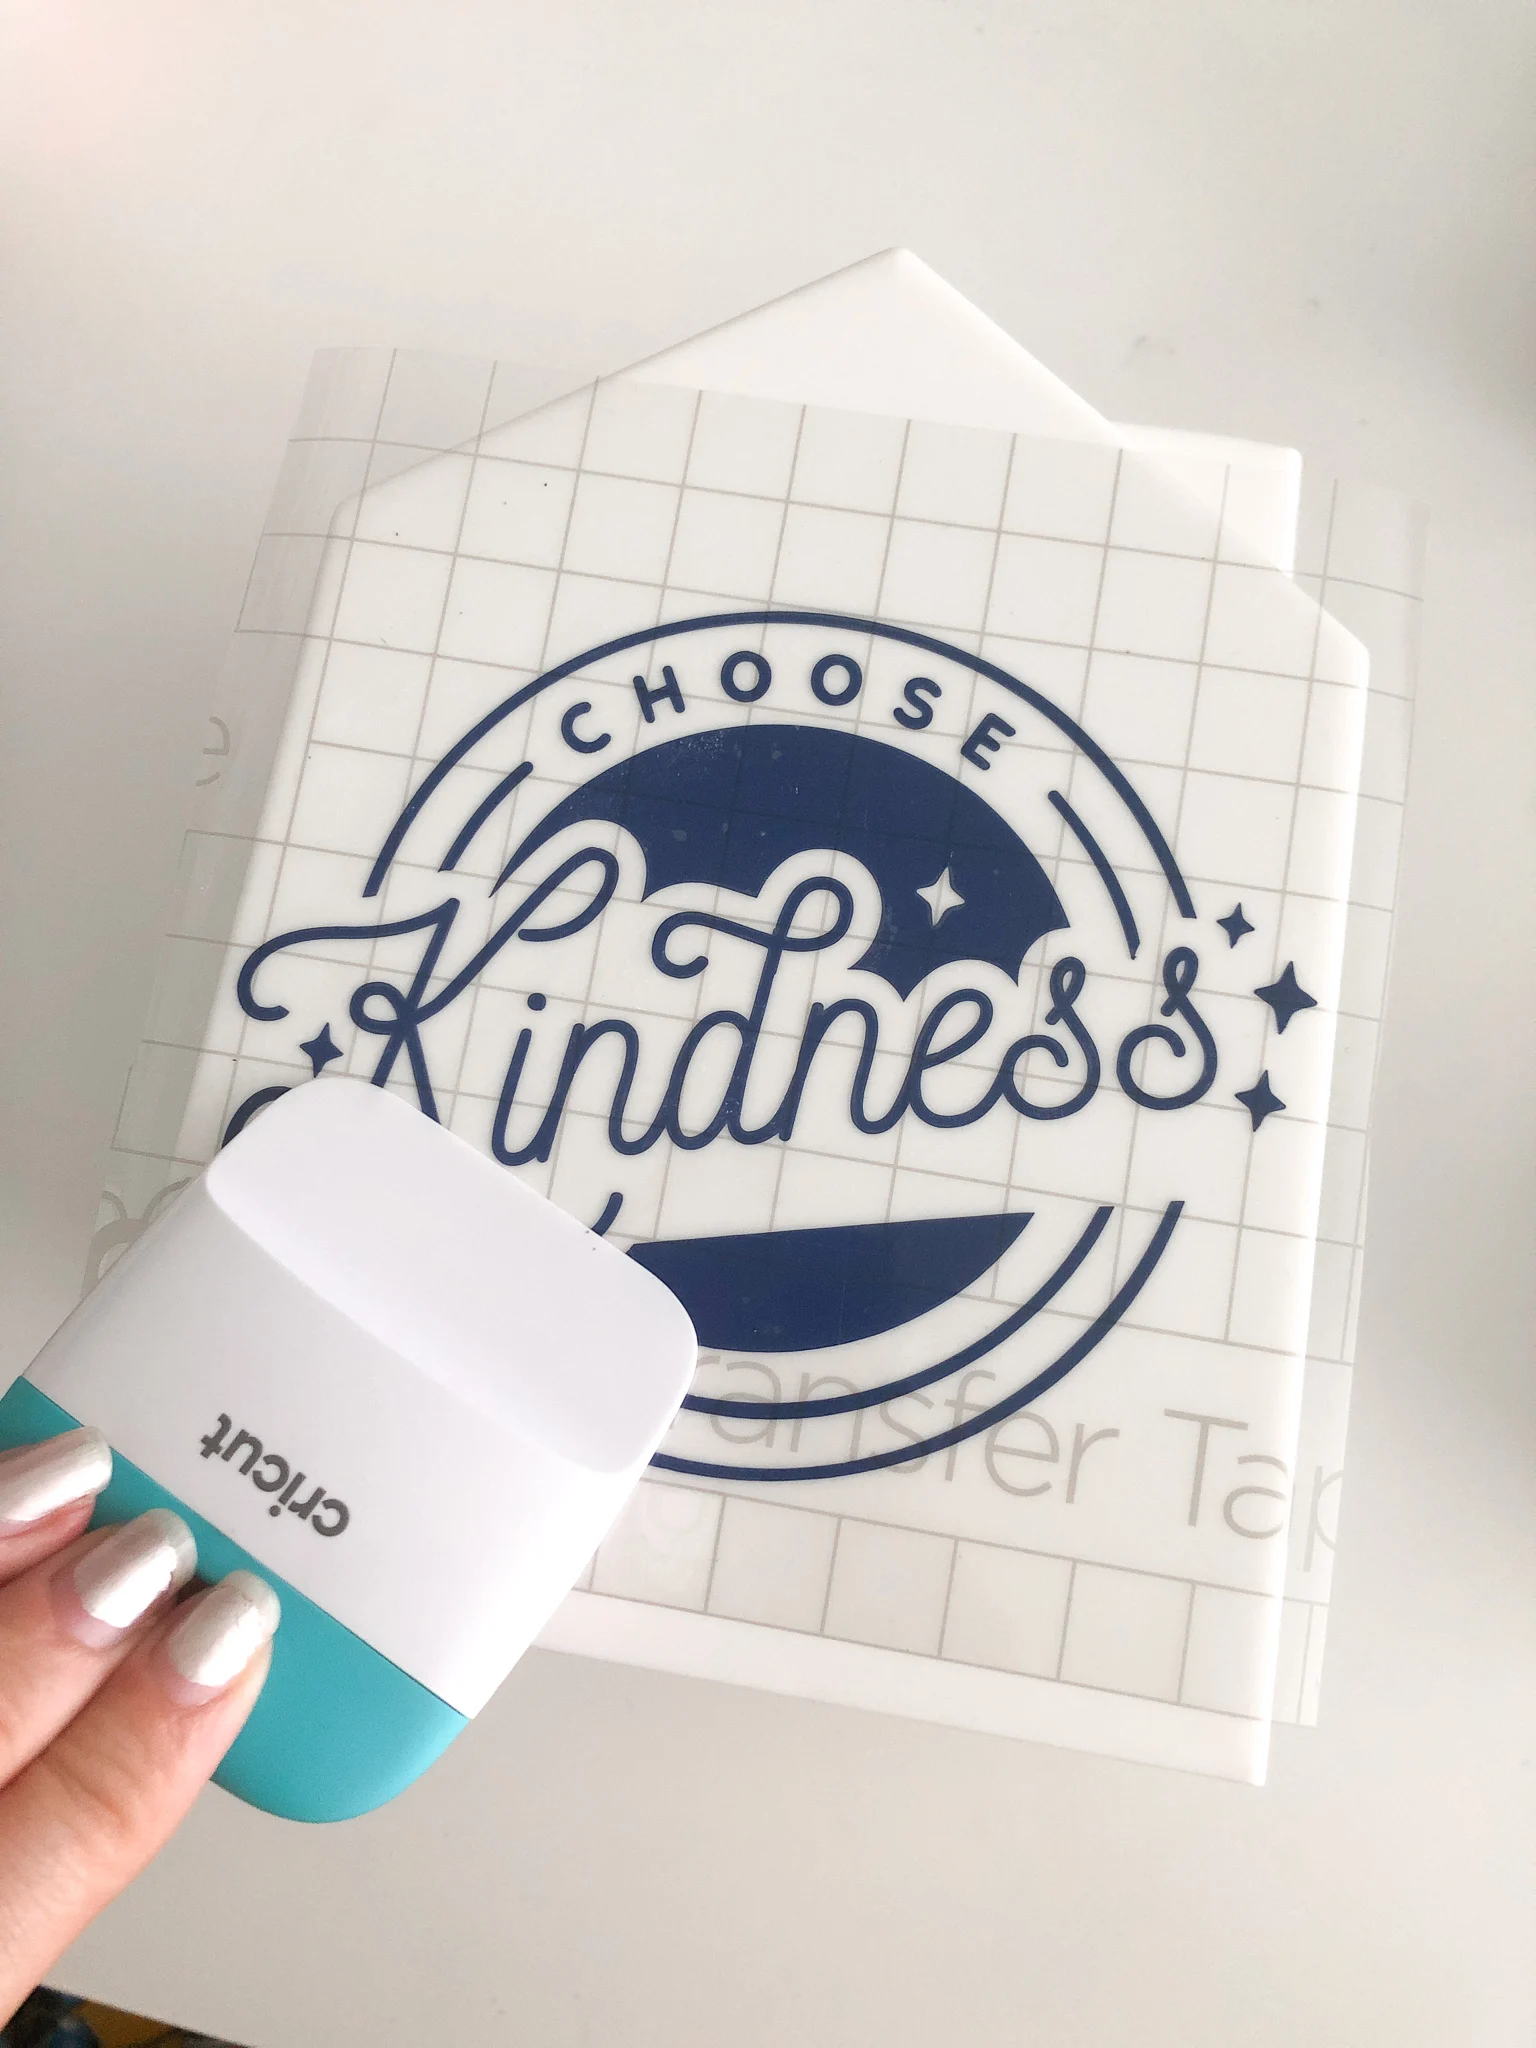

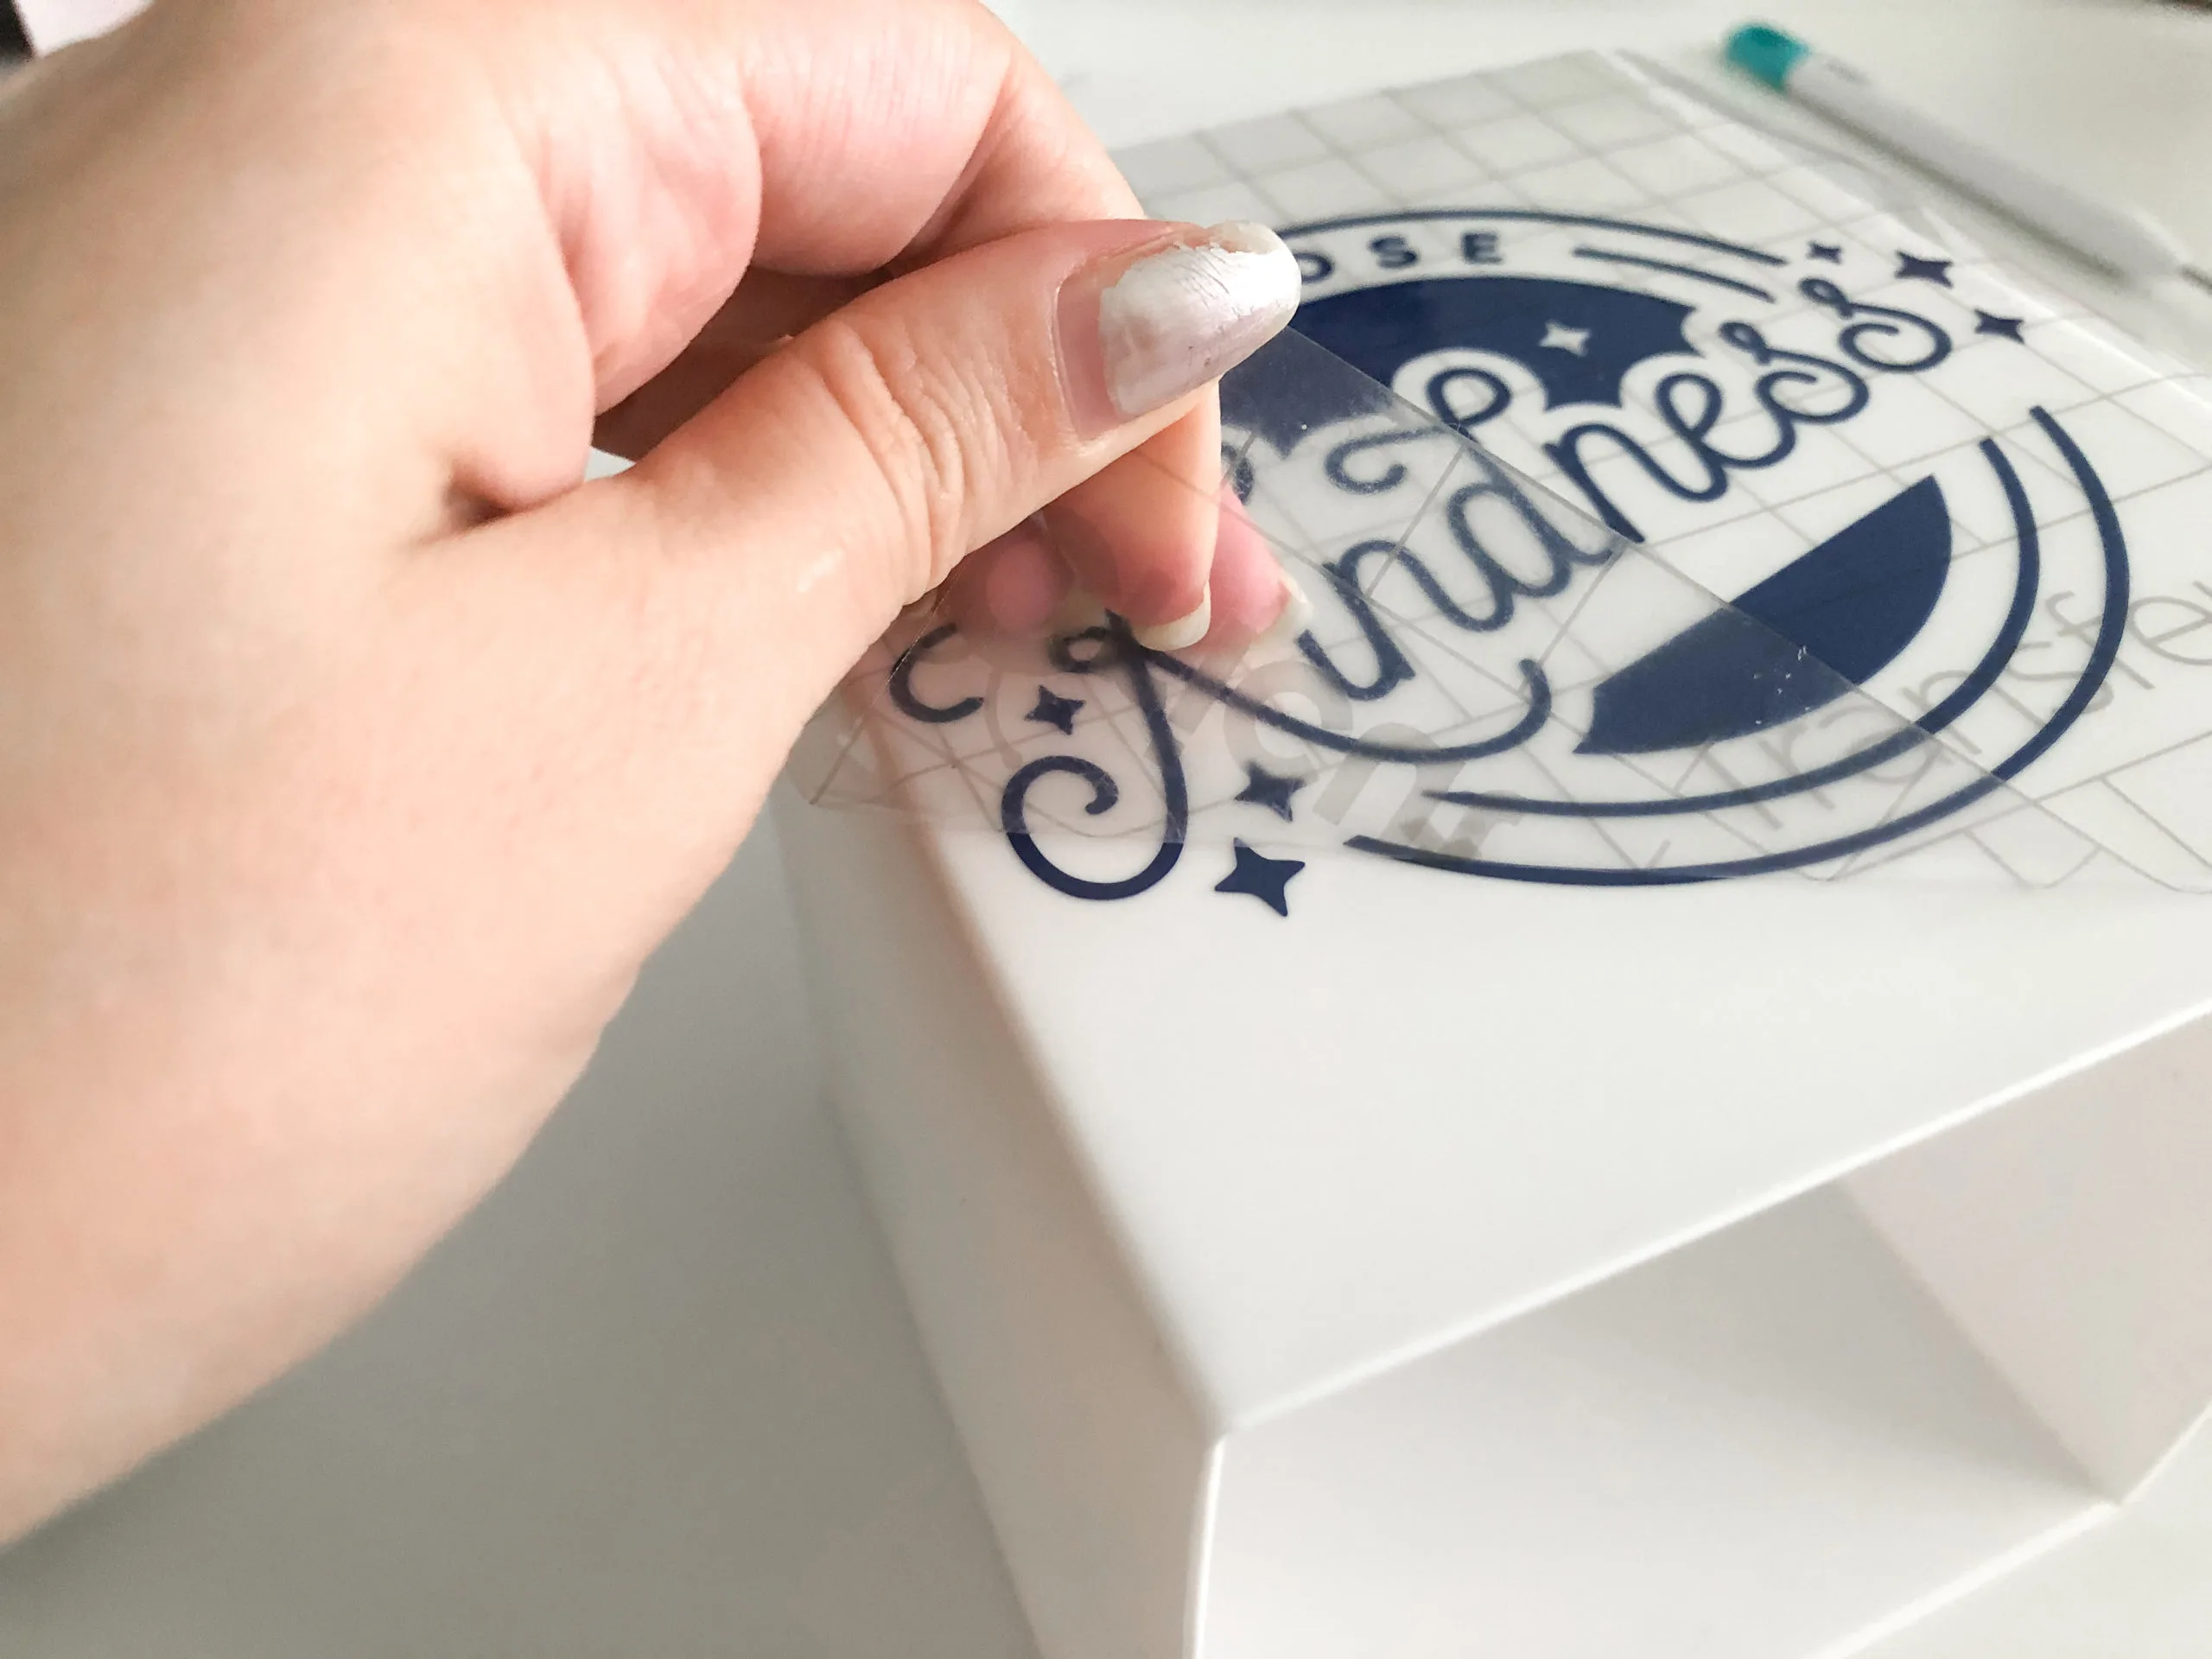
- Carefully stick the design to the tissue box, pressing down slowly from one corner to the diagonal corner – this helps prevent bubbles. I use the scraper tool to help with this.

- Add tissues and give to your favorite teacher!

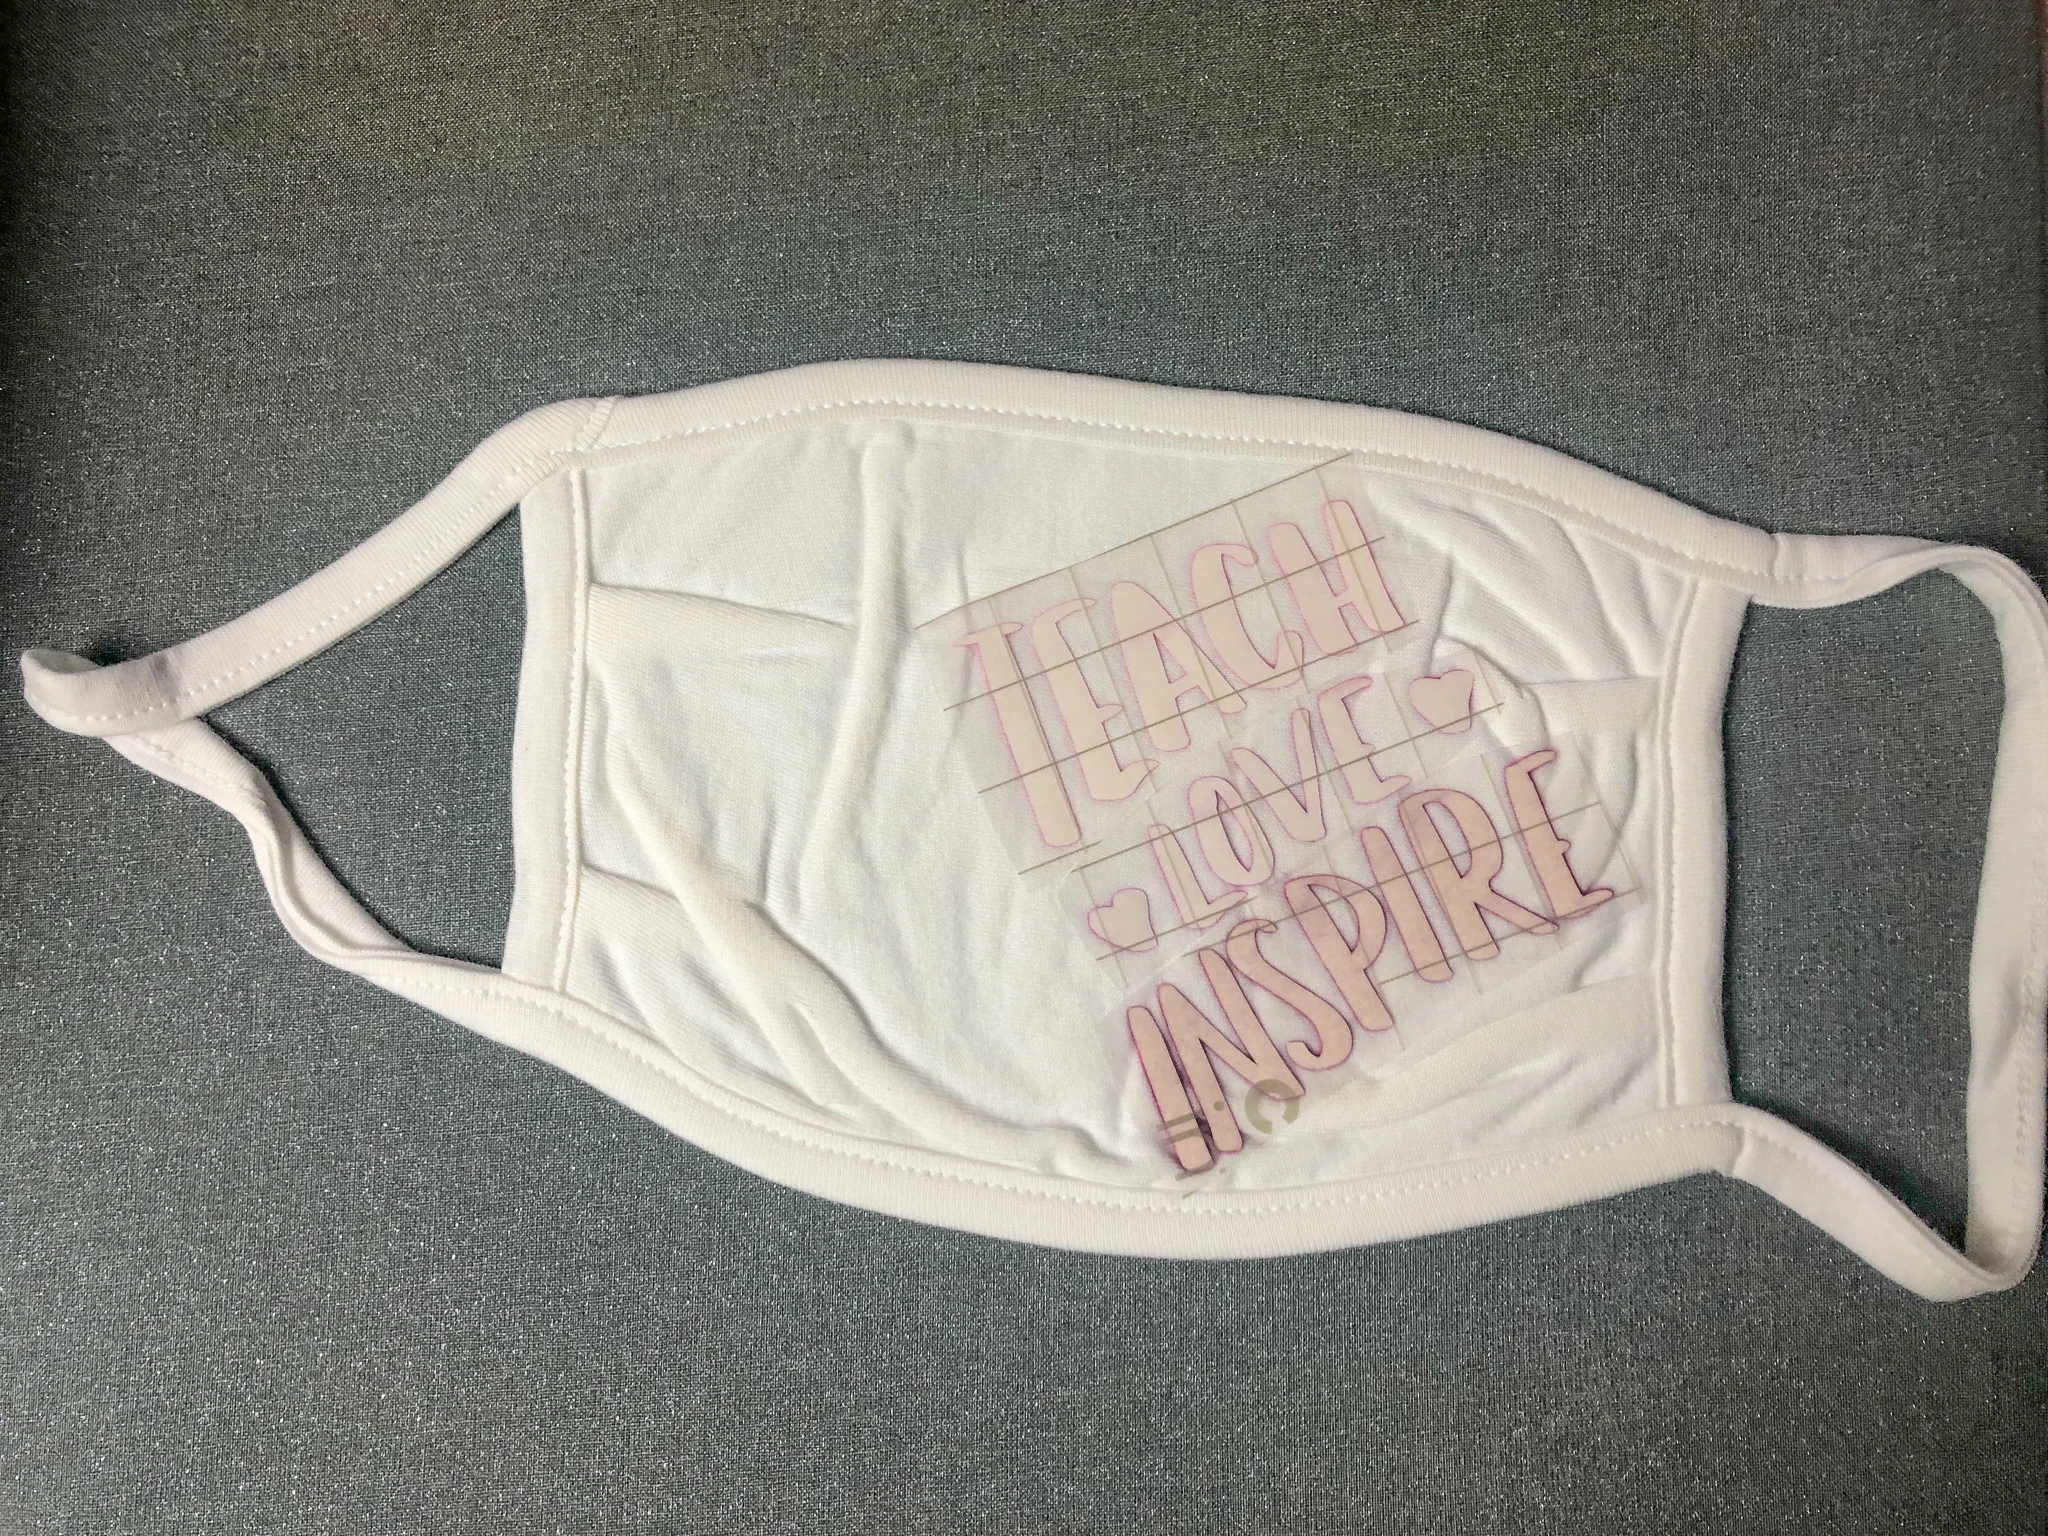
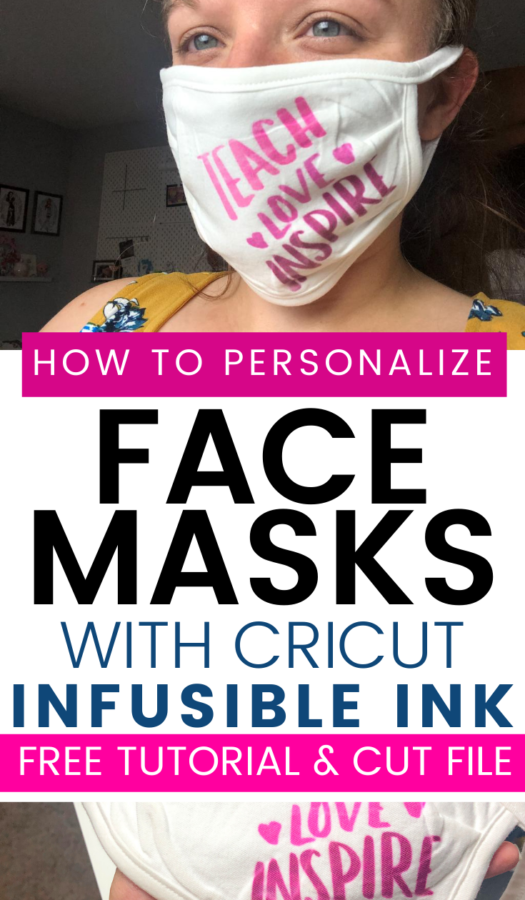
DIY Teacher Face Masks – Made with Infusible Ink
Let's just address the elephant in the room. We have a pandemic happening and it's a scary time for teachers & students. To embrace this time, I wanted to make something special for a teacher friend of mine. A personalized teacher face mask seemed like the obvious choice!
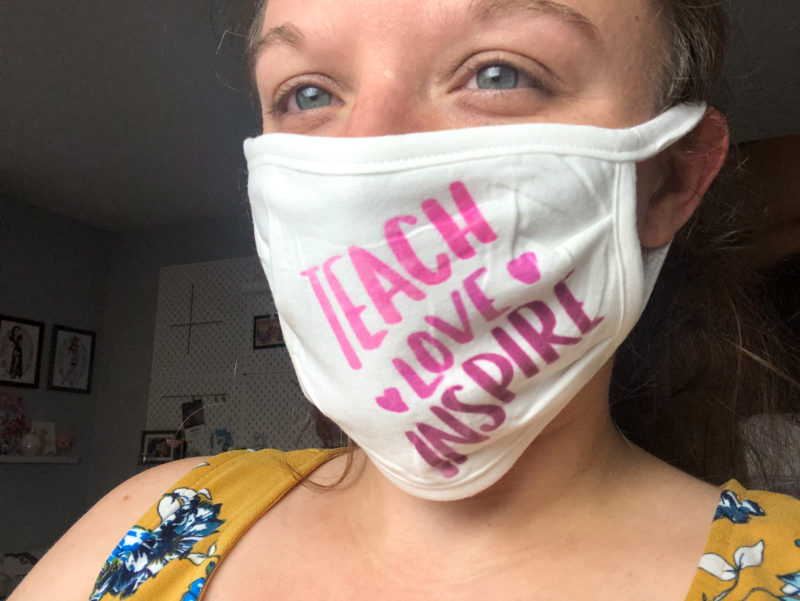
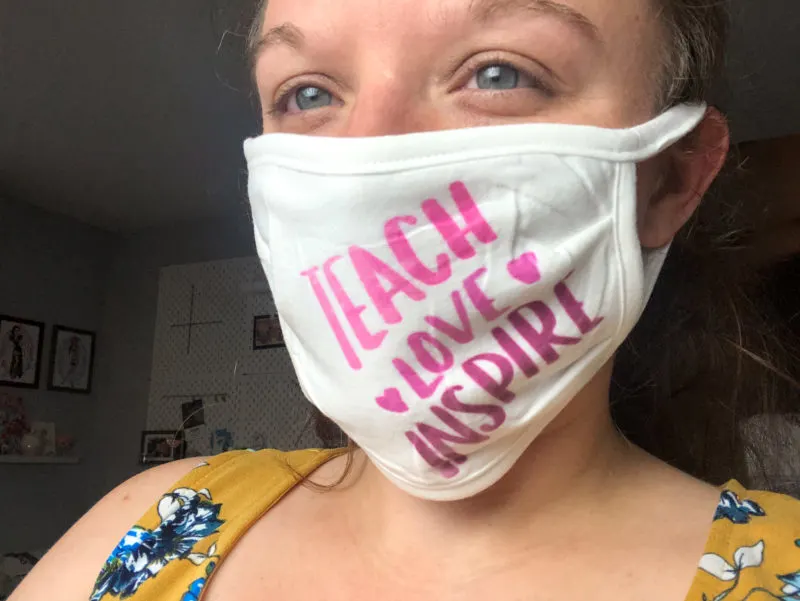
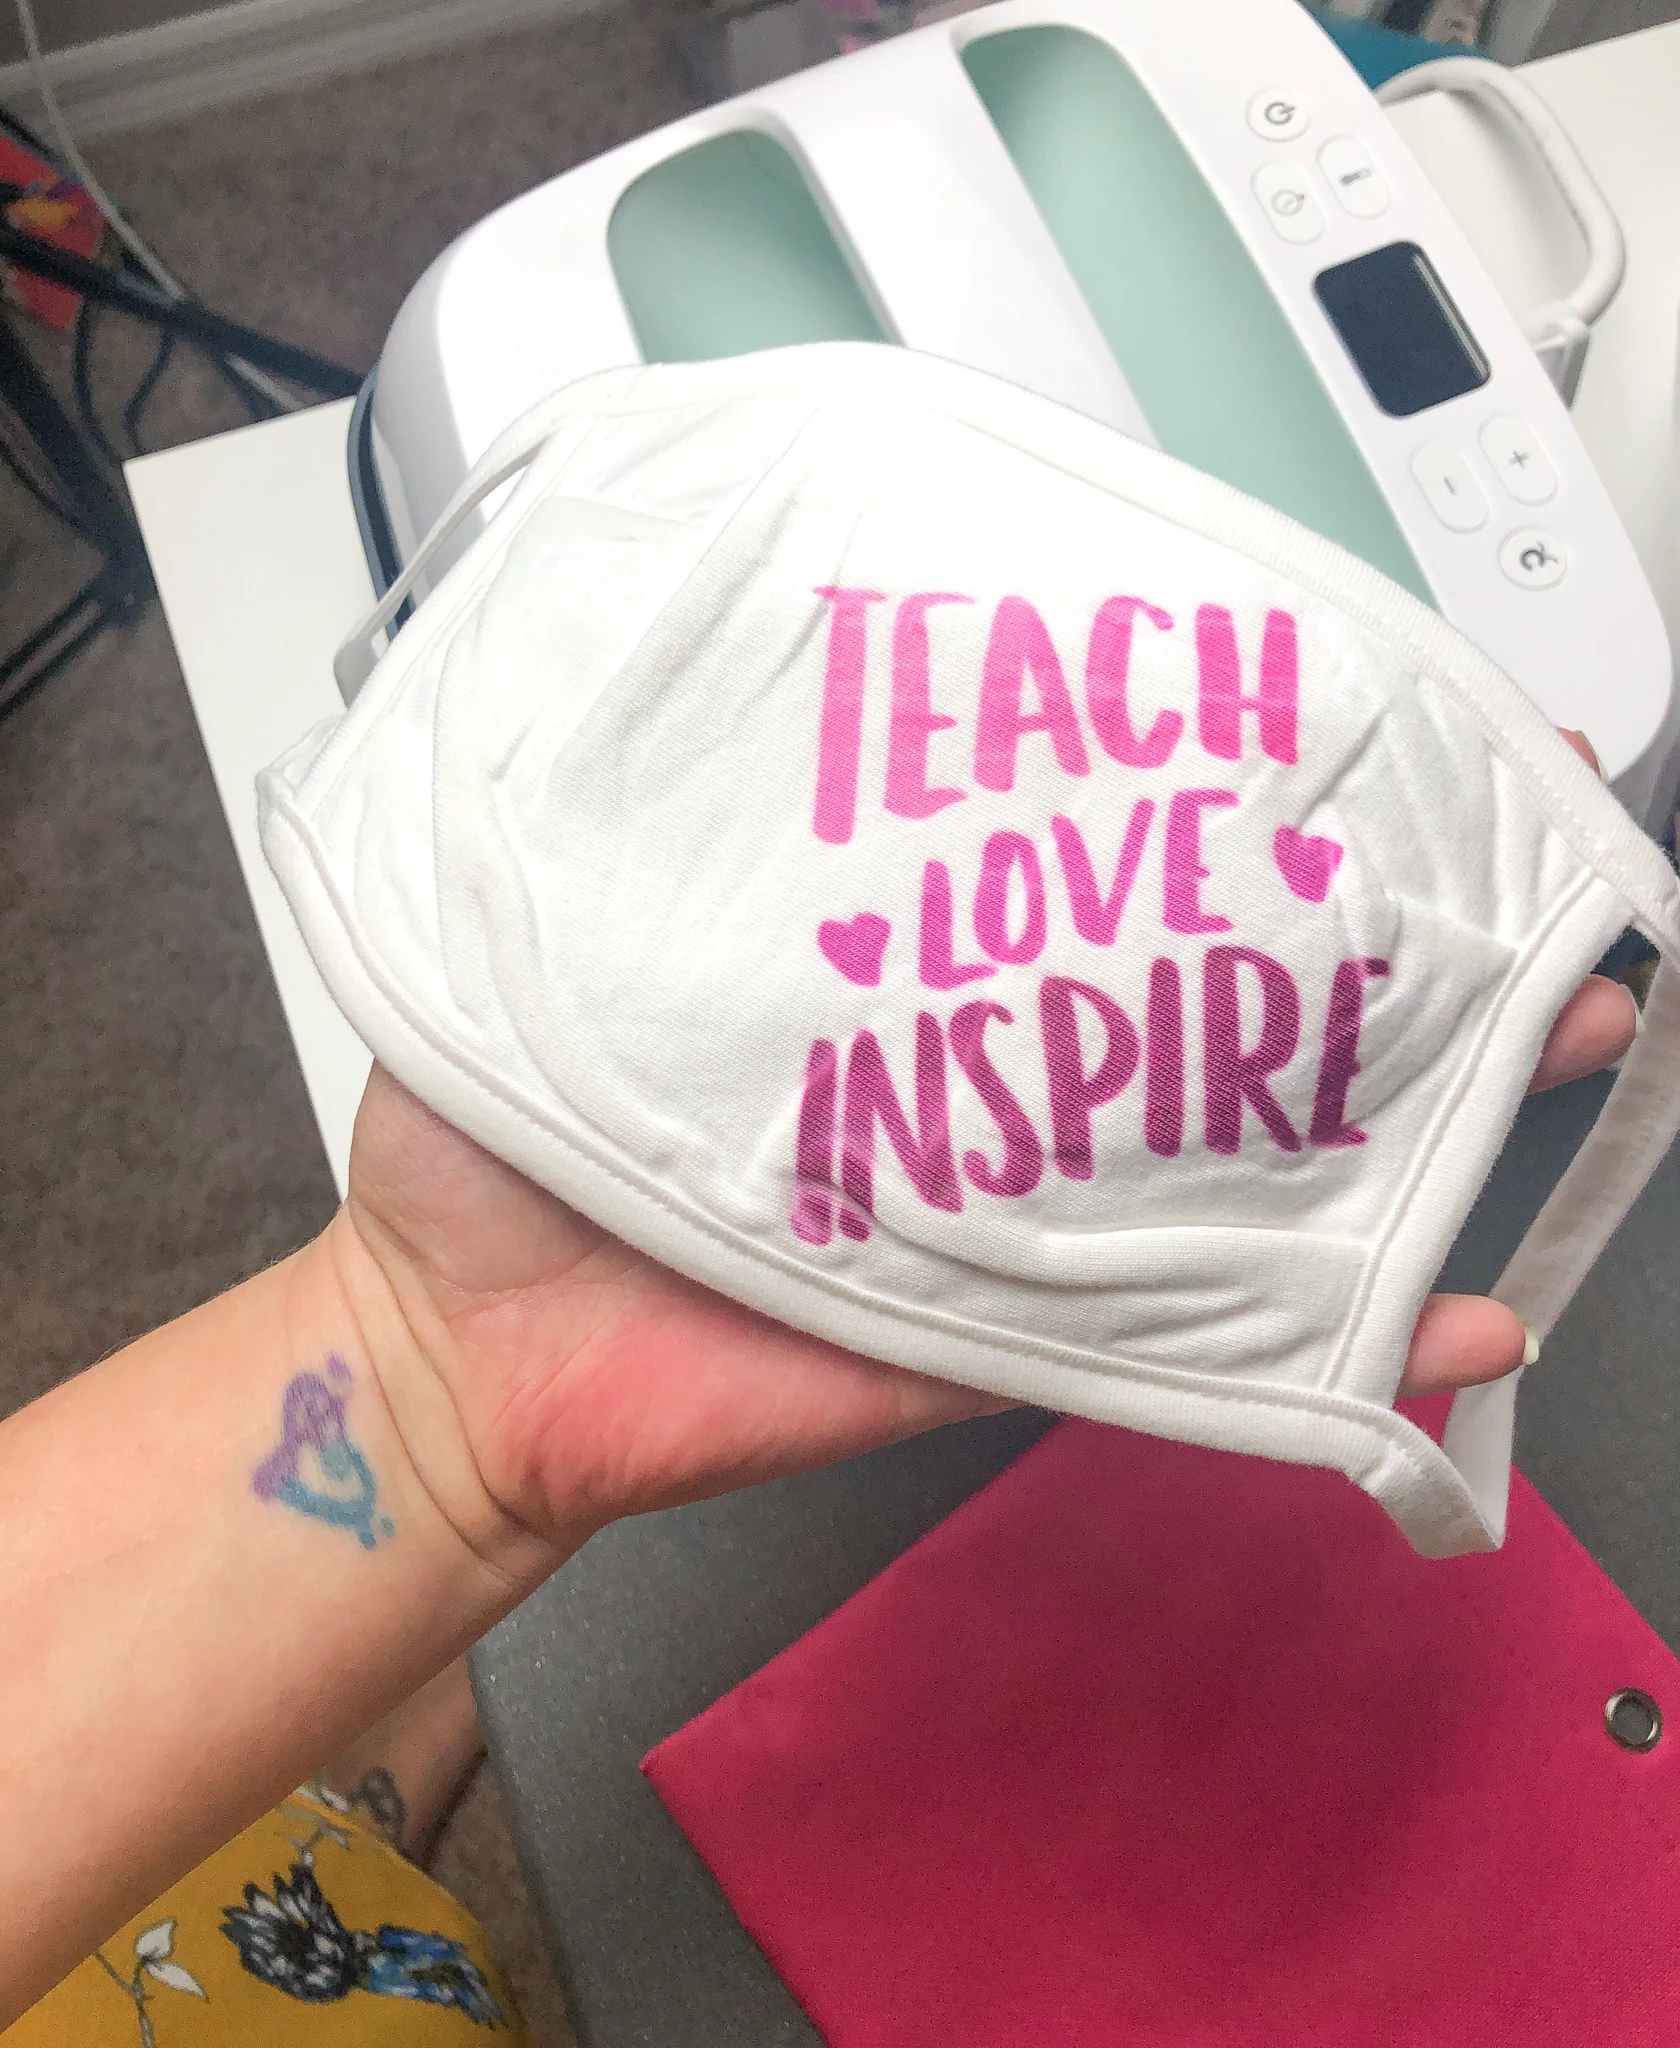
Using your Cricut Joy, Cricut Infusible Ink Transfer Sheets, and blank face masks – I made this sweet teacher face mask!
Supplies Needed:
- Teach, Love, Inspire Saying – Get the free cut file here.
- Blank White Face Mask
- Cricut Joy (or other Cricut cutting machine)
- Cricut EasyPress 2
- EasyPress Mat
- Cricut Infusible Ink Transfer Sheets – I used Distressed Berry for this Face Mask
How To:
- Open the Cricut Design Space file here.
- Begin by resizing the design to fit the mask you're working with. The design is already sized for a standard-fit face mask.
- Click “Make It” or “Customize”.
Note: If you're using multiple sheets/colors, as I did, the design is ready for you. If you're using one design/color for the cut, attach all files and set the color of the design to all be the same. This signals to the machine that you're using the same sheet for the entire cut. - Click “On Mat”.
- IMPORTANT: Mirror each piece of the design! You can see this option on the left. Click each element to turn the green mirroring option ON. You will notice the design is backwards – you want that!
- When ready, click continue and choose your Cricut device from the drop down menu.
- SETTINGS: Choose “Infusible Ink Transfer Sheets” as your base material, leave pressure as default, and place the Infusible Ink Transfer Sheet onto your StandardGrip Mat and feet into machine, as directed. Click Go when prompted.
TIP: You may want to hand cut the material ahead of time if you prefer to do so. This is necessary if using a regular Infusible Ink Transfer Sheet with your Cricut Joy. - When the first cut is done, detach the transfer sheet from the mat, and place the next color/design onto the mat and choose all the same settings. Do this until all pieces have been cut.
- Weed the design with your fingers, removing any pieces you don't want to see on the mask.
- Pre-heat your Cricut EasyPress 2 using the Cricut Heat Guide.
- Use the butcher paper (included with transfer sheets) to place on top of your mask to preheat for the recommended seconds (in heat guide).

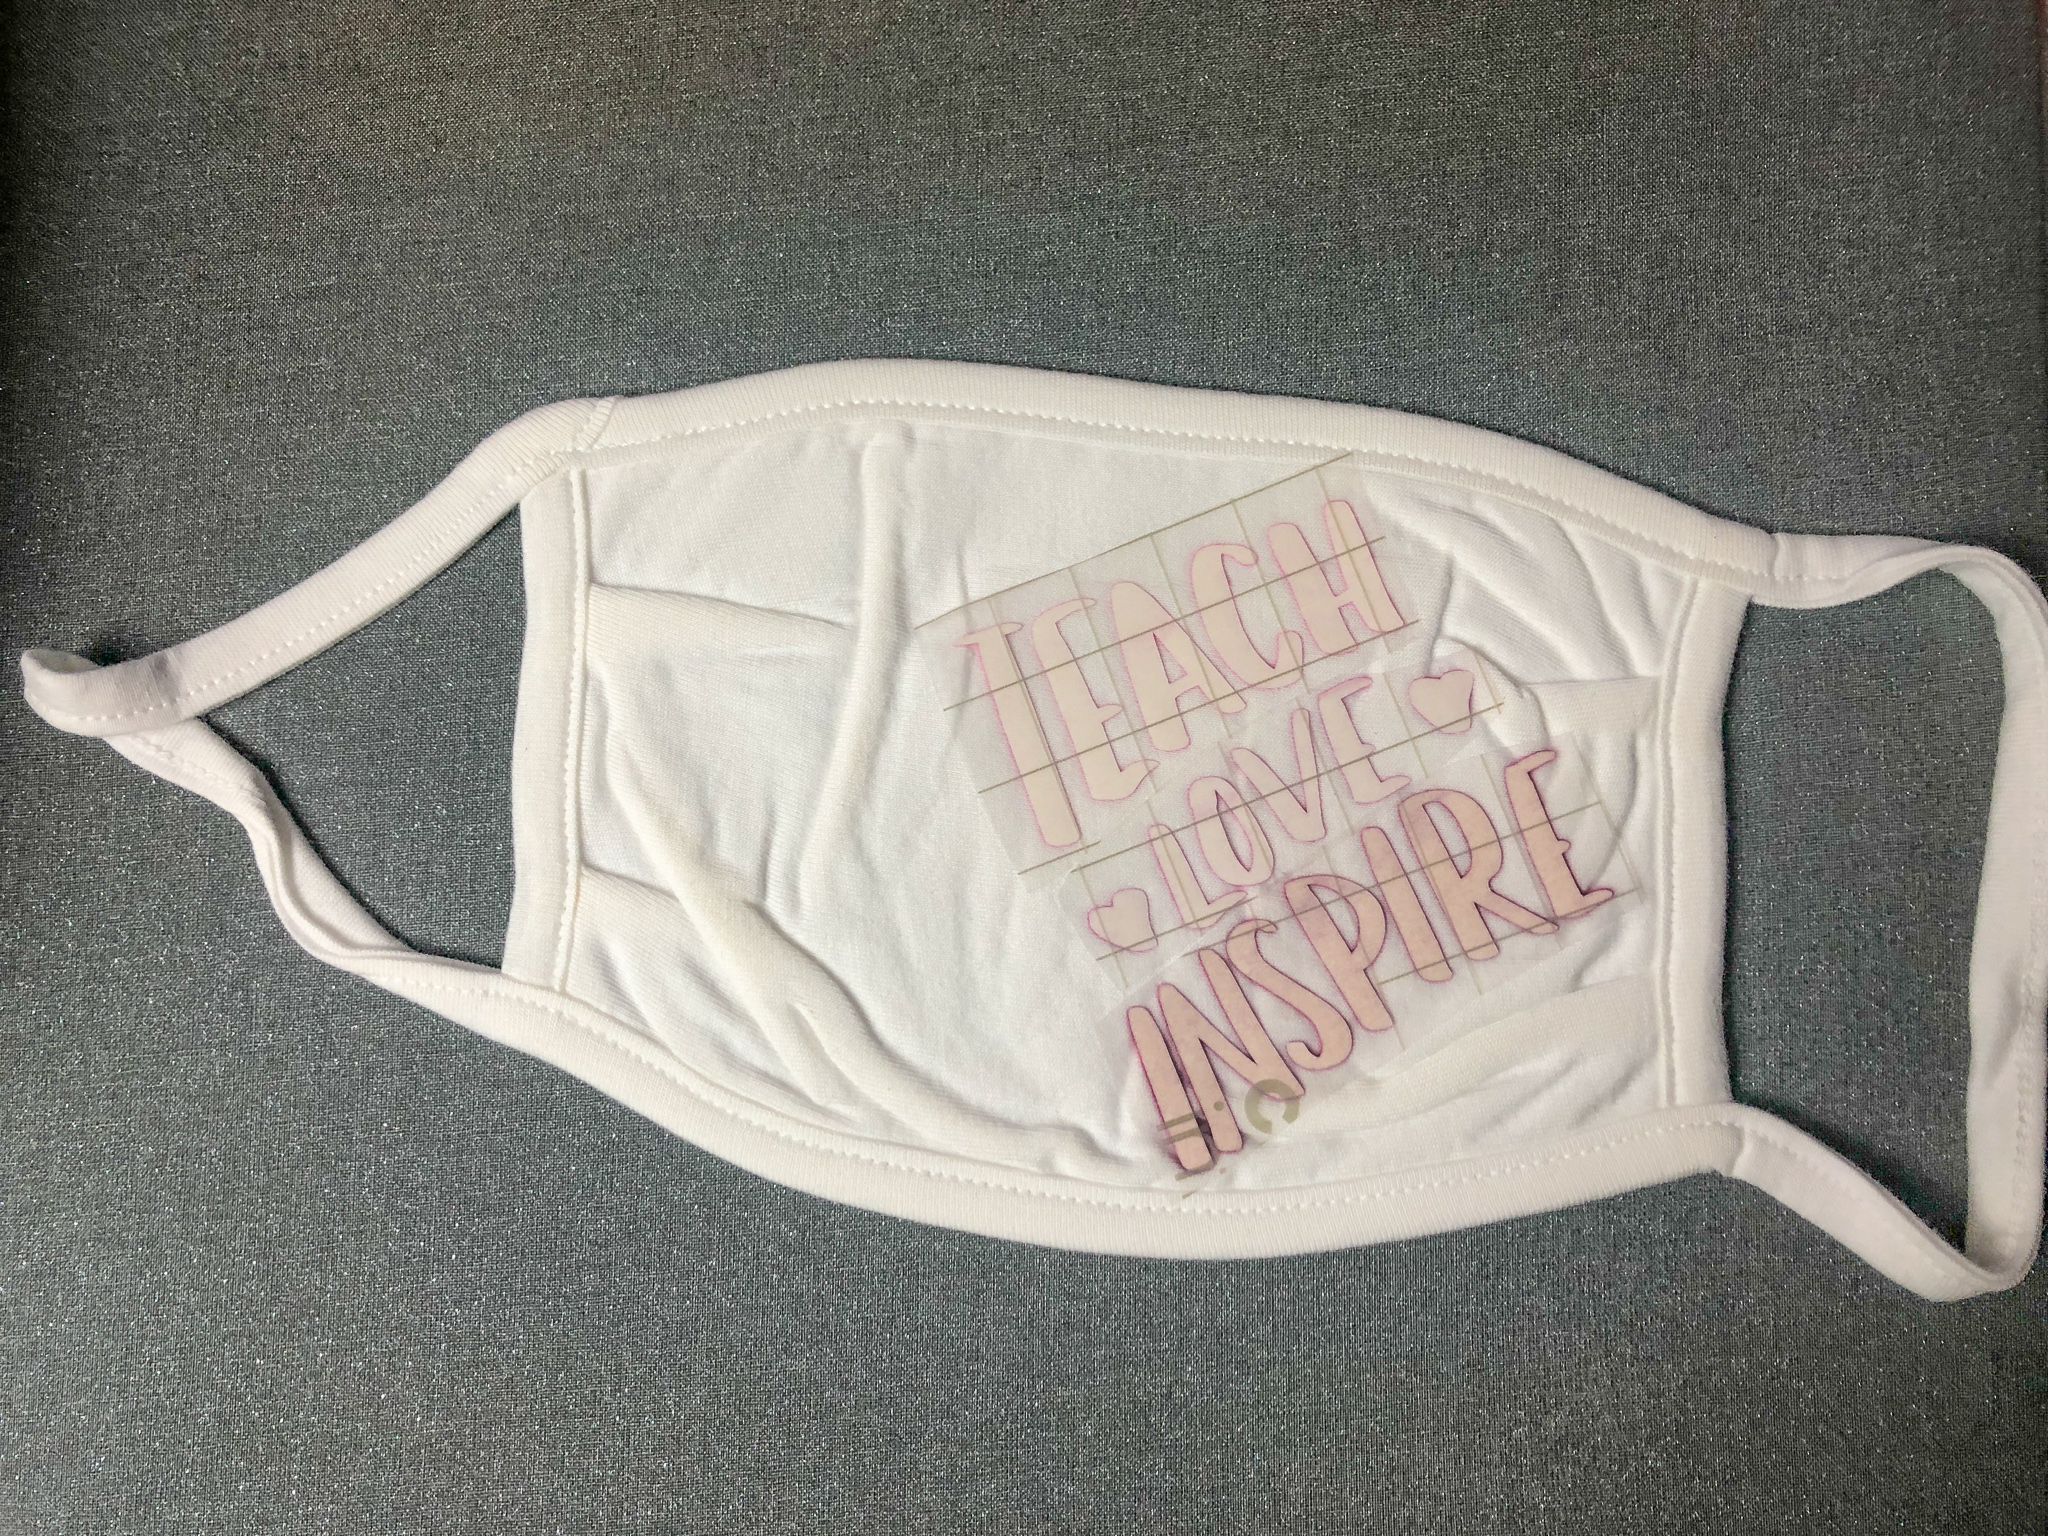
- Place the colored/design side down on the face mask – and press it for the recommended time and pressure.
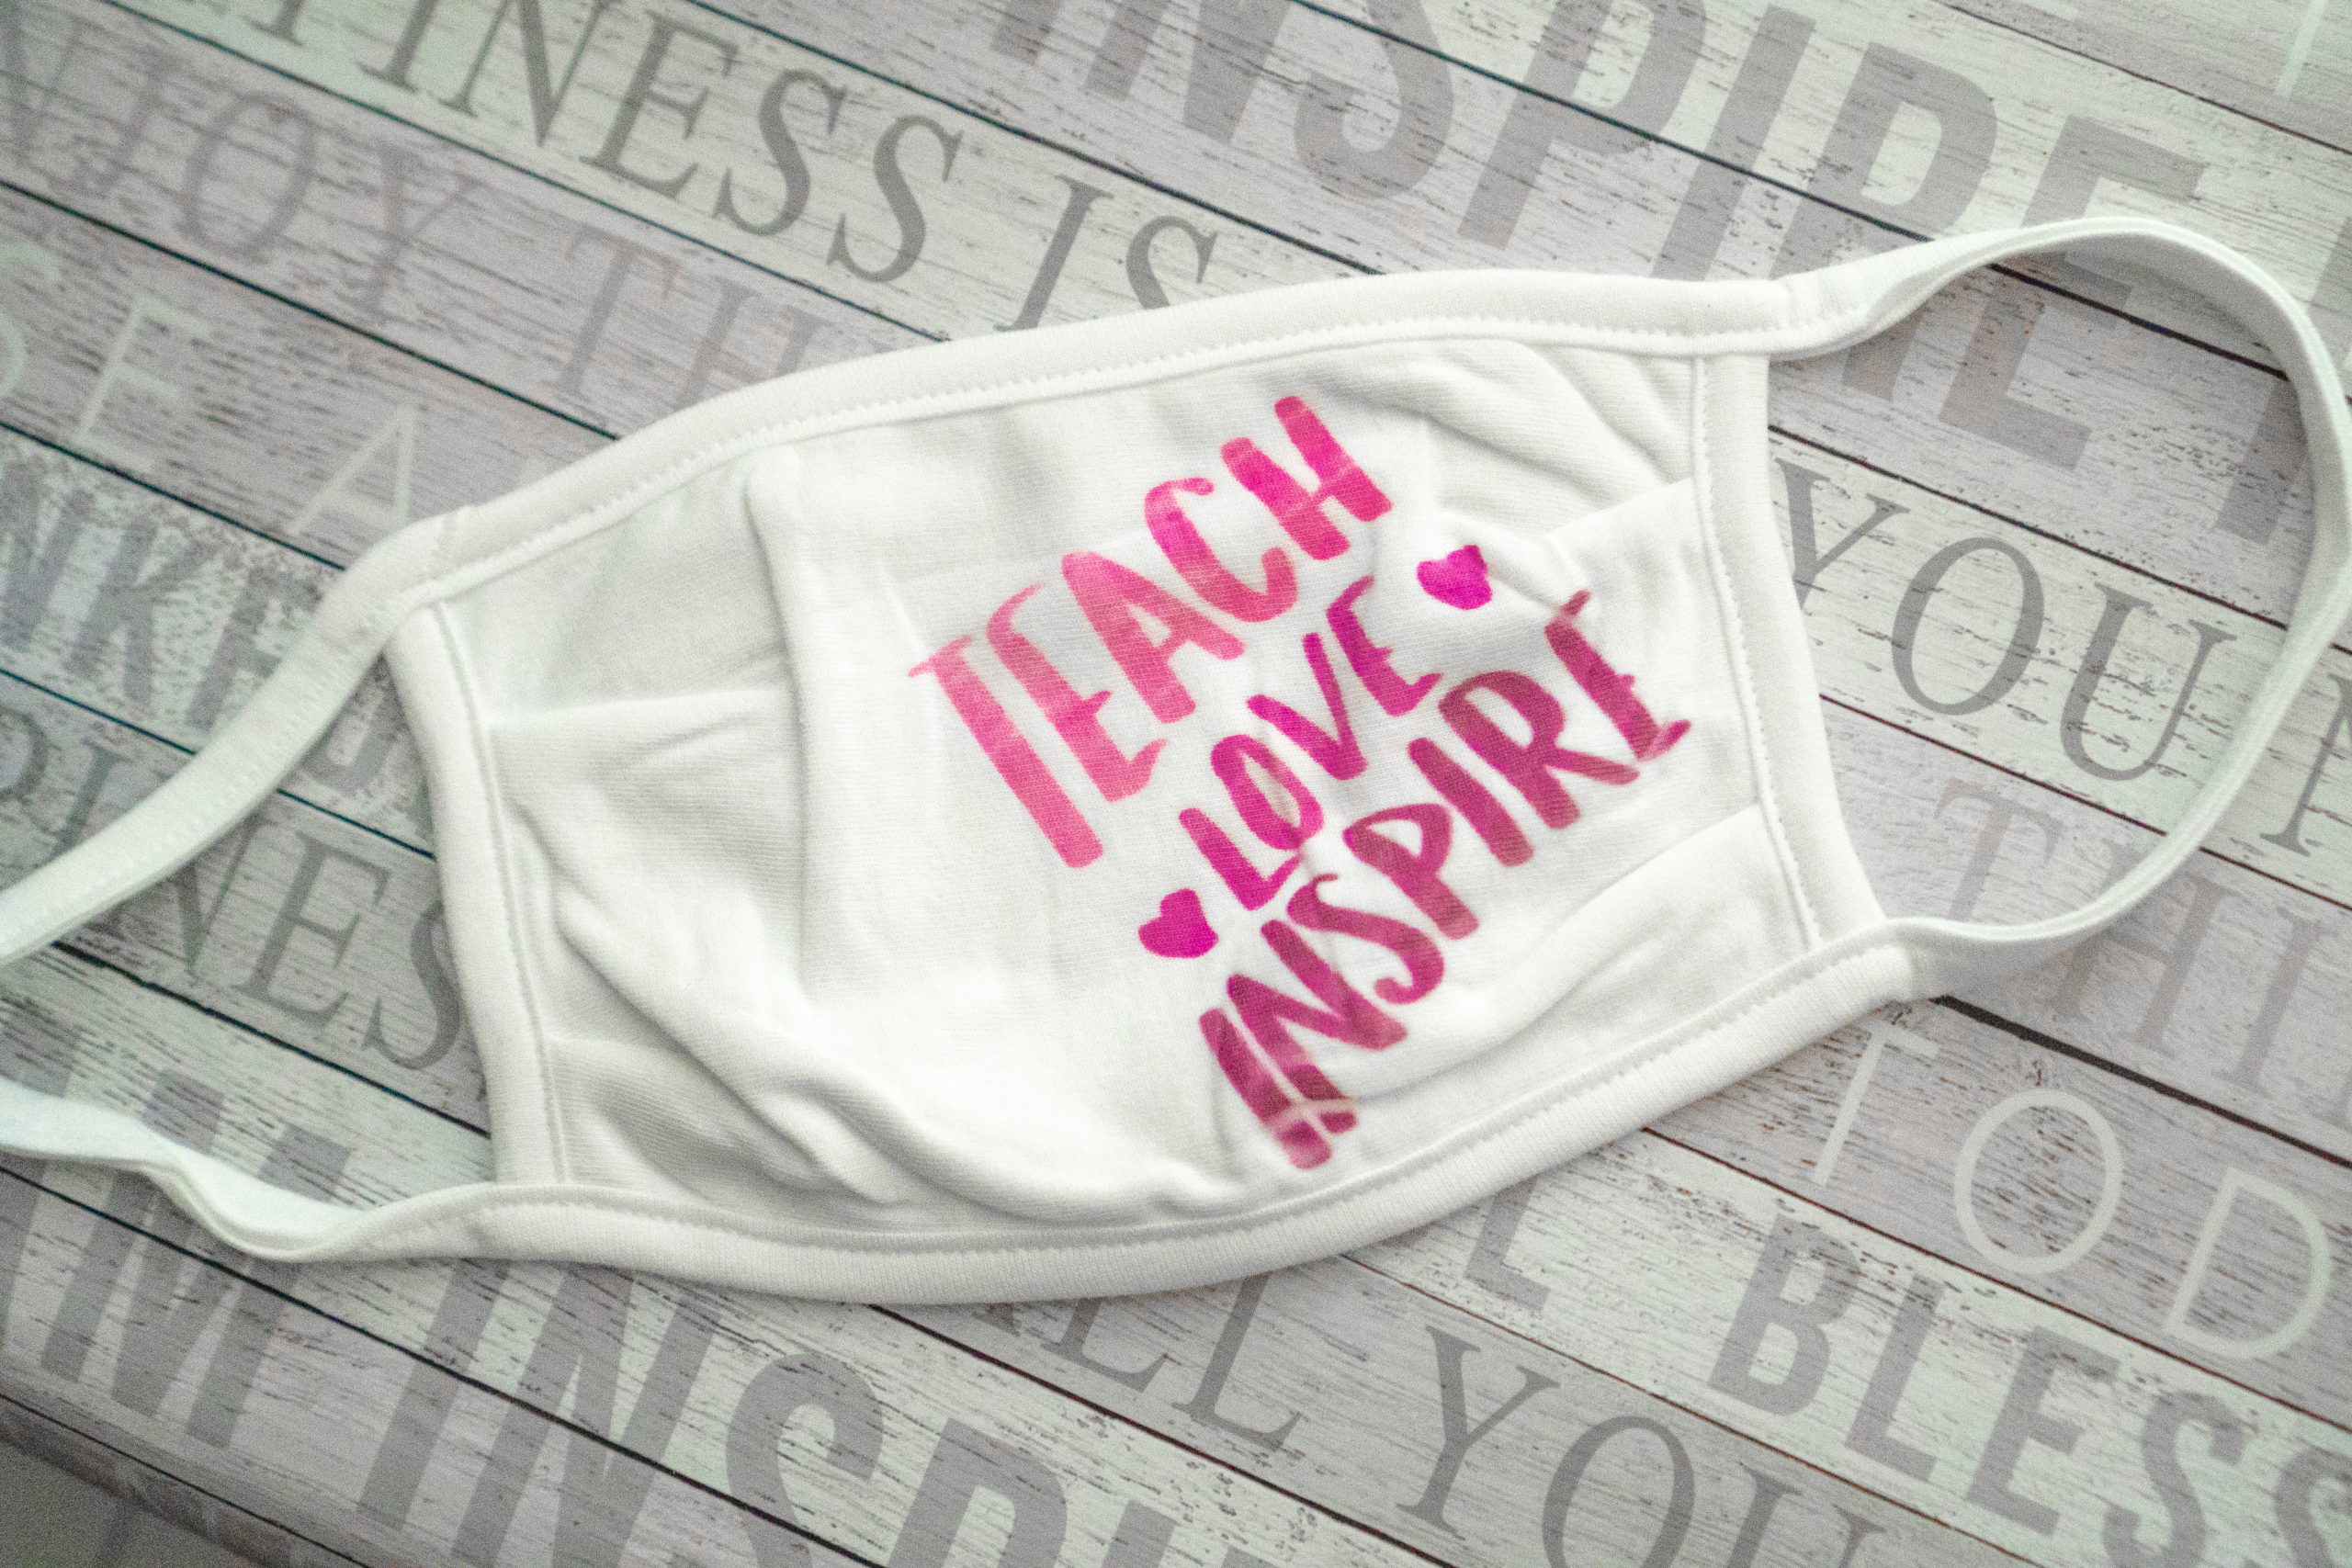
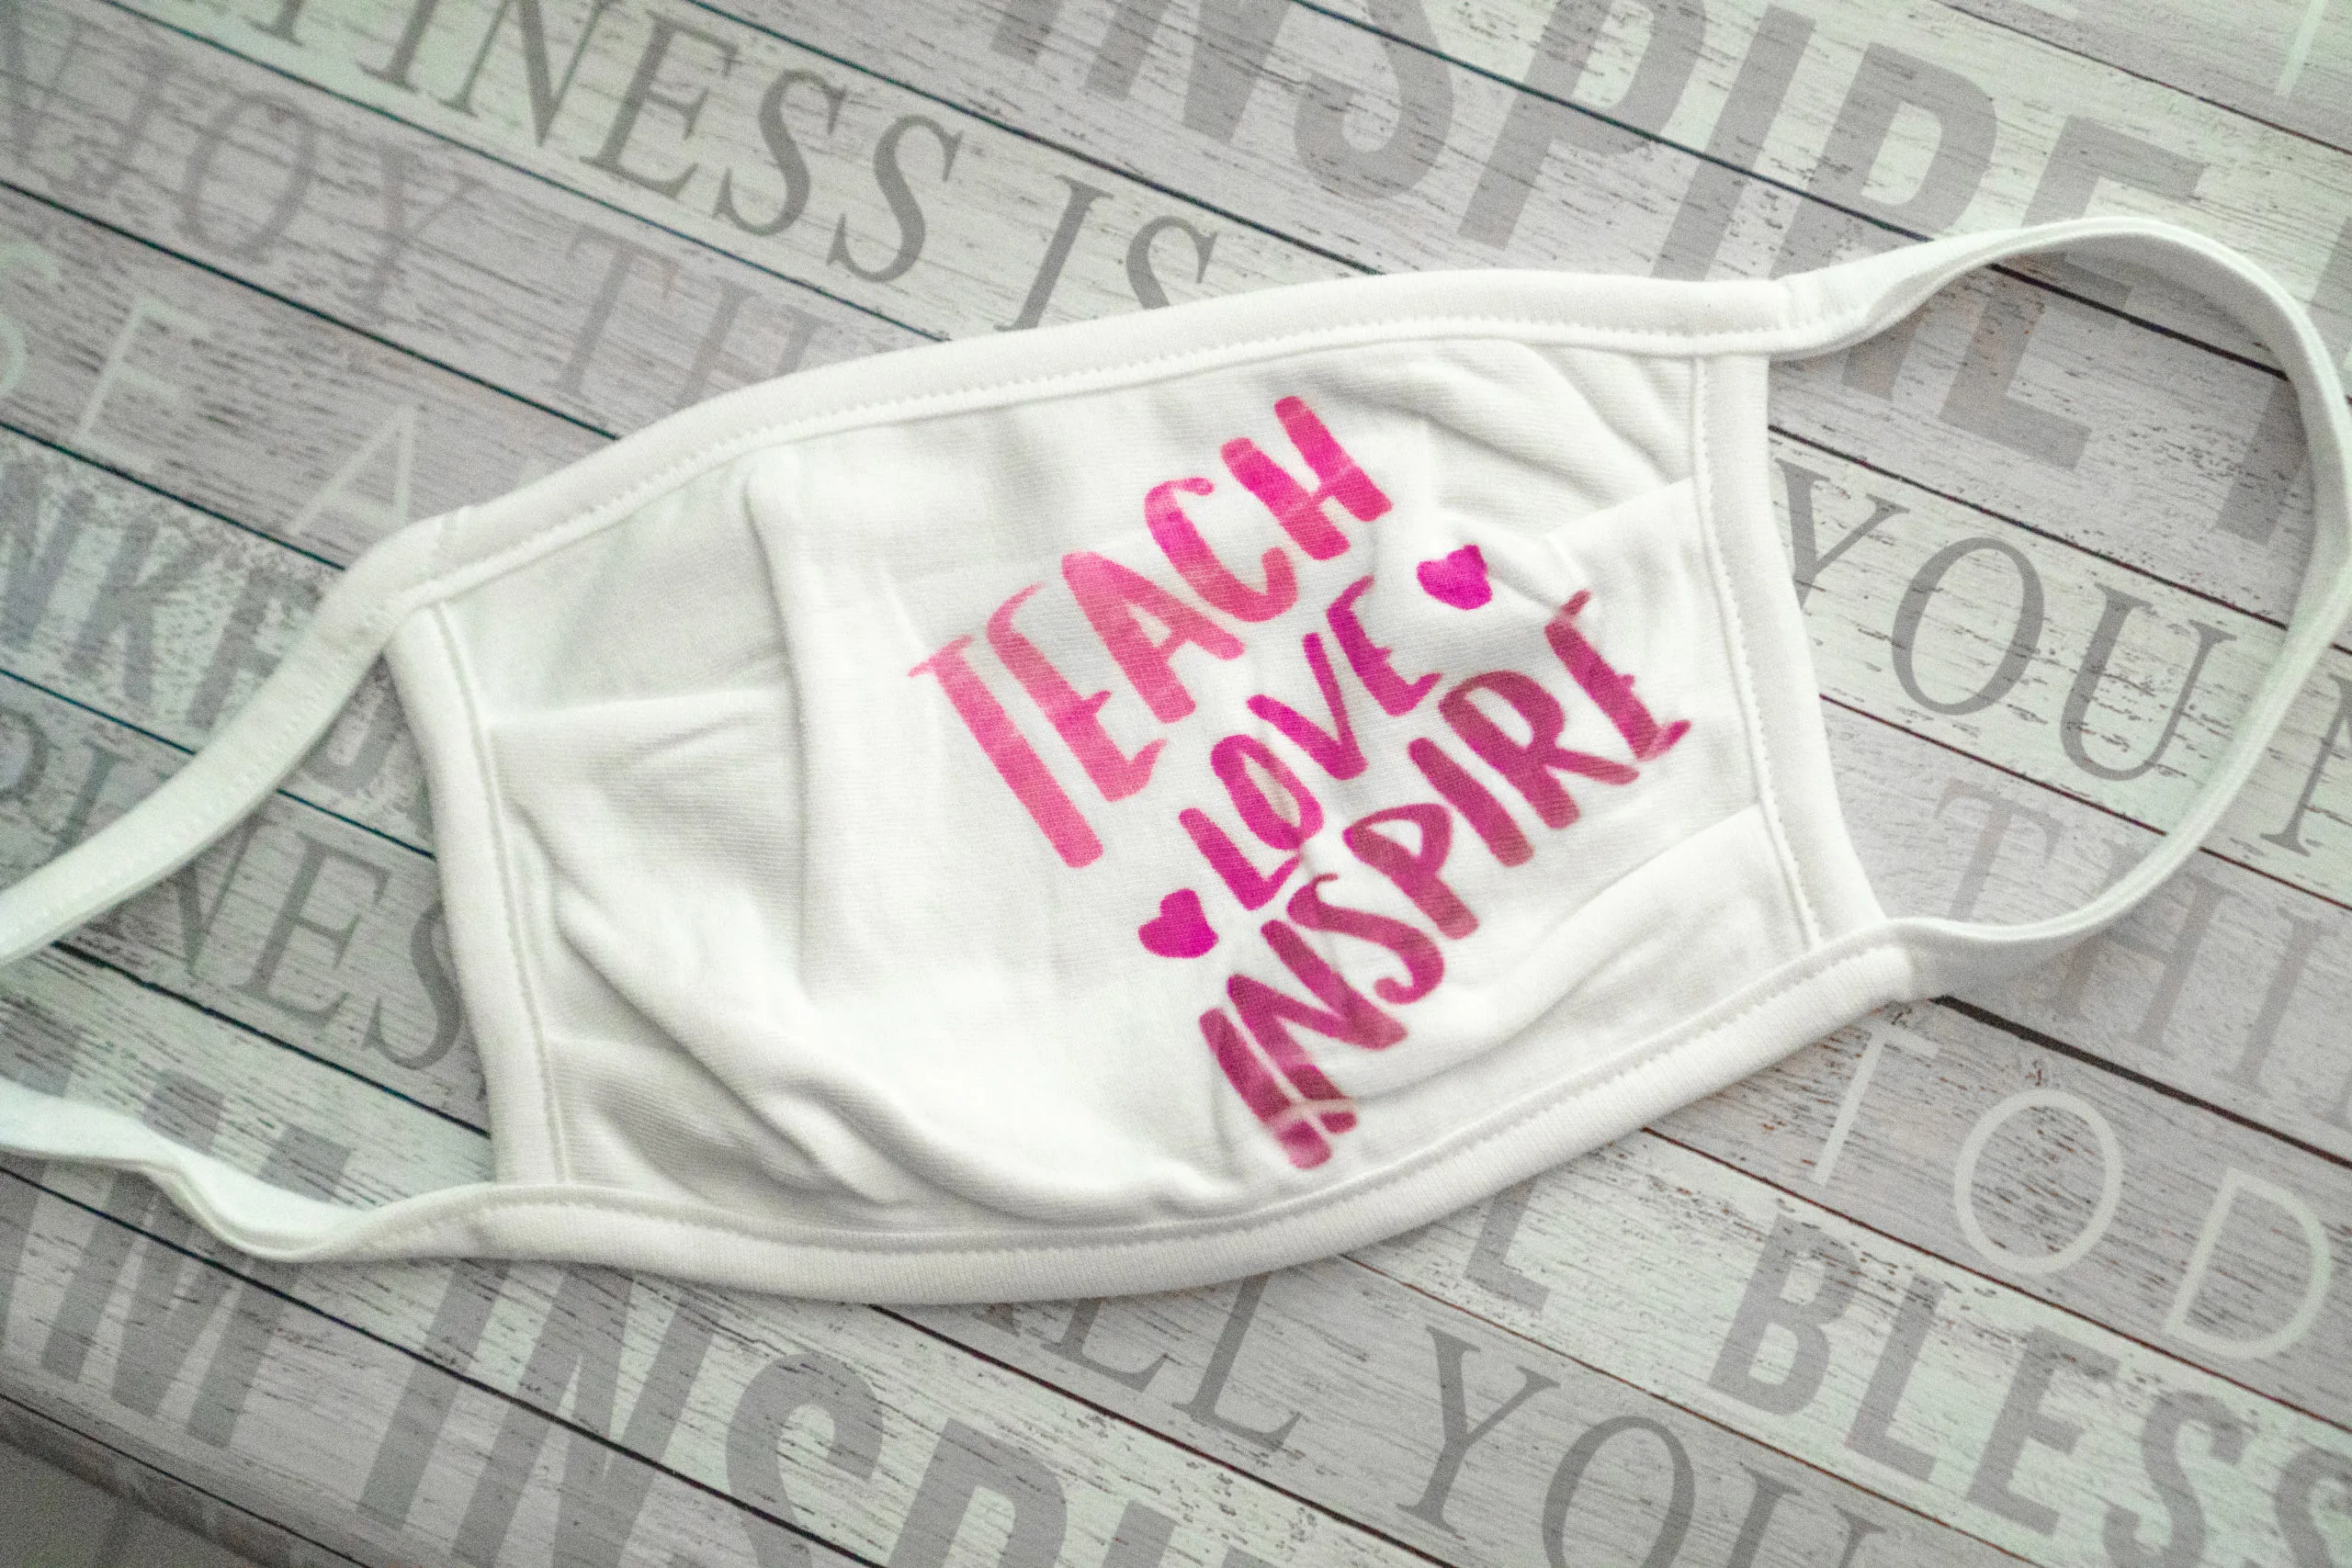
- Remove transfer sheet while it's still warm and viola! You have a personalized teacher face mask!

[…] Tutorials: 10 DIY Face Masks for Back To School / Teach, Love, Inspire Face Mask for Teachers […]
[…] CLICK HERE FOR THE DETAILS […]
[…] Personalized Tissue Boxes […]
[…] Tissue Boxes […]
[…] SHIRTS | THE DENVER HOUSEWIFE 5. HOMESCHOOL PRINTABLE RULES SIGN | HELLO CREATIVE FAMILY 6. DIY TEACHER GIFTS | BUT FIRST JOY 7. PERSONALIZED BACK TO SCHOOL SUPPLIES | SIMPLY NERDY MOM 8. PERSONALIZED MASKS […]
[…] Custom Tissue Holders from But First Joy […]
[…] Kindness Tissue Boxes by But First […]
[…] personalized teacher gifts are super easy to make and are exactly what teachers want! Check it out! Customize with QuotesEveryone can use a little reminder to be kind and patient right now and this tutorial shows you a […]
[…] is this maybe the fanciest tissue box you’ve ever seen? But First Joy created an awesome tutorial to make this little […]
[…] Personalized Tissue Boxes by But First Joy […]