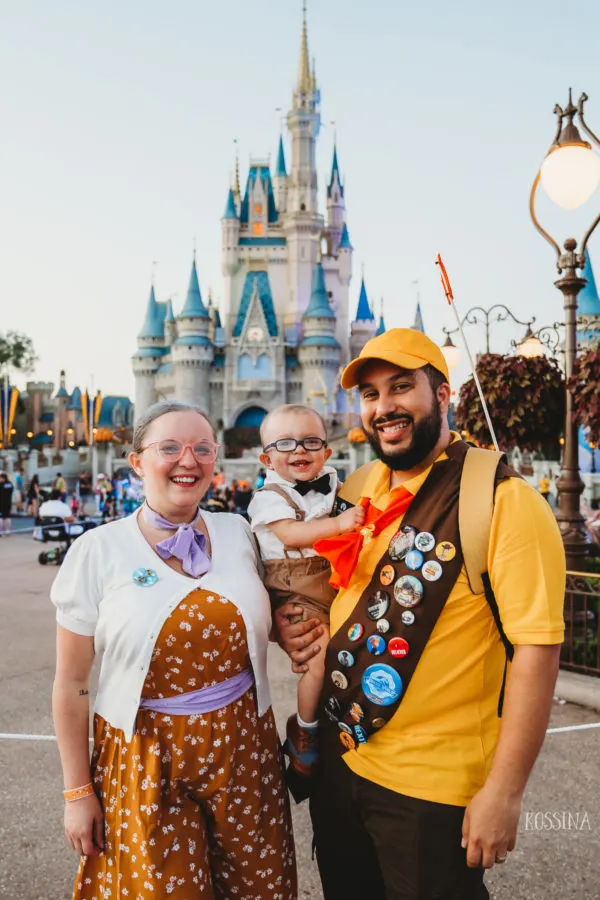
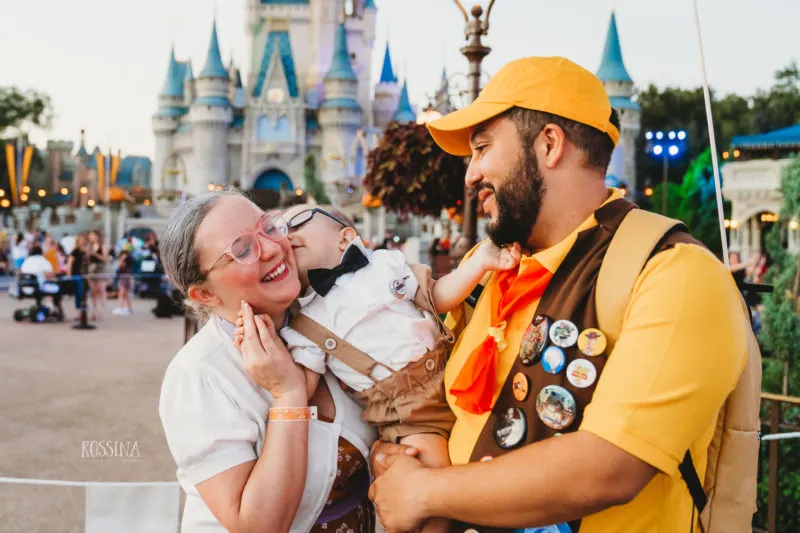
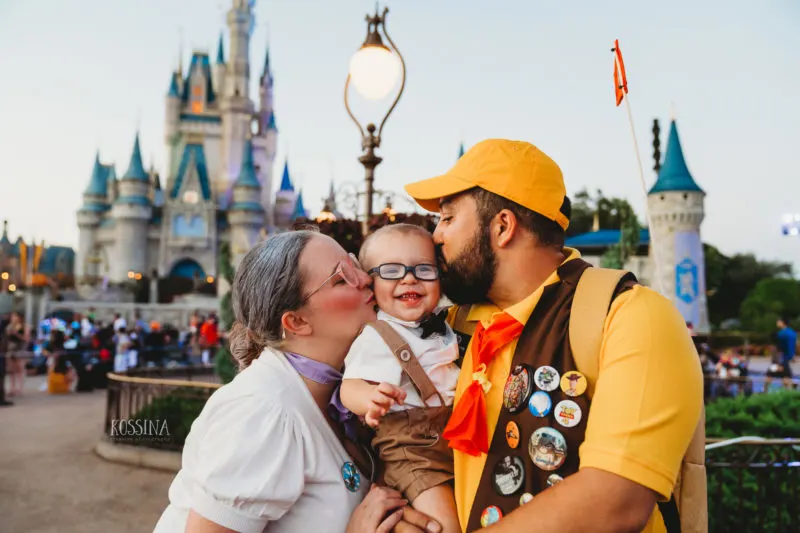
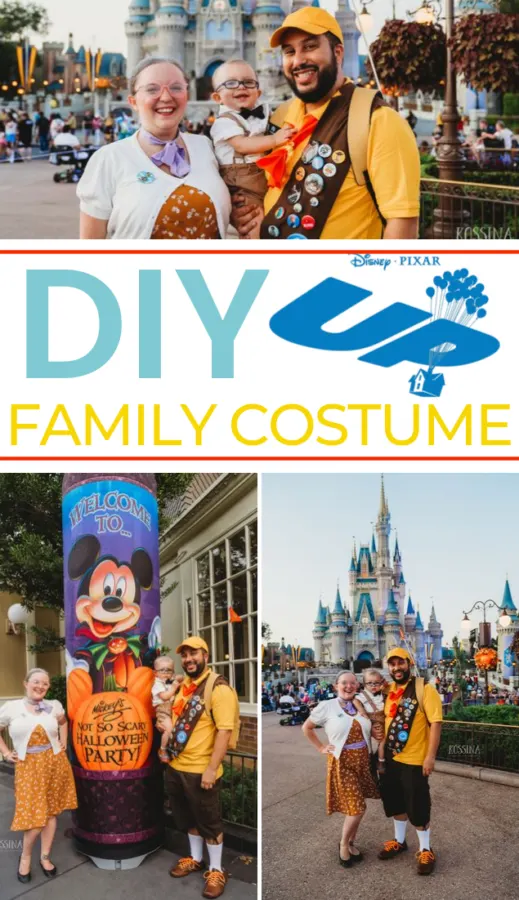
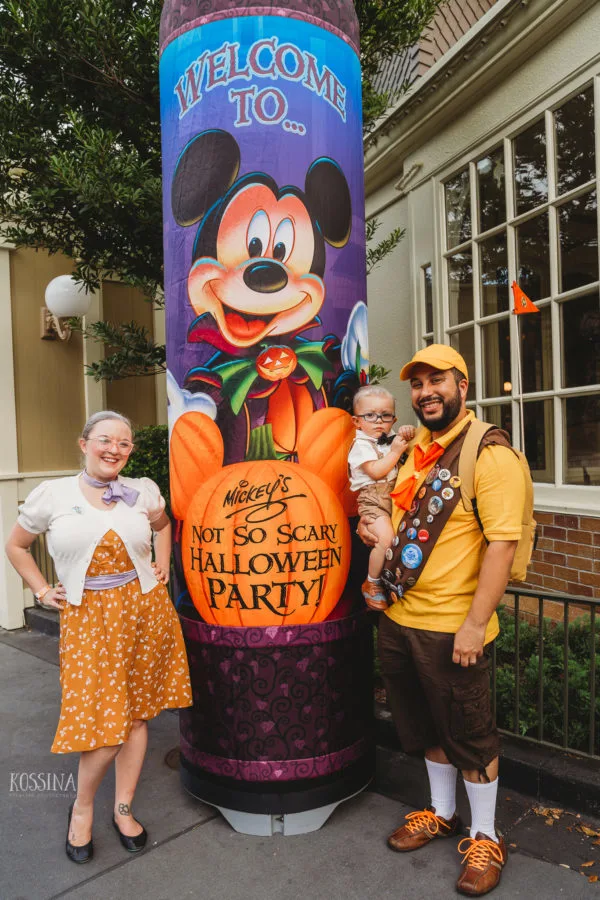
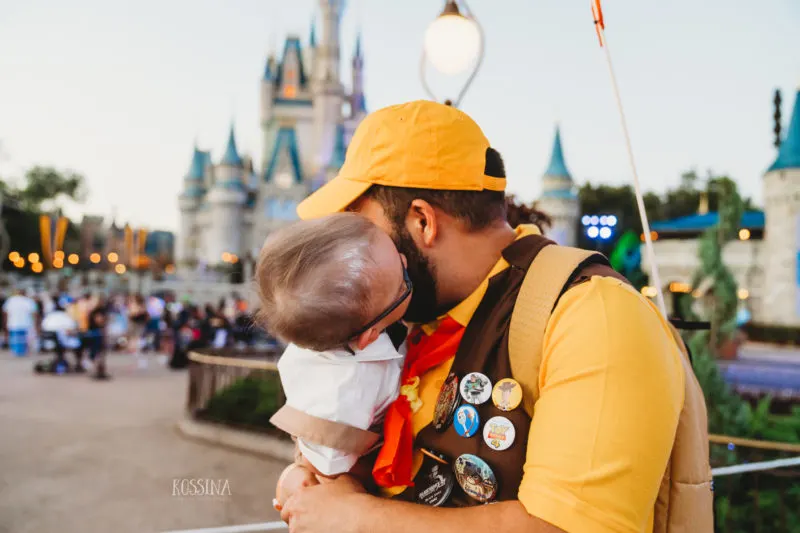
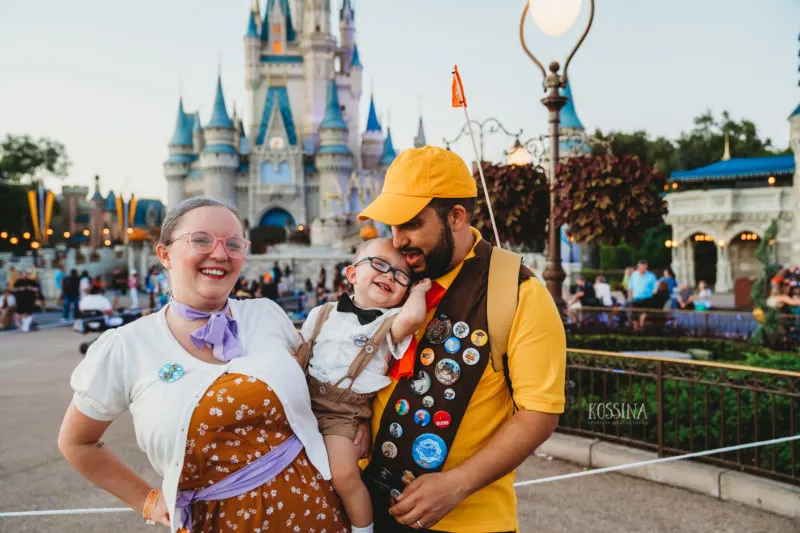
My DIY Up Family Costumes were a huge hit at this year at Disney Halloween Party! My little family dressed as Pixar's Russel, Carl, and Ellie. It's so easy that anyone could it – so, here's a tutorial.
I highly recommend signing up for Amazon Prime, if you aren't already a member. Most of our supplies came right from Amazon with 2-day shipping.
We were working with a very short time frame, so I needed to order supplies and build the Up family costumes within a week! Talk about pressure!
Up Family DIY Costumes
To add, we were working with a budget. So, we tried working with some of the items we already had on hand. Which was easier considering these are human-like Disney character costumes.
Something else we took into consideration when finalizing our Disney group costumes for Mickey's Not So Scary Halloween Party, is the comfort level. We knew we'd be trick-or-treating at Disney World in a very hot climate, so we had to really think about each individual item.
DIY Carl Up Costume (for babies or toddlers)
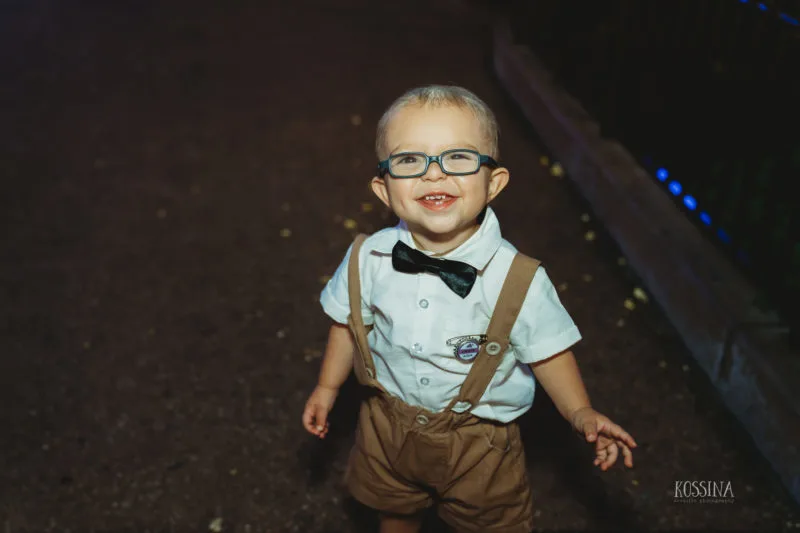
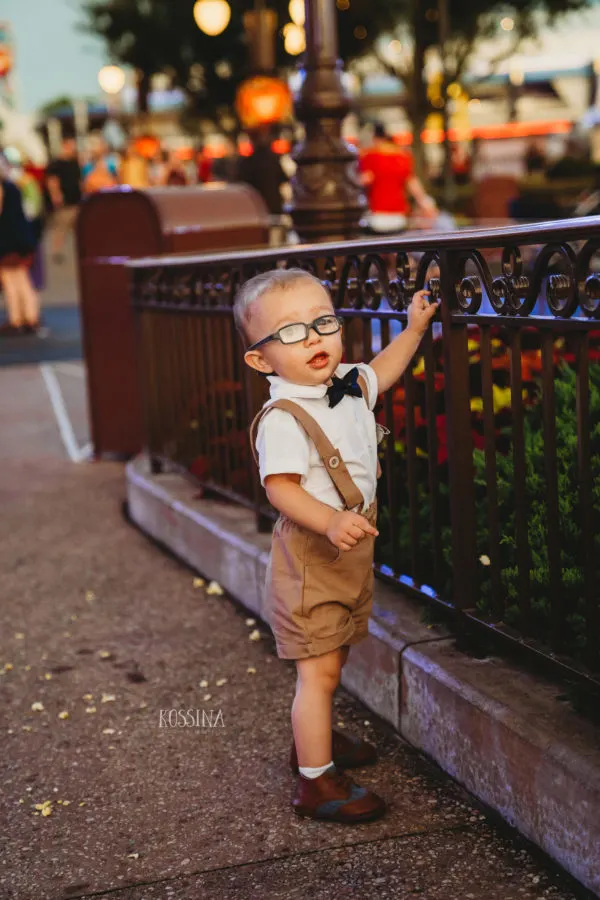
This costume was fairly easy to make. First of all, my little boy already wears glasses so it felt like Carl from Up was an obvious choice.
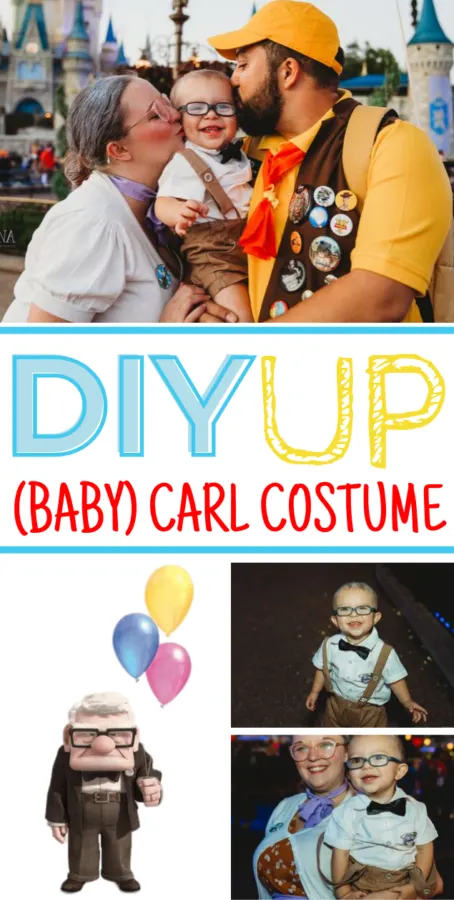
When it comes to Carl there are a few signature pieces: the black framed glasses, grape soda pin, and black bowtie.
Carl Up Costume Supply List
- Black Frame Glasses (I would have chosen these if my son didn't already have glasses)
- Grape Soda Pin
- Black Bowtie
- Brown Dress Shoes
- Suspenders/White Shirt Outfit
- White Hairspray
Not Pictured:
- Bushy Eyebrows – paint with white hairspray
- Brown Dressy Outfit with Pants & Vest
- Brown Belt
You can shop the list on Amazon here: Carl Supplies
You'll notice that the little outfit included a bowtie. Luckily, it's removable so I replaced it with a black one because he wouldn't be Carl without that signature black bowtie.
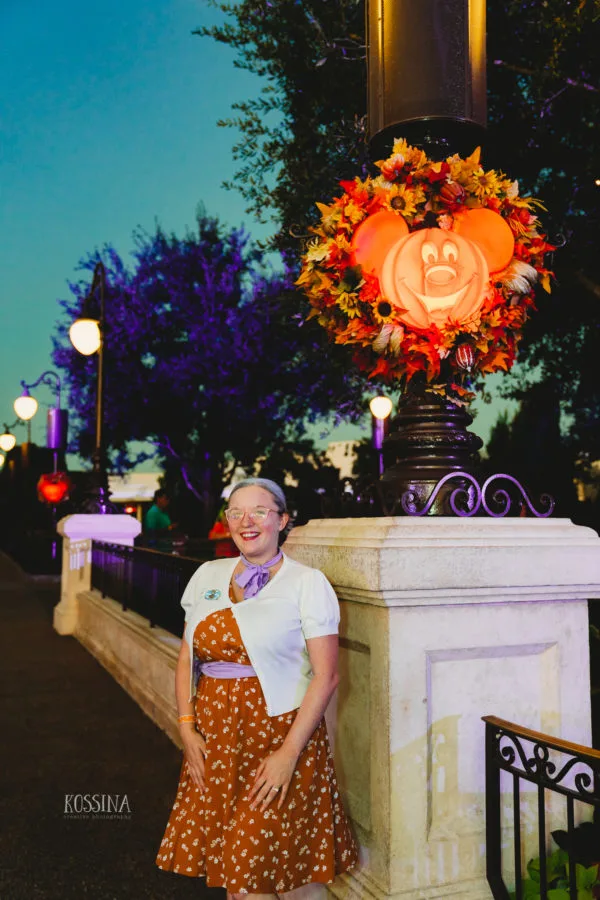
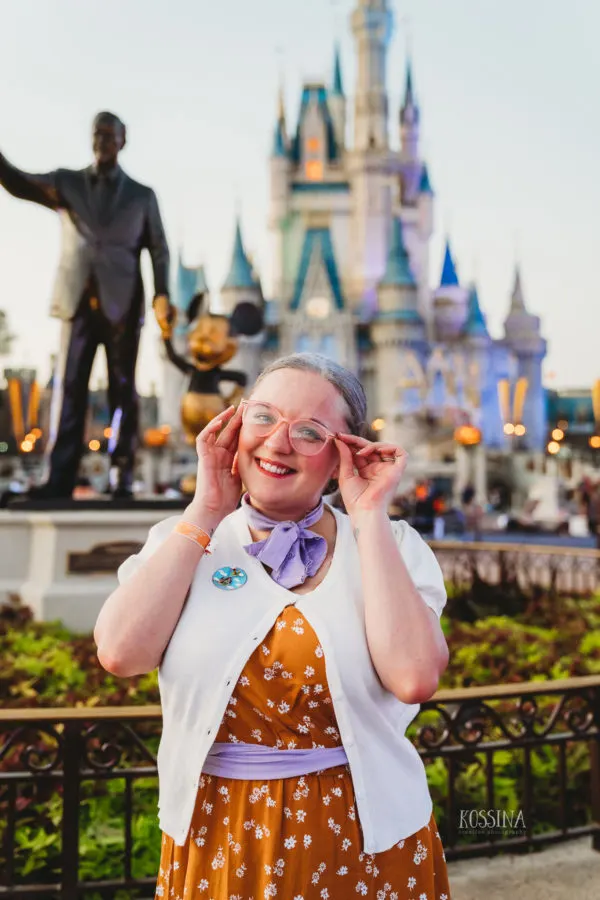
DIY (Old) Ellie Up Costume
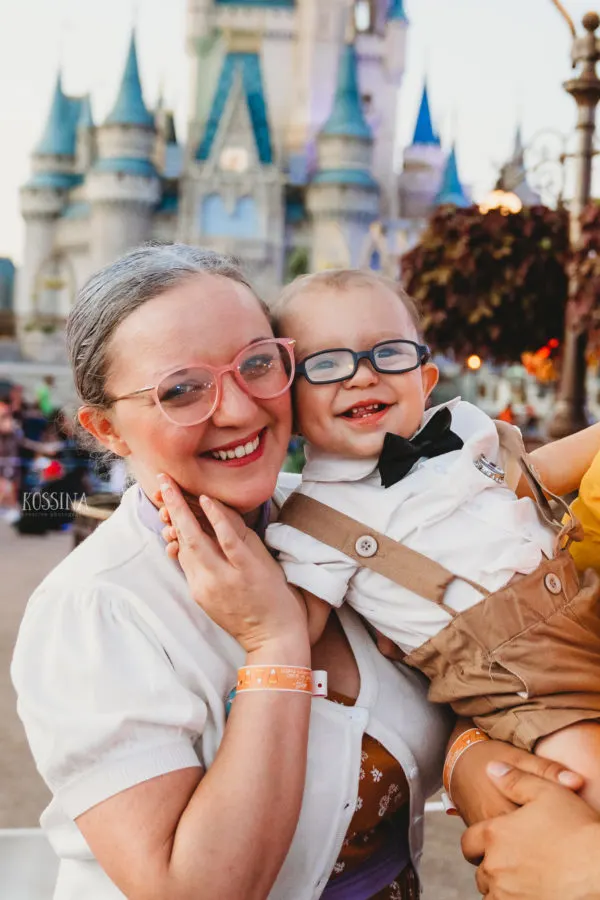
Making the Ellie Up Costume was pretty easy to do. Basically, you just need to look like an old lady and hang with Carl and Russell.
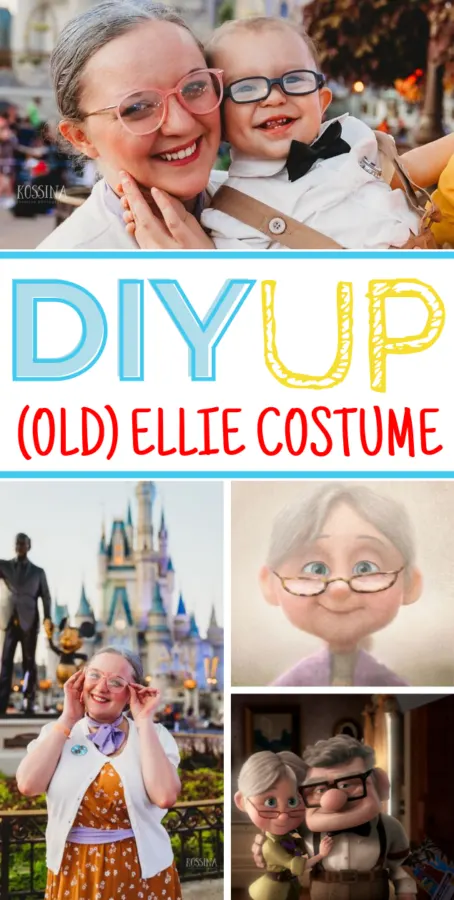
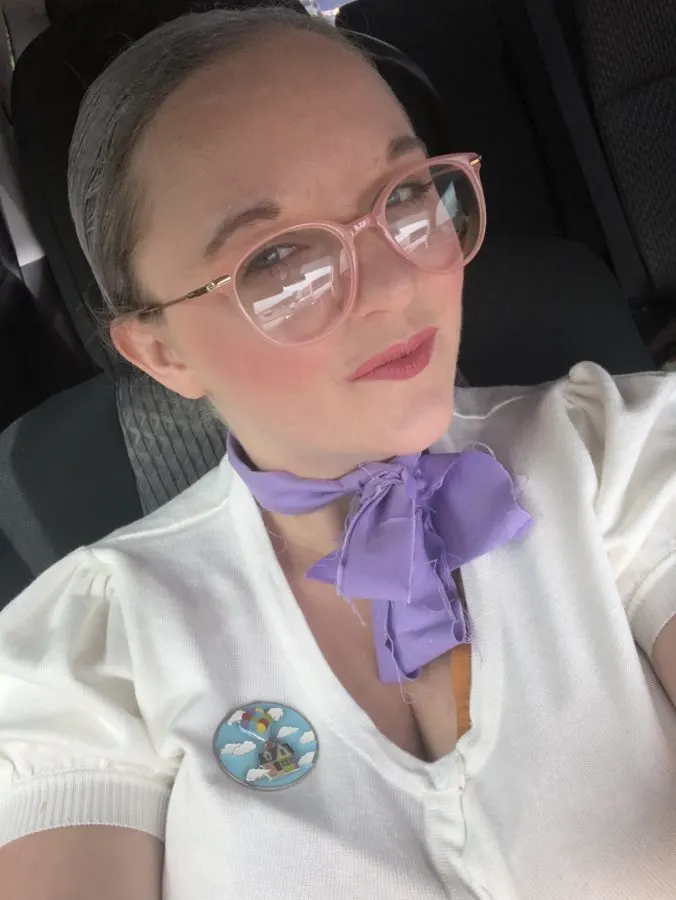
There aren't any major distinguishing qualities or pieces for old Ellie. So, I used my imagination – along with a few photos I found of Up's Ellie. I also added an Up Enamel Pin that I had just to give the Pixar's Up hint!
This was the easiest of the Pixar's Up Family DIY Costumes.
Ellie Up Costume Supply List
- Yellow Vintage & Modest Dress: Option 1 | Option 2 | Option 3 | Old Navy Dress (as pictured)
- White Cardigan: Short Sleeve (as pictured) | Vintage Long Sleeve
- Fake Reading Glasses
- Flats: Option 1 | Option 2 | Option 3
- White Hairspray
- Purple Scarf – I cut a single string of light purple fabric and tied it around my neck. Simple and effective!
- Any sort of “Up” Enamel Pin
Not Pictured:
You can shop the list on Amazon here: Ellie Supplies
I also tried to make my makeup subtle with lots of pinks – as you may see an older woman wearing.
DIY Russell Up Costume
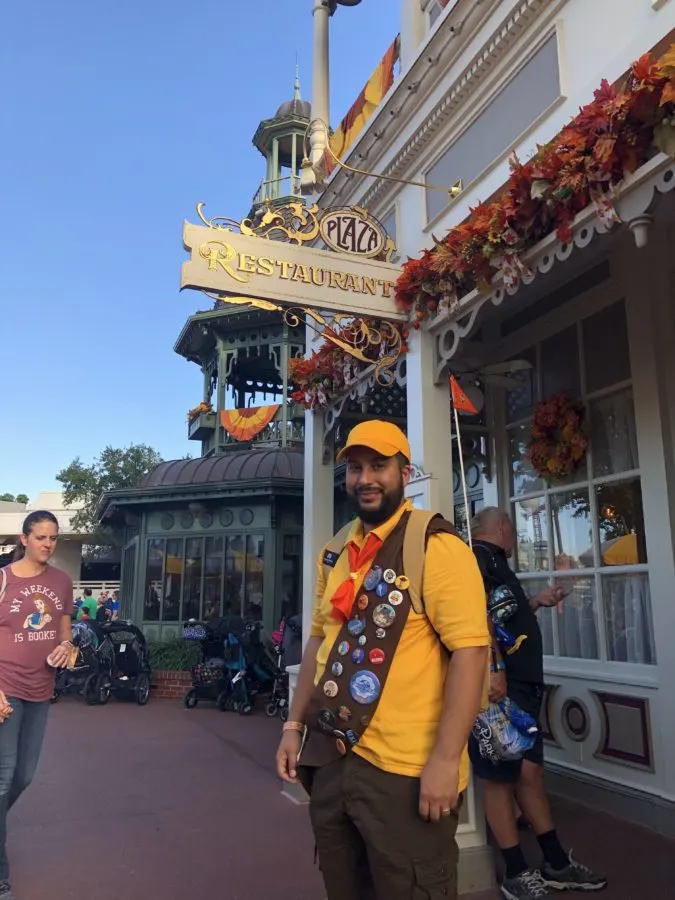
Russell's Up Costume was my favorite to make because he has so many little details about him! From the flag to the sash, this costume had so many fun pieces to put together.
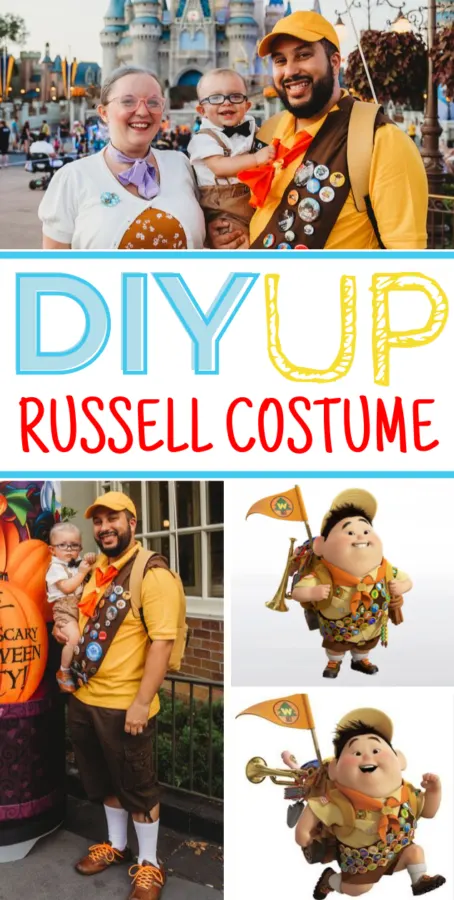
It definitely wasn't as simple as the others – but the hard work paid off, as you can see. I'll be giving you a Russell Up Costume how-to, along with a list of supplies.
This was the most detailed of the Up Family DIY Costumes!
Russell Up Costume Supply List
- Yellow Polo (or shirt with collar)
- Brown Cargo Shorts
- Yellow Cap (the cap and shirt are the perfect color match)
- Brown Sneakers
- Orange Laces
- Yellow Backpack
- Orange Scarf – I cut a strip of fabric and placed it around my husband's neck. I used the same fabric for the flag.
- Yellow Ribbon (to tie the scarf)
- Brown Sash (See Below)
- Orange Flag (See Below)
- Long White Socks
You can shop the list on Amazon here: Russell Supplies
PRO TIP: I chose a plain yellow hat because that's what Russell wears in the movie. However, you could grab this cute Wilderness Explorers Hat or add a patch to a hat if you'd like.
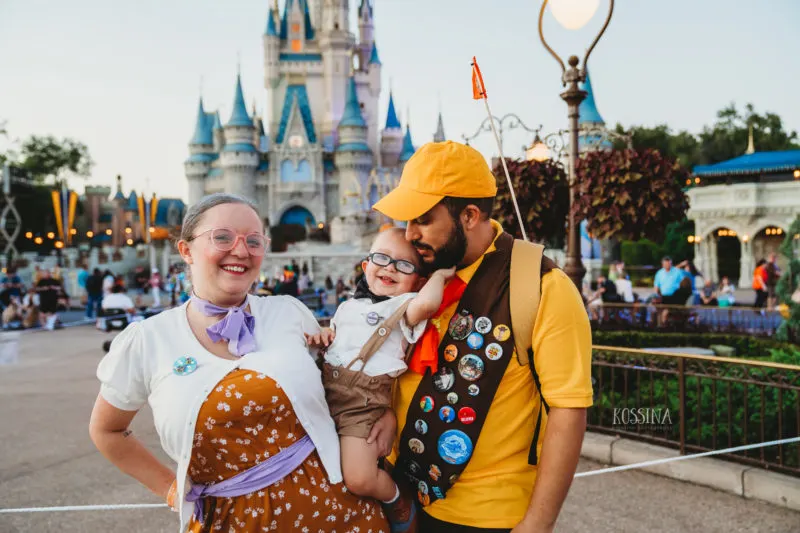
The sash was handmade (no sew) and so was the flag! I'll teach you how to make both below.
Up Russell Sash How-To
What You Need:
- 1 Yard Canvas Brown Fabric
- Fabric Glue
- Scissors
- Safety Pins
- Patches or Buttons (buttons are much easier)
My husband and I had a ton of buttons saved from various Disney events, fundraisers, and New York Comic Con – so we placed those on his sash. My favorite was definitely the Toy Story 4 buttons.
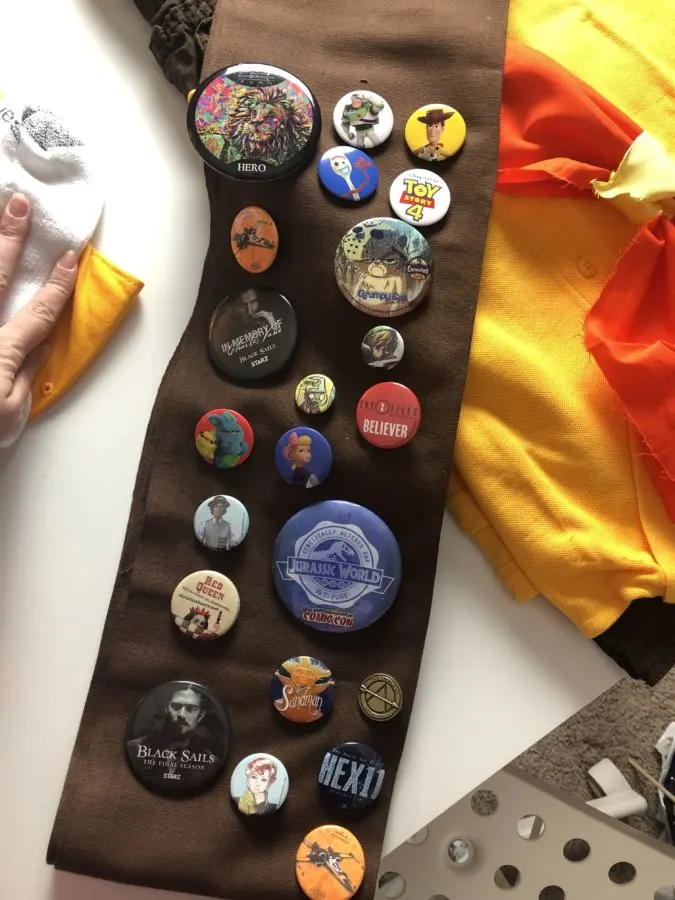
How to make Russell's sash (without sewing):
- Fold yard of brown canvas fabric in half and cut a 5-6 inch wide strip. This should be long enough for the sash, but if it isn't – cut two. I folded in a way that cut both strips at once. Then, I aattached later.
Tip: Leave the pre-sewn edge clean if there is one. This way you don't need to clean it up. - Using the fabric glue, you're going to fold in a tiny bit of the jagged edges of the fabric and glue them down. Do this along the lengthy sides of the fabric so hide uneven edges and strings.
Take your time doing this, glue a little and apply pressure. I found this to be very therapeutic actually. - Allow glue to fully dry for a couple hours.
- If you cut two strips, you can now attach them using the safety pins. You'll attach at one end (shoulder) by folding in a half inch of the end of both pieces of fabric. Then, pin them together using two large safety pins.
- Add buttons or patches to the sash, as you see fit. You can perfectly align them as Russell does or you can just throw them on there, like my husband did.
Tip: You should map out where you want to place the buttons/patches, as you don't want them too close to the shoulder. We applied buttons about 4 inches from the shoulder. - Place sash on the individual who will be wearing the Up Russell Costume. Align the sash from left shoulder to right hip, just as little Russell wear it. Safety pin the meeting of the fabric to secure sash.
We waited until it was time to wear the costume for this part.
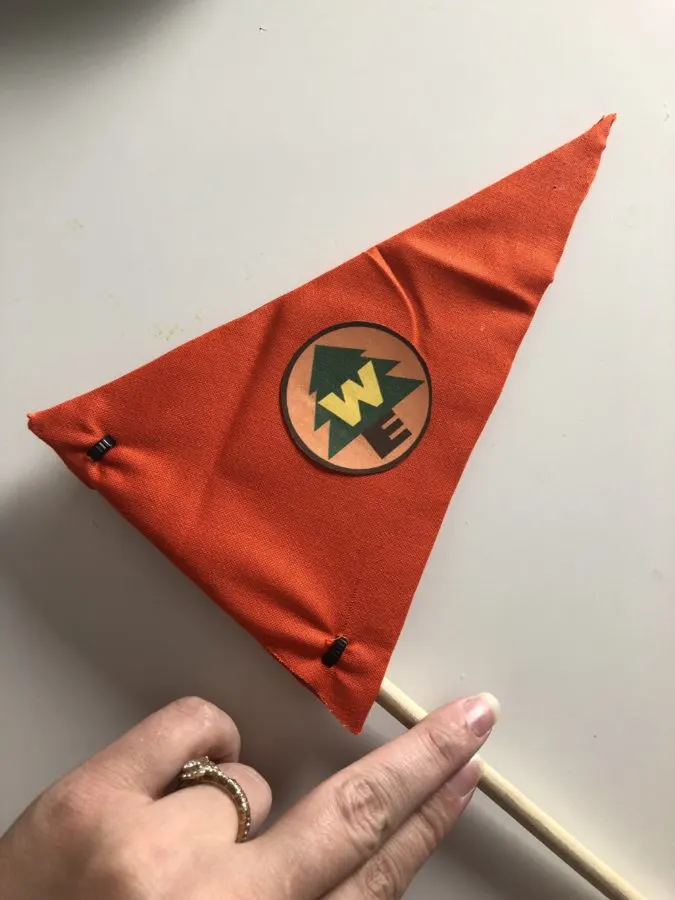
Up Russell Flag How-To
What You Need:
- Wooden Rod – 2ft (I recommend buying a single rod at a hardware store for under $1.00)
- Triangle Cardboard Cutout (I cut a few triangles out of an Amazon box)
- Orange Fabric
- Wilderness Explorer Cutout – on card stock
- Fabric Glue
- 2 Heavy Duty Zip ties
- Scissors
How to make Russell's flag:
- Cut out a triangle from cardboard with two long sides. You can cut a few pieces to figure out the exact size, shape you'd like.
- Now is the part that took the most time: applying the orange fabric to the cardboard flag.
- Cut out two orange fabric triangles that are larger than the cardboard triangle.
- Now, fold in each side of fabric and glue inner parts to the cardboard triangle. You'll do this on all 3 sides, front and back. You basically don't want to glue the inner part of the triangle because it will bleed through.
- Print out the Wilderness Explorer Patch twice on a piece of card stock and carefully cut the patches out.
- Glue one patch to each side of flag, allow to fully dry before moving forward.
- Glue flag to the wooden rod, allow to dry.
- Cut a small hole at the top and bottom of the flag near the small side – this is where you'll place your zip ties.
- Ziptie the flag around the pole in both holes to fully secure. Trim as much of the zipties as possible.
TIP: The point of gluing and tying the flag is to guarantee it's fully secure! - Place in Russell's yellow backpack! Be sure the flag isn't so tall that it will run into doorways, trees, etc. We had to trim ours a couple times.
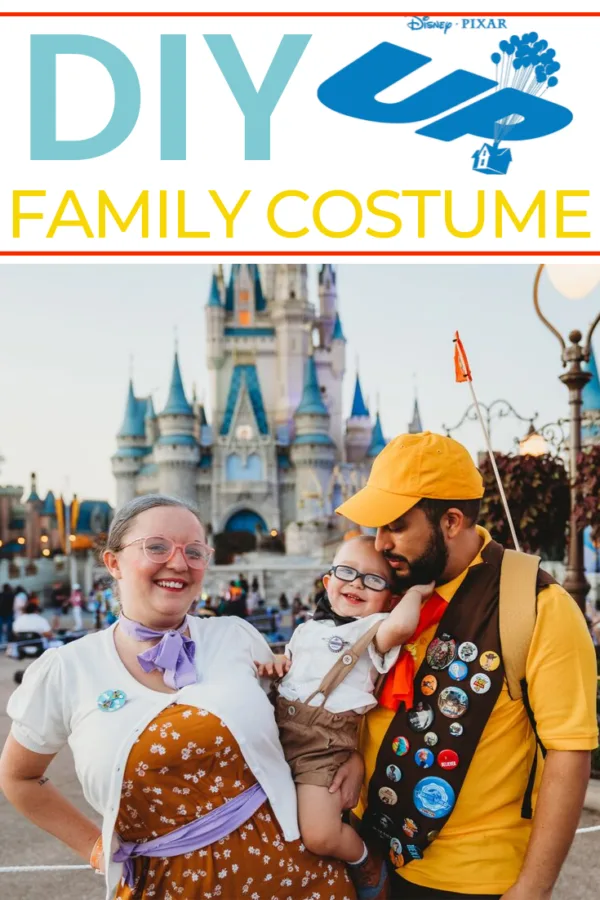
Finally, go show off those Pixar Up Family DIY Costumes! Be sure to tag me in your posts and let me know in the comments if you need any help!
You'll also love these Wreck It Ralph Family Costumes from See Vanessa Craft!
[…] Pixar’s UP Family Costume (from But First Joy) […]
[…] CHECK THIS OUT: DIY Pixar’s Up Family Costumes […]