If you've read The BFG book or watched The BFG movie trailer closely, you know about the colorful jars that The BFG stores dreams in. The BFG is a good giant. He's a giant that delivers good dreams to the children as they sleep. When I read the book, there was something that stood out to me more than anything else – the description of the jars. My imagination went into a million different directions when the dreams inside the bottles were described. I even went so far as to picture Flubber, stuck inside of a jar. Yes, I just went there! I knew if I didn't put my imagination to work, that I'd never stop thinking about it.
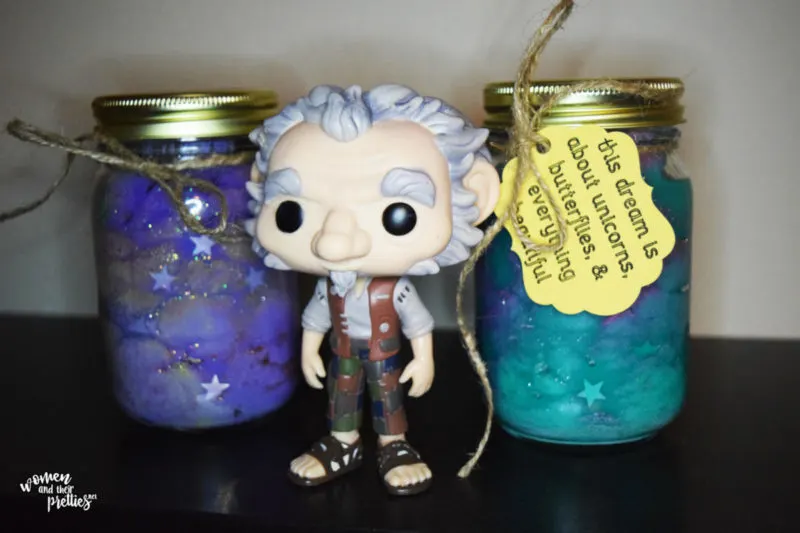
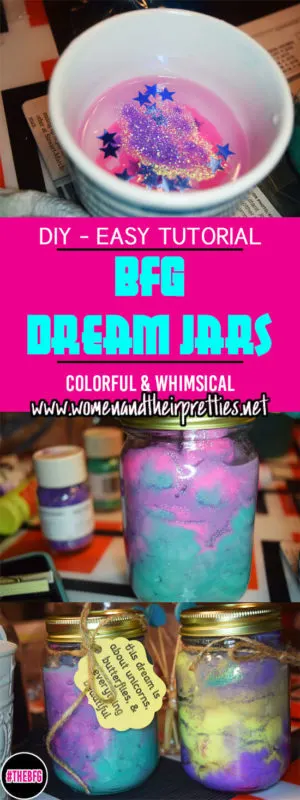
So, when I pictured the Big Friendly Giant hunting for dreams and stuffing them into bottles, I actually imagined the bottles as jars. At first, I pictured fireflies in jars with their beautiful green glow. Then, as the story progressed and the description deepened, a clearer picture appeared in my mind. I imagined jars that were full of pretty colors and lots of shimmer. If my favorite dreams were put into a jar, I'm sure that they'd be just as bright and colorful! That's when the idea of these jars developed!
DIY BFG Dream Jars Tutorial
What you'll need
- Jars – without a design on them. (you can get a pack on Amazon)
- Cotton – loose cotton or cotton balls. You will use a lot of these, so be sure to have a big bag handy. (Get a huge bag here)
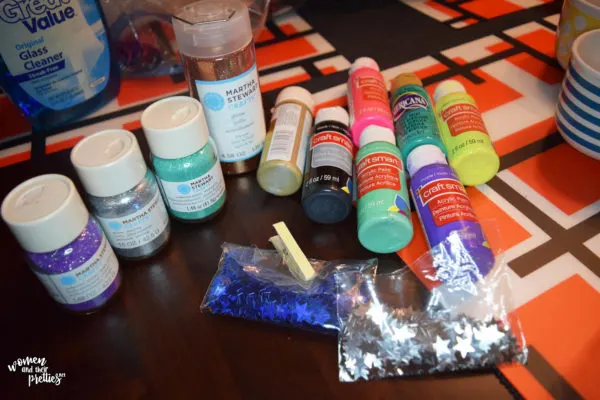
- Acrylic paint – at least two colors. (I used these colors in the first jar: Bluegrass Green / Pink Blast)
- Glitter – very fine glitter or glitter glue. (I love the Martha Stewart glitter – you can also buy it on Amazon)
- Bowls – 1 for each paint color.
- Something to stir the paint. I used the top end of a paintbrush.
- Optional: Twine and tags to embellish. (Get the twine here)
1. Clean the jars.
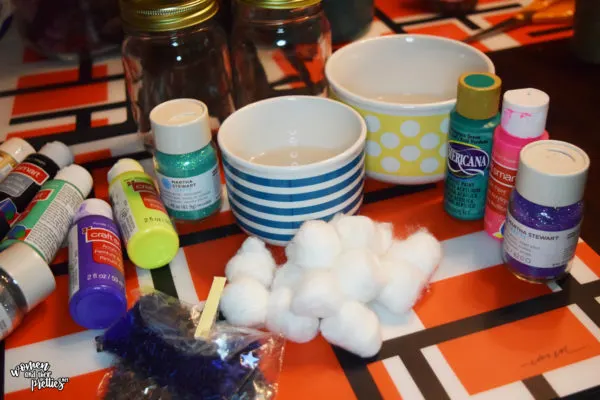
Always work with clean jars. Sometimes, even brand new jars, have oil in them, which can hinder your project.
2. Fill the bowls with as much water as you'd like.
I filled my bowls with just a little and added more if I needed it.
3. Drop paint into the bowls.
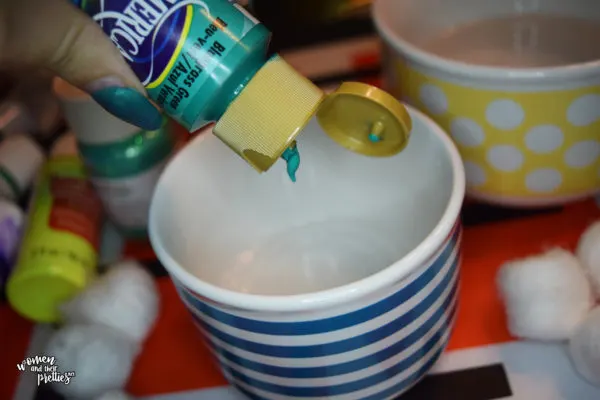
Use 1 color for each bowl. Add enough to get the color that you'd like.
4. Add glitter to the bowls.
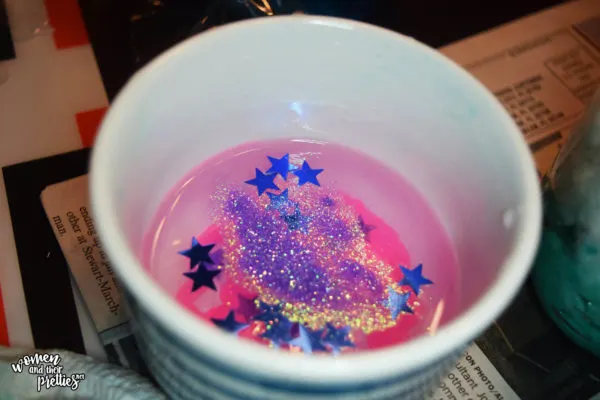
Use as much glitter as you'd like. You can never have too much glitter. I also added little pieces of star confetti. Those didn't work out too well. The confetti stars ended up int he middle of the cotton layers each time, rather than on the sides of the jar to be admired.
5. Stir them all up.
If the mixture seems too thin or too light, add more paint. I like mine to be a little bit thick.
6. Add cotton to the bottom of the jar.
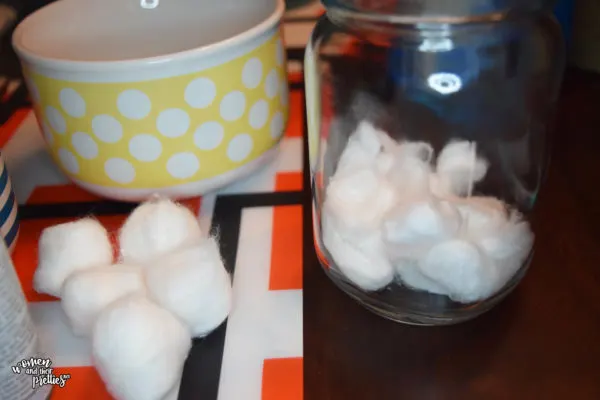
You want to fill it about a third of the way.
7. Pour your first color onto the cotton.
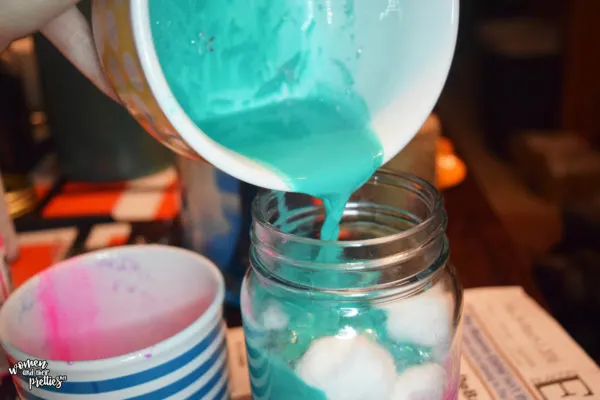
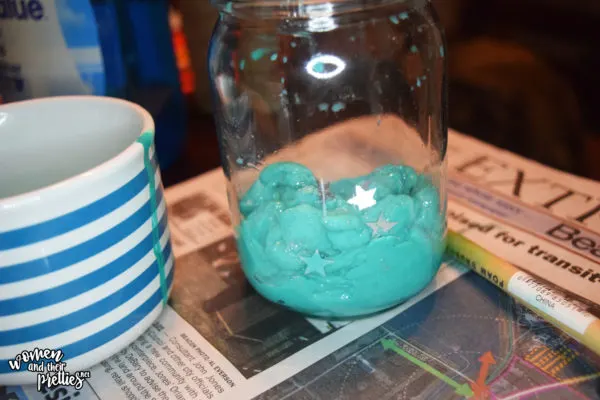 You want the cotton to absorb most of it. If you've poured too much in, just add more cotton and let it absorb.
8. Layer the cotton.
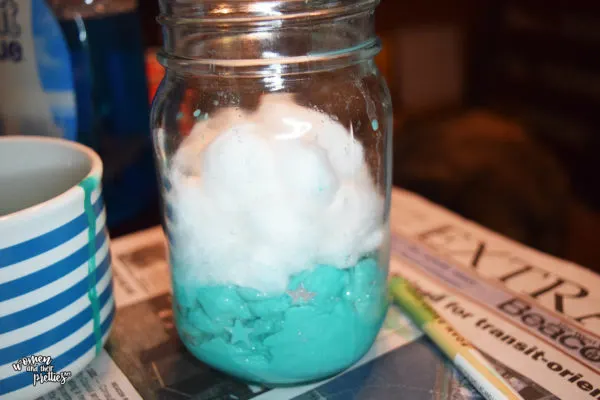
Layer about the same amount of cotton on top of your first layer. Pour your next color on. I typically found myself adding more cotton and pouring double of the second color than I did the first.
9. Layer again with a different color.
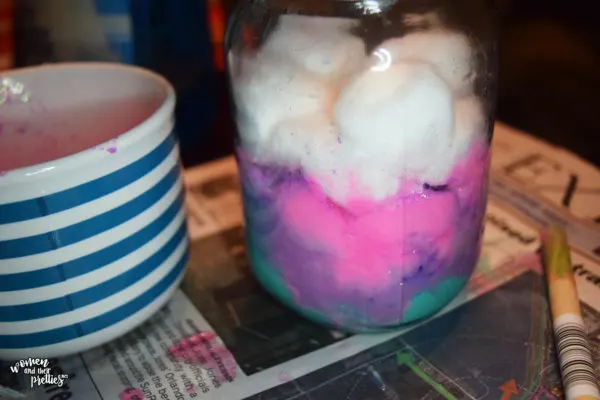
I recommend using the same color as the first.
10. Repeat

Keep layering and repeating until the entire jar is full.
11.Admire your work.
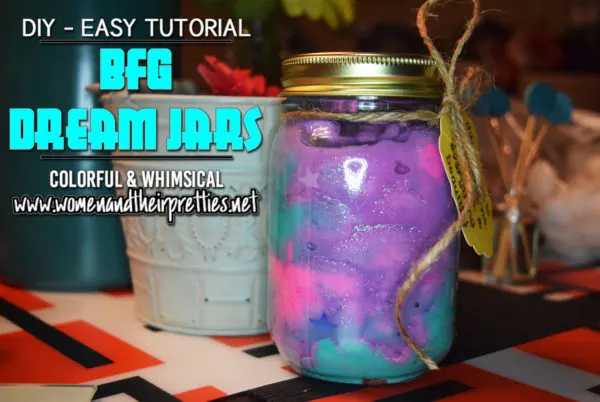
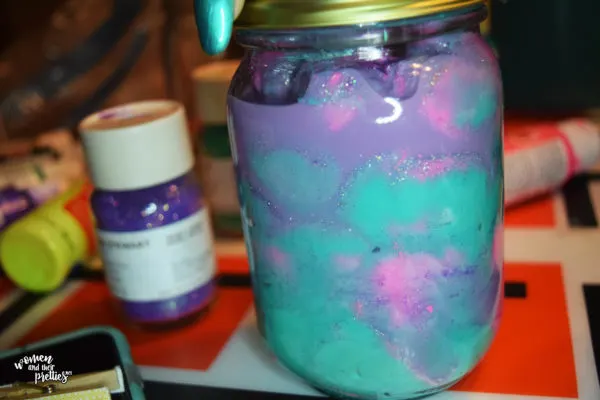
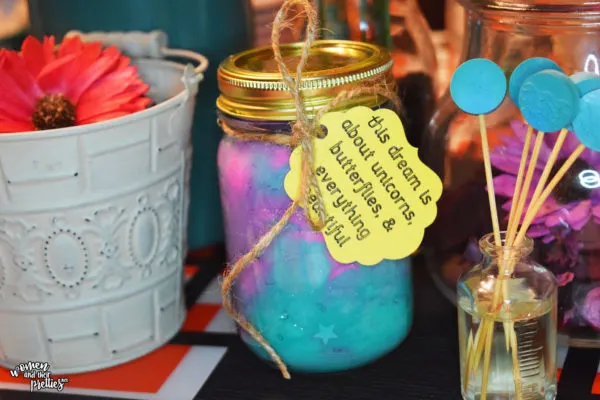
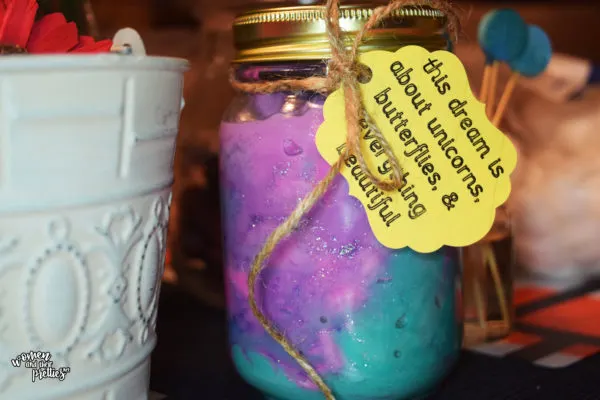
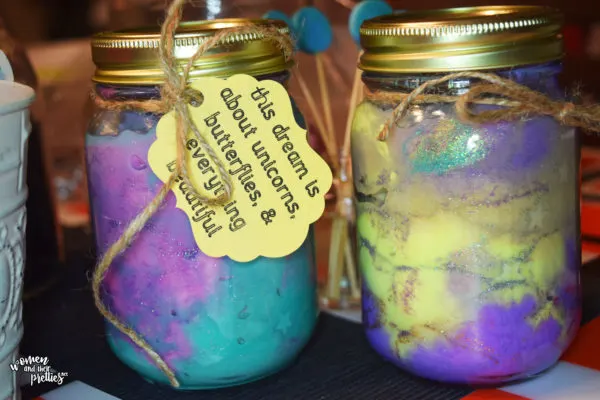
Check out every side of the jar because they all look different.
12. Finish it up
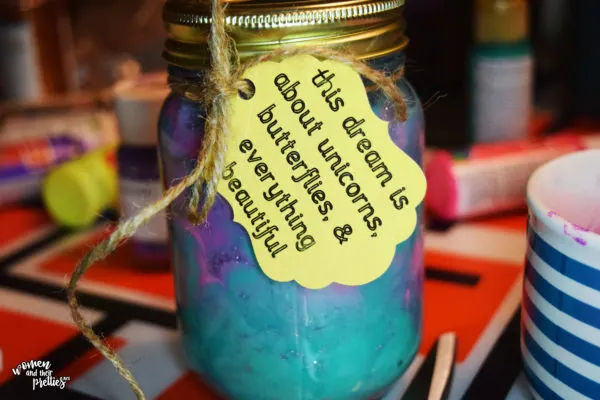
When you've finished, close the lid, tie twine around it, and tag your jar with the dream of your choice. If you have young children, I recommend gluing the jar shut with Krazy glue because you don't want kids trying to “steal the dreams” haha.
13. Put it somewhere pretty

… [Trackback]
[…] Read More here to that Topic: butfirstjoy.com/craft-corner-diy-bfg-dream-jars-tutorial/ […]
… [Trackback]
[…] Info to that Topic: butfirstjoy.com/craft-corner-diy-bfg-dream-jars-tutorial/ […]
… [Trackback]
[…] Find More on to that Topic: butfirstjoy.com/craft-corner-diy-bfg-dream-jars-tutorial/ […]
… [Trackback]
[…] Find More Info here on that Topic: butfirstjoy.com/craft-corner-diy-bfg-dream-jars-tutorial/ […]
… [Trackback]
[…] Information on that Topic: butfirstjoy.com/craft-corner-diy-bfg-dream-jars-tutorial/ […]
… [Trackback]
[…] Info on that Topic: butfirstjoy.com/craft-corner-diy-bfg-dream-jars-tutorial/ […]
… [Trackback]
[…] Info on that Topic: butfirstjoy.com/craft-corner-diy-bfg-dream-jars-tutorial/ […]
… [Trackback]
[…] Information to that Topic: butfirstjoy.com/craft-corner-diy-bfg-dream-jars-tutorial/ […]
… [Trackback]
[…] Read More on that Topic: butfirstjoy.com/craft-corner-diy-bfg-dream-jars-tutorial/ […]
… [Trackback]
[…] Read More on on that Topic: butfirstjoy.com/craft-corner-diy-bfg-dream-jars-tutorial/ […]
… [Trackback]
[…] Read More here to that Topic: butfirstjoy.com/craft-corner-diy-bfg-dream-jars-tutorial/ […]
… [Trackback]
[…] Find More on on that Topic: butfirstjoy.com/craft-corner-diy-bfg-dream-jars-tutorial/ […]
… [Trackback]
[…] Information to that Topic: butfirstjoy.com/craft-corner-diy-bfg-dream-jars-tutorial/ […]
… [Trackback]
[…] Read More Information here on that Topic: butfirstjoy.com/craft-corner-diy-bfg-dream-jars-tutorial/ […]
… [Trackback]
[…] Read More to that Topic: butfirstjoy.com/craft-corner-diy-bfg-dream-jars-tutorial/ […]
… [Trackback]
[…] Info to that Topic: butfirstjoy.com/craft-corner-diy-bfg-dream-jars-tutorial/ […]
… [Trackback]
[…] Information to that Topic: butfirstjoy.com/craft-corner-diy-bfg-dream-jars-tutorial/ […]
… [Trackback]
[…] Information to that Topic: butfirstjoy.com/craft-corner-diy-bfg-dream-jars-tutorial/ […]
… [Trackback]
[…] Find More on that Topic: butfirstjoy.com/craft-corner-diy-bfg-dream-jars-tutorial/ […]
… [Trackback]
[…] There you will find 74618 additional Info on that Topic: butfirstjoy.com/craft-corner-diy-bfg-dream-jars-tutorial/ […]
[…] I'm sure we've all wished for an effective DIY love potion in our lifetime. This year – I'm no longer wishing for it. I am making it happen! Every year, I try to come up with an easy handmade Valentine's Day gift for my boyfriend. This time around, I wanted something more practical and unrestricted – a Valentine's Day gift I could give to anyone. In the midst of brainstorming different ideas, I thought of my mother. Every time she visits, she makes a pot of handmade potpourri for me. Then it dawned on me: why not make a scented love potion? Instead of dry potpourri, I wanted to use fresh ingredients and to utilize my love for jar crafts. […]
Me too! It’s so good!
I was lucky enough to see an advanced screening of the BFG and loved every minute of it! I can’t wait to see it again!