
Lately, I've been wanting to send a note of encouragement to those around me. While it's been a tough year, things can only get better. I've been focused on using my Cricut Joy to spread joy.
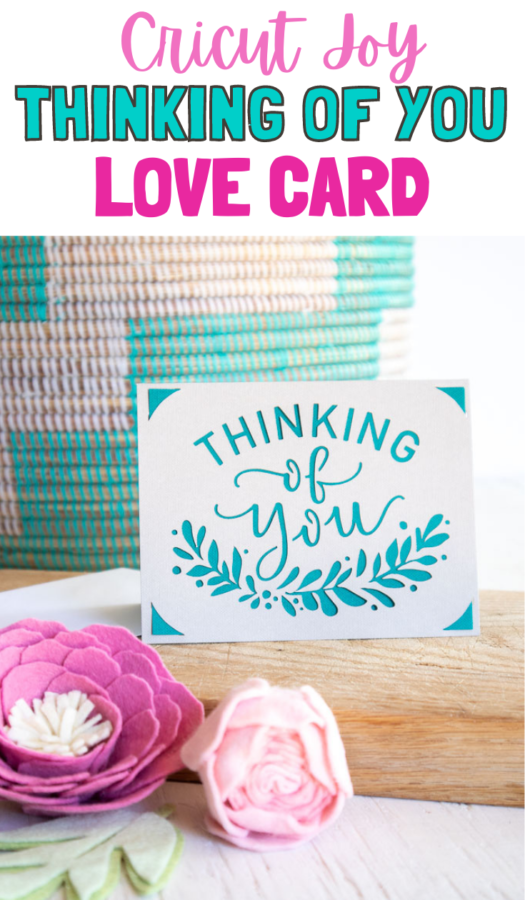
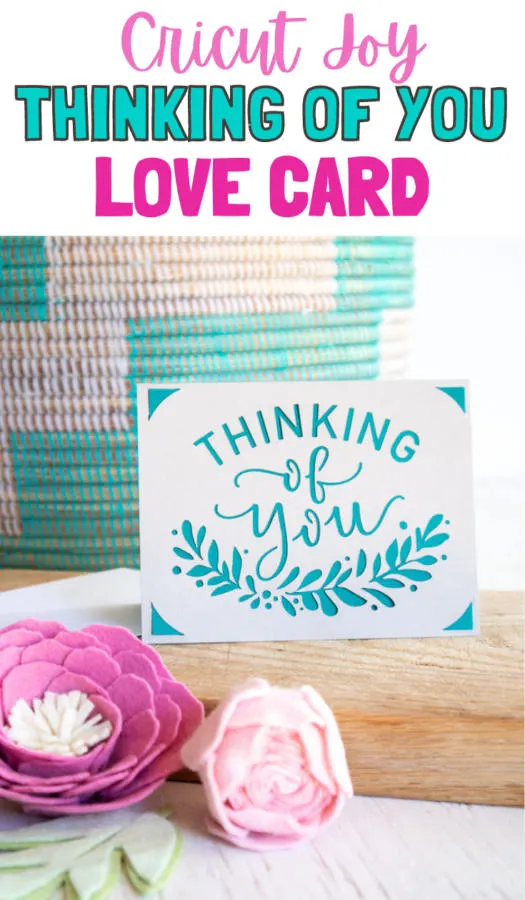
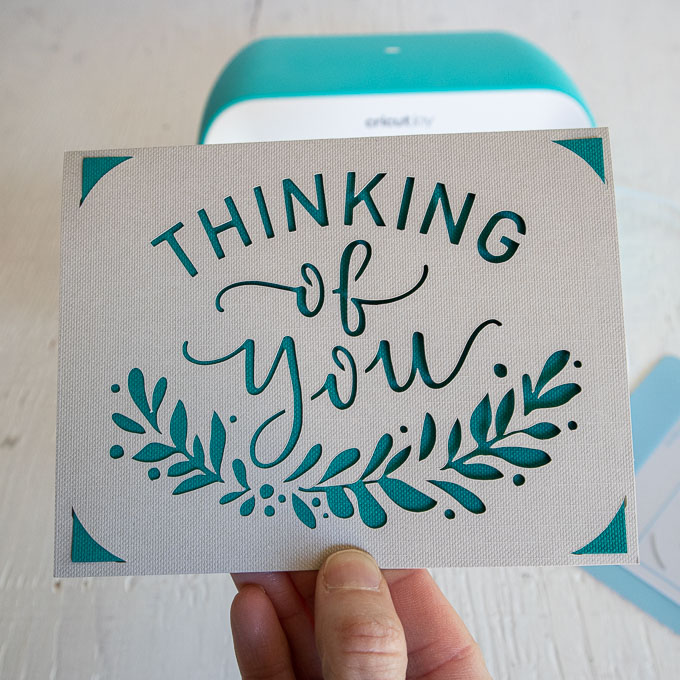
What better way to do that than through a card? I'm going to show you how to make your own Cricut Joy Thinking of You Card.
Before beginning, I recommend subscribing to Cricut Access for over 100k images and thousands of beautiful fonts for your Cricut designs. It's not a requirement for this tutorial but it makes creating so much more fun!
Thinking of You Card
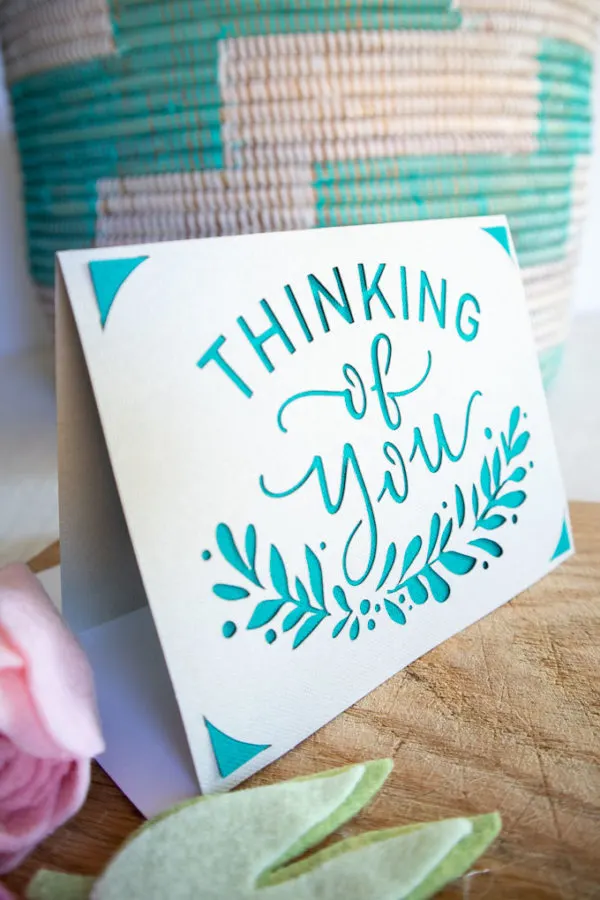
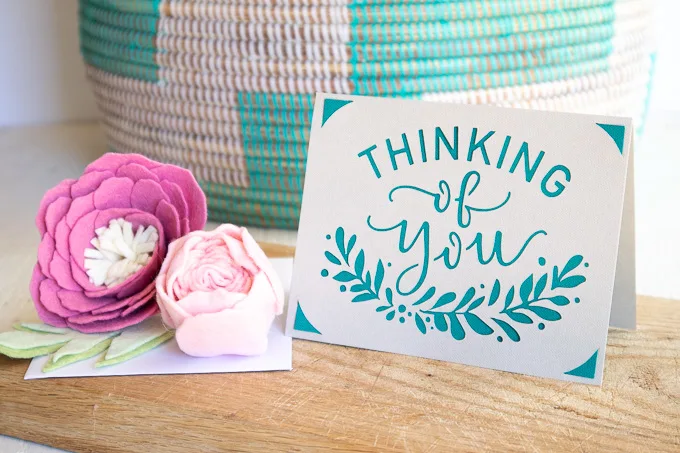
Making a “thinking of you” card is so fun because you can send it to anyone you know. It's so fun to get a card in the mail, just because.
If you feel as though you want to encourage people and send them a little something in the mail, then this is the perfect way to get started.

Personalization at its Best
One of the aspects of the Cricut Joy that I love is that I'm able to personalize cards. I can send this card to anyone I'd like. Plus, personalizing a card is so joyful! I think I speak for a lot of people when we say a personalized card is one of the best things you can get in the mail.
Time to Get Started
If you have never used the Cricut Joy or this is your 100th project, you are going to have such a good time. I always enjoy a project that isn't too hard or too easy.


It's nice to have a challenge but I also don't want to spend too much time frustrated. You'll find that this “thinking of you card” is the ideal project to do on a Saturday evening when you are looking for something fun to do!
When you are looking for a craft, project, or a DIY card to create, then this is the project for you.

If or when you decide to do this project, please leave a comment below, I'd love to hear from you!

Thinking of You Card – Cricut Joy Tutorial
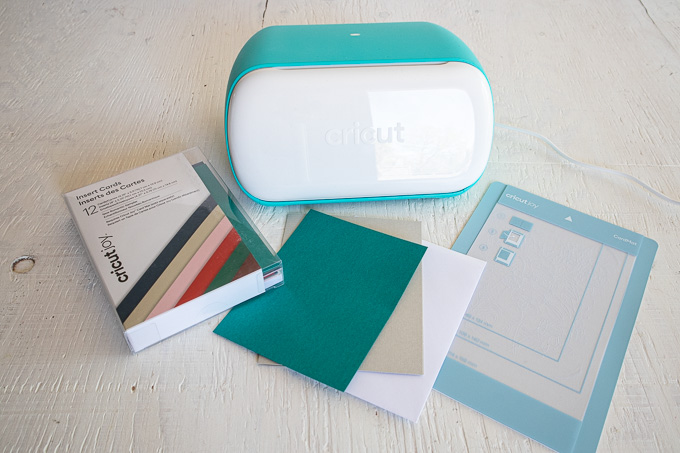
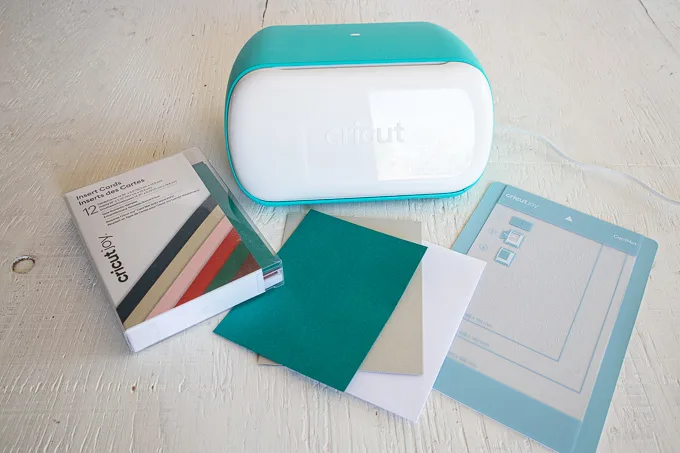
Materials
Instructions
Preparing the Image:
1. Open Cricut Design Space.
2. Click on the “+” sign to start a new project, opening up a blank canvas.
3. Click on the Images button from the toolbar.
4. Search card image #M1253D2EC and then click on the image to insert it on the canvas.
Cutting the Image on the Card:
5. Ensure the machine is set to Cricut Joy, then select “Make It” in the upper right corner to proceed with cutting.
6. Choose “On Card Mat”.
7. Adjust the card size to 4.25” x 5.5”.
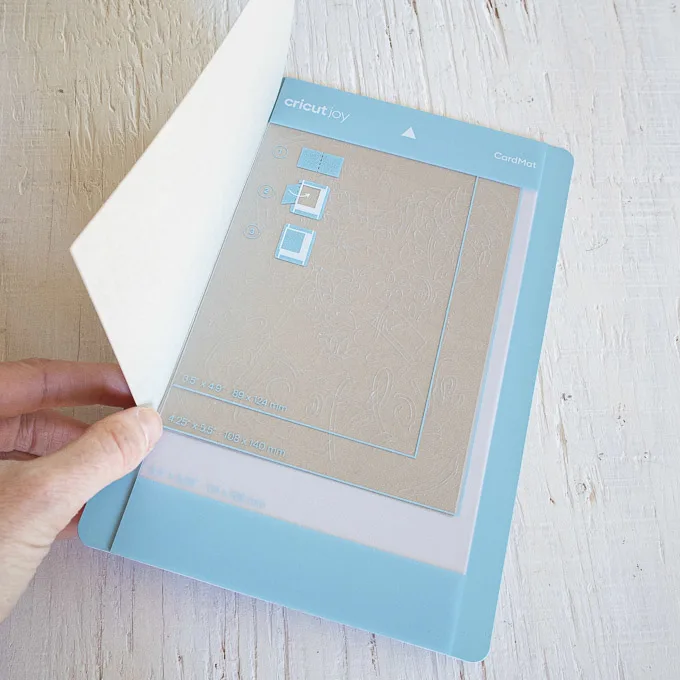
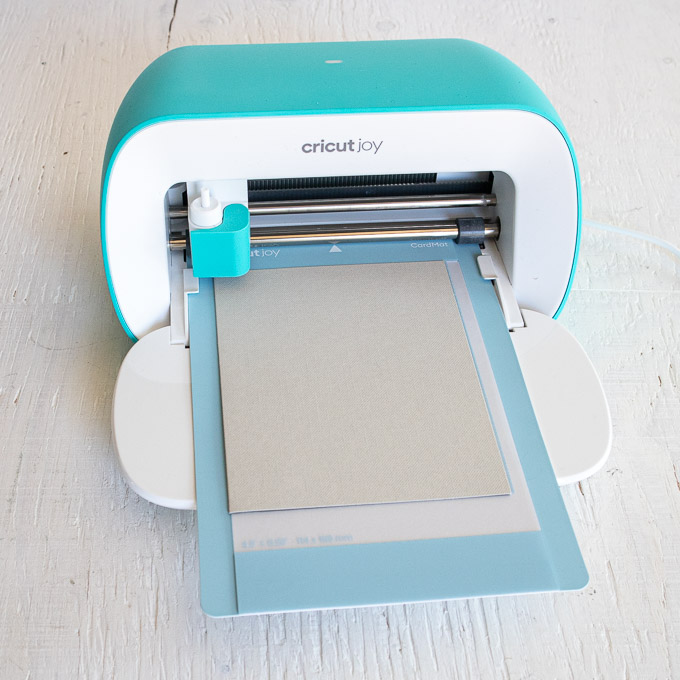
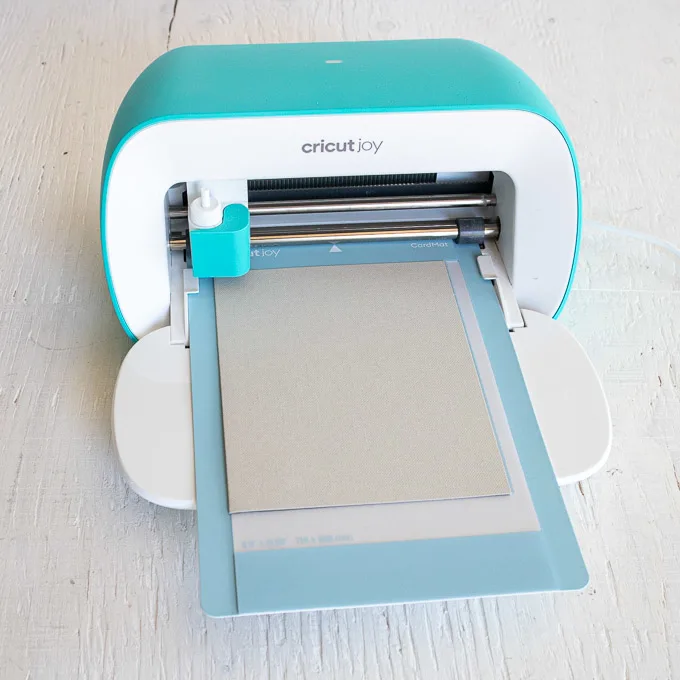
8. Remove the protective plastic cover from the mat.
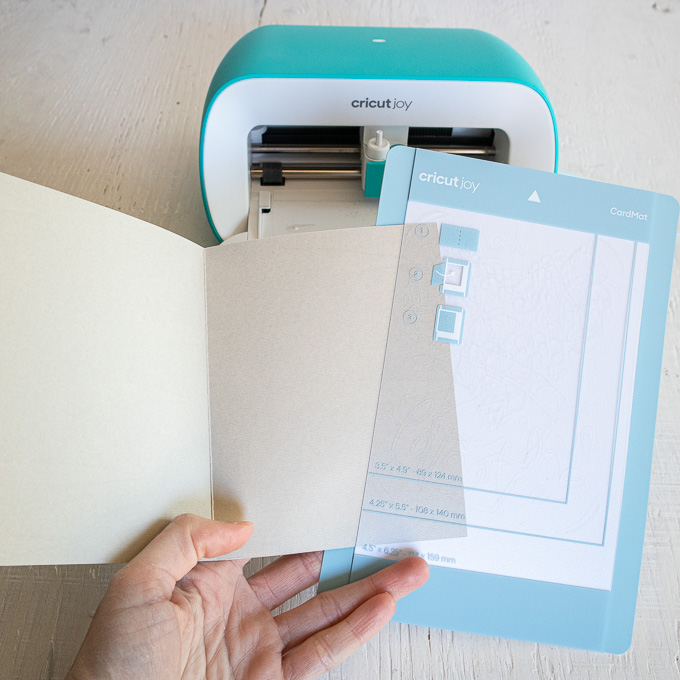
9. Open the pre-folded card and from the left, slide one side of the folded card under the plastic divider.
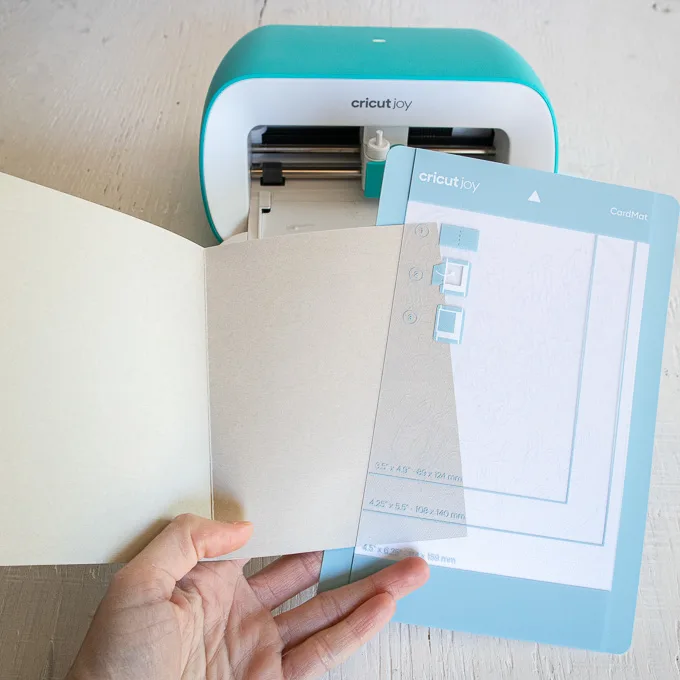
10. Make sure the card is flush with the top, then align the inside fold of the card against the plastic divider.
11. Press the front of the card down against the adhesive on the mat.
12. Select browse all materials and choose “Insert Card-Cardstock” from the list of materials.
13. Following the instructions prompted on the screen, cut out the pattern.
Finishing:
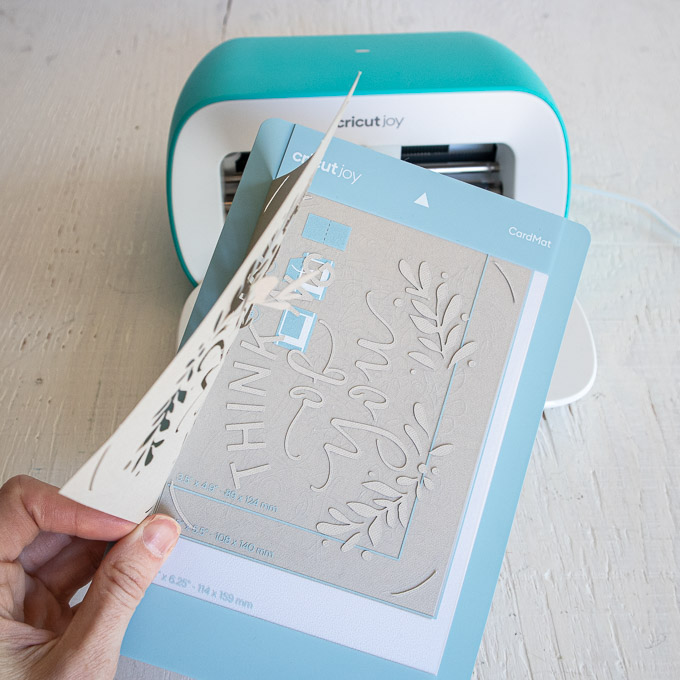
14. Remove the mat from the machine when the cut is complete. Carefully peel off the mat from the card and trim or remove any small attached pieces.
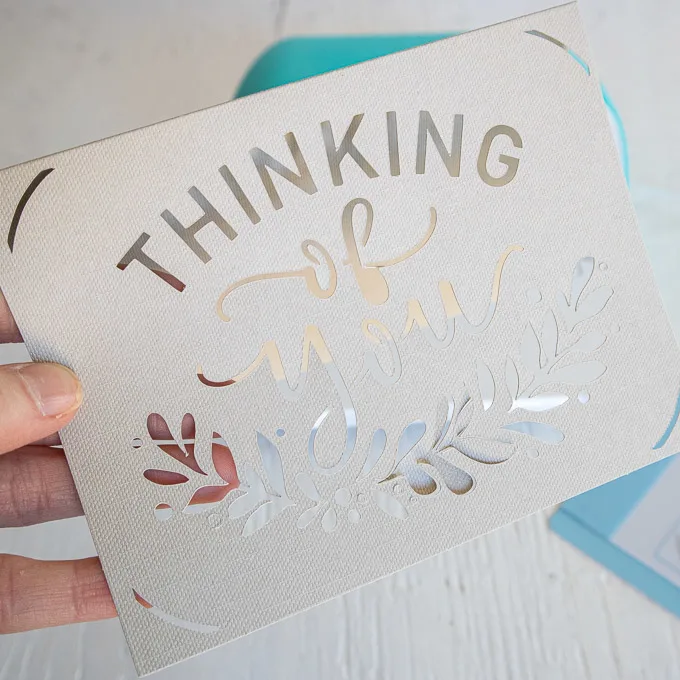
15. Tuck the insert into the corner cut-outs to hold in place.
… [Trackback]
[…] Info on that Topic: butfirstjoy.com/cricut-joy-thinking-of-you-card/ […]
… [Trackback]
[…] Read More here to that Topic: butfirstjoy.com/cricut-joy-thinking-of-you-card/ […]
… [Trackback]
[…] Find More on that Topic: butfirstjoy.com/cricut-joy-thinking-of-you-card/ […]
… [Trackback]
[…] Find More Information here on that Topic: butfirstjoy.com/cricut-joy-thinking-of-you-card/ […]
… [Trackback]
[…] Read More on on that Topic: butfirstjoy.com/cricut-joy-thinking-of-you-card/ […]
… [Trackback]
[…] Info to that Topic: butfirstjoy.com/cricut-joy-thinking-of-you-card/ […]
… [Trackback]
[…] Read More Information here to that Topic: butfirstjoy.com/cricut-joy-thinking-of-you-card/ […]
… [Trackback]
[…] Find More here on that Topic: butfirstjoy.com/cricut-joy-thinking-of-you-card/ […]
… [Trackback]
[…] Read More to that Topic: butfirstjoy.com/cricut-joy-thinking-of-you-card/ […]
… [Trackback]
[…] Find More Info here to that Topic: butfirstjoy.com/cricut-joy-thinking-of-you-card/ […]
… [Trackback]
[…] Here you can find 37364 more Info on that Topic: butfirstjoy.com/cricut-joy-thinking-of-you-card/ […]
… [Trackback]
[…] Find More Information here on that Topic: butfirstjoy.com/cricut-joy-thinking-of-you-card/ […]
… [Trackback]
[…] Read More here on that Topic: butfirstjoy.com/cricut-joy-thinking-of-you-card/ […]
… [Trackback]
[…] Here you can find 18922 more Information on that Topic: butfirstjoy.com/cricut-joy-thinking-of-you-card/ […]
… [Trackback]
[…] Find More Information here on that Topic: butfirstjoy.com/cricut-joy-thinking-of-you-card/ […]
… [Trackback]
[…] Read More on that Topic: butfirstjoy.com/cricut-joy-thinking-of-you-card/ […]
… [Trackback]
[…] Find More Info here on that Topic: butfirstjoy.com/cricut-joy-thinking-of-you-card/ […]
… [Trackback]
[…] Info to that Topic: butfirstjoy.com/cricut-joy-thinking-of-you-card/ […]
[…] on just about anything you want to make. The possibilities are endless from home decor to decals to homemade cards. Although small, this machine is still very […]
This is really adorable!