
Thank you to Cricut for sponsoring this “Make and Sell with Cricut” post and to the other creators who shared their Cricut tutorials for this post!
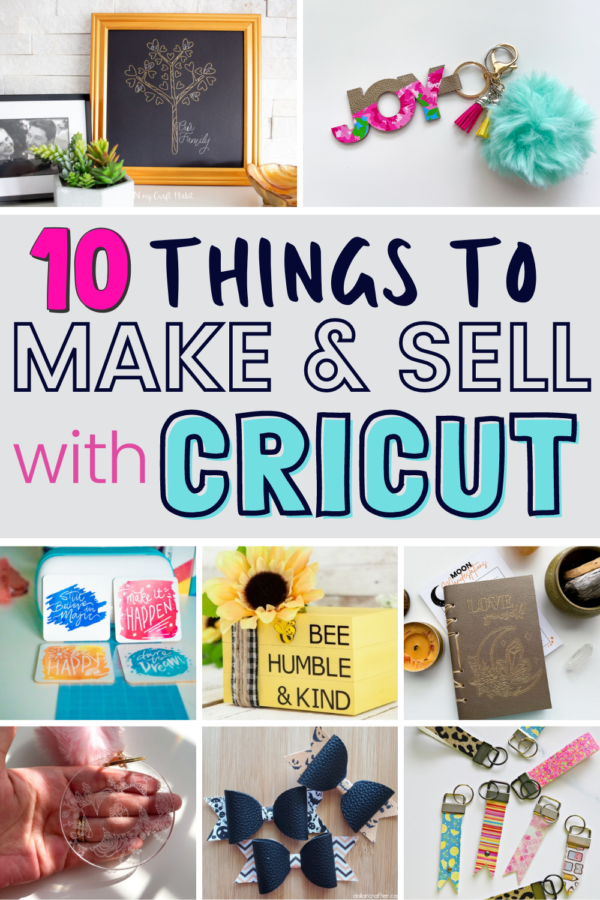
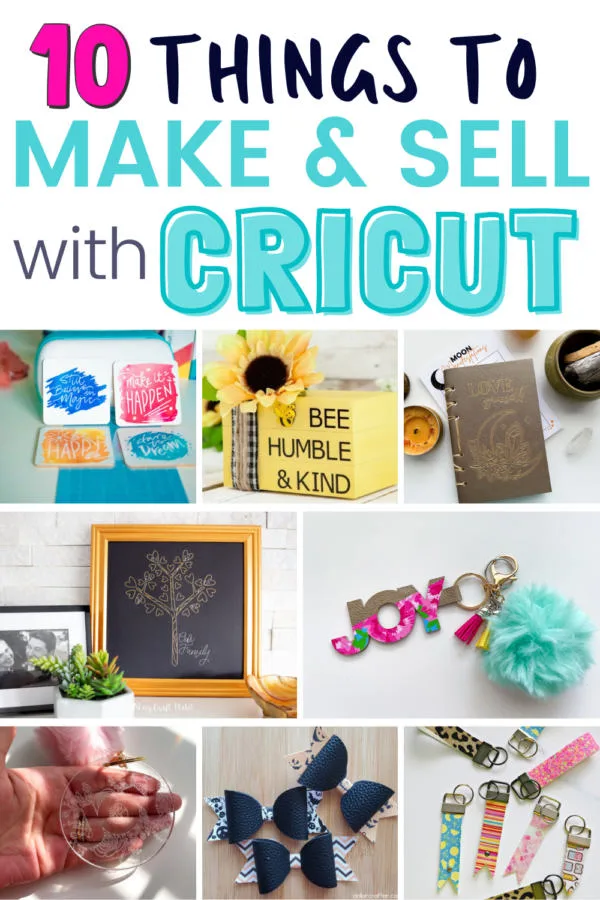
If you're looking for things to make and sell with Cricut – this list of ideas is a great place to start making money right away. You can find ideas that range from beginner to advanced. Some are budget projects while others require a few more materials.

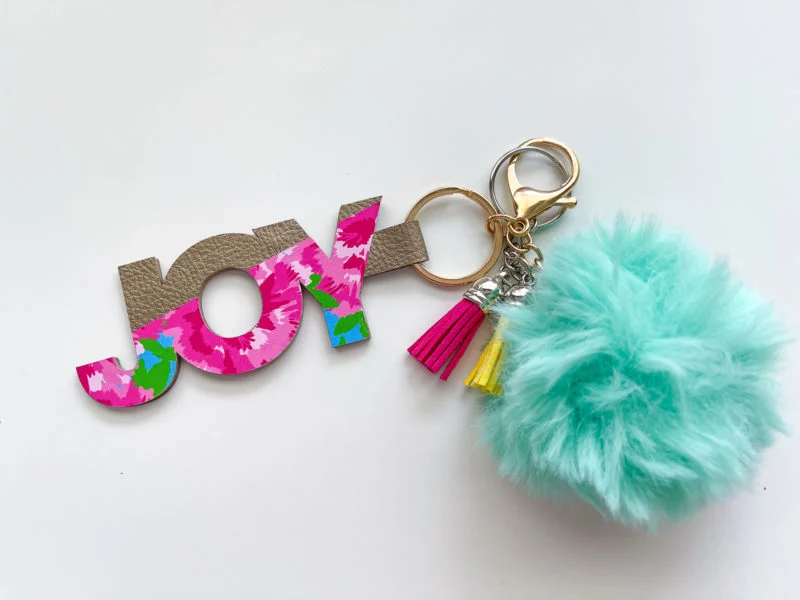
1. Make Stylish Leather & Chipboard Keychains with Cricut Maker 3
What you'll need:
Use this project file to practice – Leather Love Keychain
- Cricut Maker 3
- Cricut Leather of your choice
- Permanent Vinyl of Your Choice
- Keychains
- Cricut Chipboard
- StandardGrip Machine Mat (For leather & vinyl)
- StrongGrip Mat (for Chipboard)
- Premium Fine Point Blade
- Knife Blade
- Tacky Glue
- Masking Tape


Before beginning, I recommend subscribing to Cricut Access for over 100k images and thousands of beautiful fonts for your Cricut designs. It's not a requirement for this tutorial but it makes creating so much more fun!
Here's how to make your own:
- Open Cricut Design Space.
- Choose a nice SANS font for your word – or a thick font. Cursive will not work well for this.
- Use the kerning tool to move the letters closer together until all letters are touching.
- Weld letters together.
- Copy/Paste the welded word. 3xs. Move two to the bottom.
- Flip one of the new words horizontal and move it to the side. Yes, it will be backwards.
- Now, using the rectangle tool, create a thin rectangle between the two words. 1/2 inch tall and 1.5 inches wide should suffice.
- Be sure rectangle is touching both words and weld together. This will be the leather portion of your keychain.
- One of the welded words that you moved to the bottom will be cut out of chipboard – change the color to any color you'd like. This is to signal to Cricut that you'll be changing materials.
- To make a split diagonal vinyl design:
Use the square/rectangle shape tool, click the top of the screen to resize. First, click the chain button to unlink. Make the rectangle as thin as possible to make a line.
Rotate and resize the line until it fits the word from corner to corner.
Click SLICE and remove all the unwanted pieces.
Change the color to indicate to Cricut that you'll be cutting this out with a different material. - Cut out all materials. As a reminder:
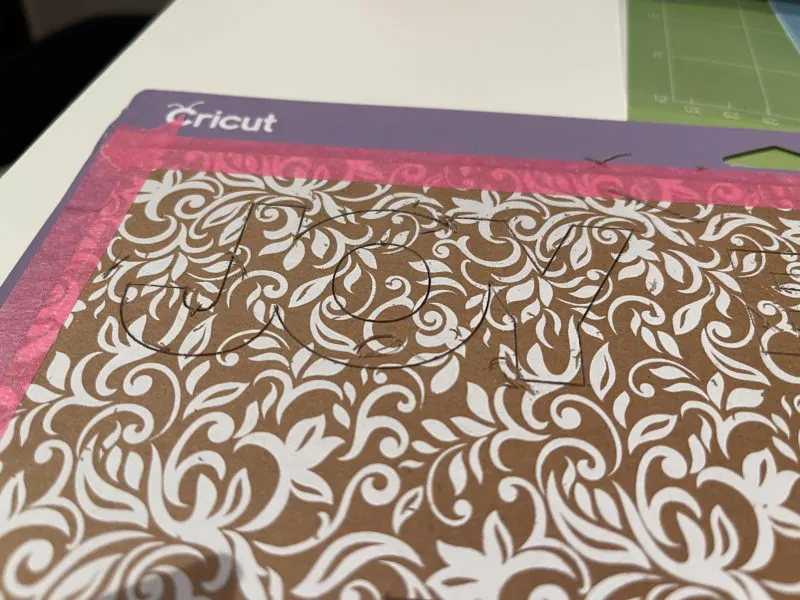
The forwards and backwards words will be cut out of leather on the StandardGrip Mat with the Fine Point Blade.
The single word will be cut out of Chipboard on the StrongGrip Mat with the Knife blade.
The sliced word will be cut out of decorative permanent vinyl on your StandardGrip Mat with the Fine Point Blade. - Now that you've cut all materials, it's time to assemble!
- First, place your keychain on the leather rectangle piece.
- Next, add Tacky Glue to the full Chipboard word front.
- Line it up perfectly with the forward leather word and apply form pressure.
- Apply Tacky Glue to the full back of the chipboard word and close the keychain, applying firm pressure.
- Finally, add the vinyl to the front of the keychain.
- Place keychain under a heavy object, allowing it to dry for a few hours. By doing so, you're preventing the chipboard from curving from the glue.
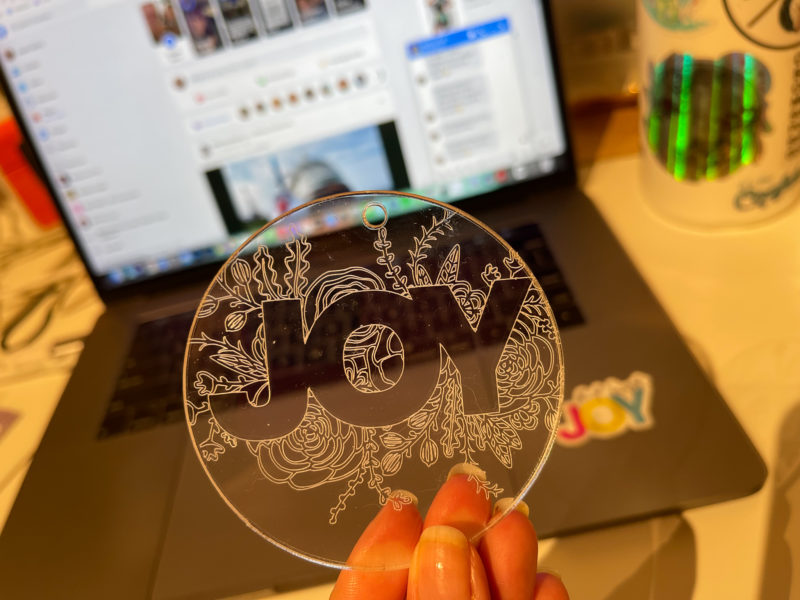

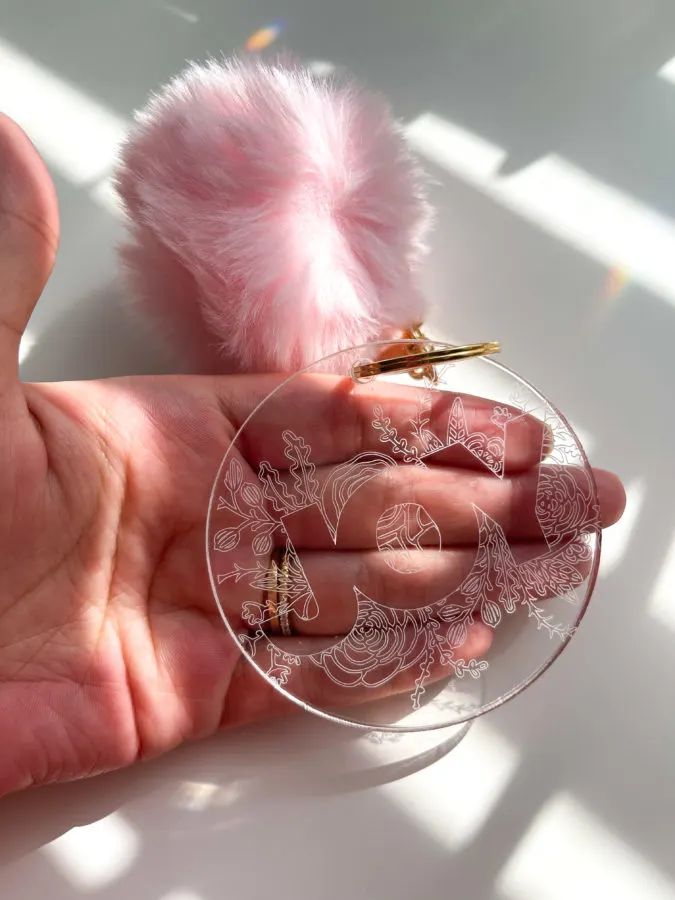
2. Make Engraved Acrylic Keychains with Cricut Maker 3
- Cricut Maker 3
- Engraving Blade
- Acrylic Keychain Blanks
- Decorative Add-Ons
- StrongGrip Mat
- Masking Tape
- Placed acrylic keychains on the StrongGrip mat. Tape down with masking tape.
- Just be sure you place the tape in a location that will not be engraved, just to be sure your design is perfect.
- At this point, I would highly recommend using the iPhone's “Snap To Mat” Cricut Design Space feature. This will tell Cricut exactly where your acrylic discs are located on the mat.
If you can't, be sure to align your blanks in the specific place that you'll be placing the design in your Cricut Design Space canvas. Attach everything to be sure it stays in place. - Insert your engrave tip into Clamp B.
- Follow the on-screen instructions to engrave your design of choice!
- Use a lint-free cloth to wipe the dust off afterward.


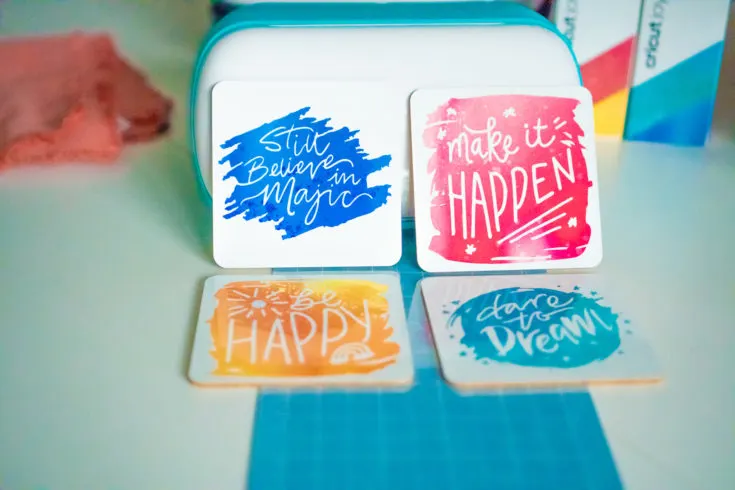
These no-peel coasters are truly remarkable. Made using Cricut's blank coasters and Infusible Ink, you can make coasters that align with you small shop's aesthetic. These are beautiful quality and incredibly affordable to make & sell.
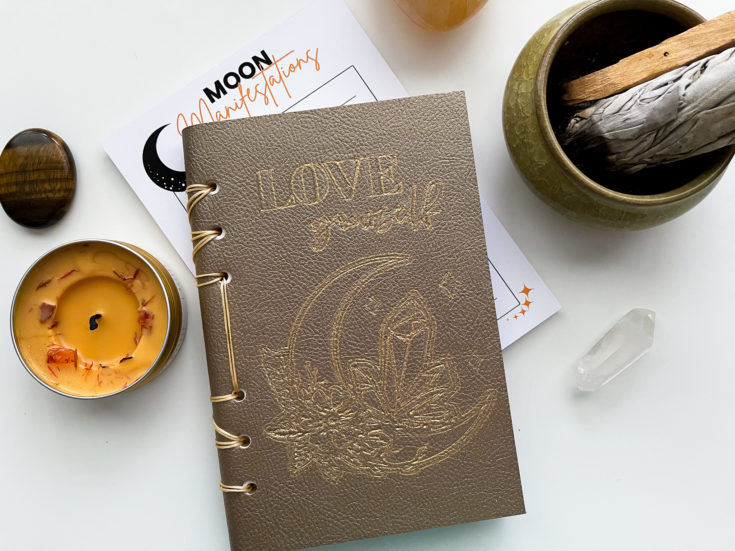

If you want to really get your hands into your art, I highly recommend making a handmade journal. It's a 100% hands-on process that involves a variety of techniques that only a Cricut Maker can handle. The results are incredible. These journals would be one-of-a-kind and cherished by your buyers.
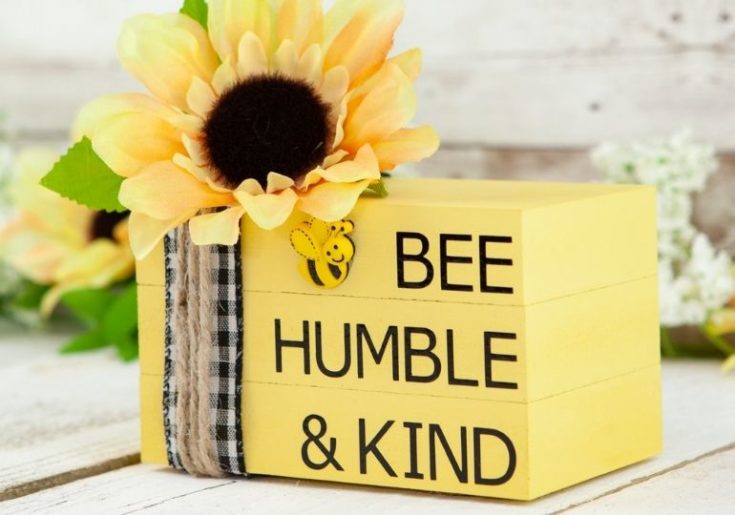
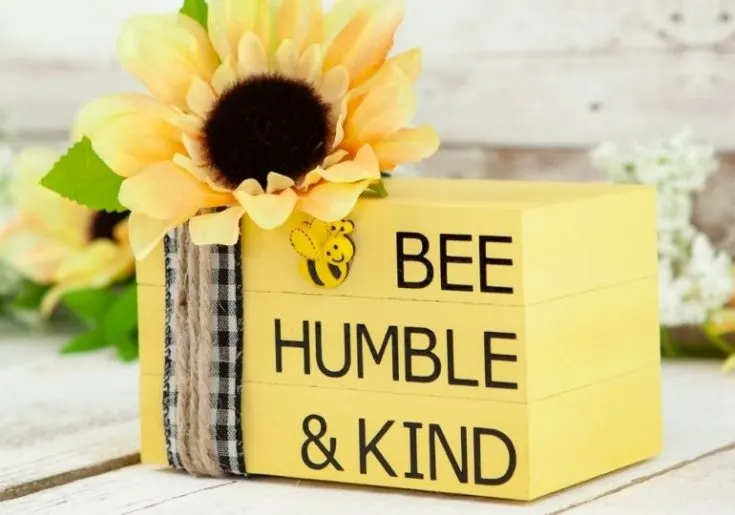
This honey bee decor is just the cutest idea for someone who has a farmhouse or just loves a good southern feel! These can be made on a budget and will sell fast!
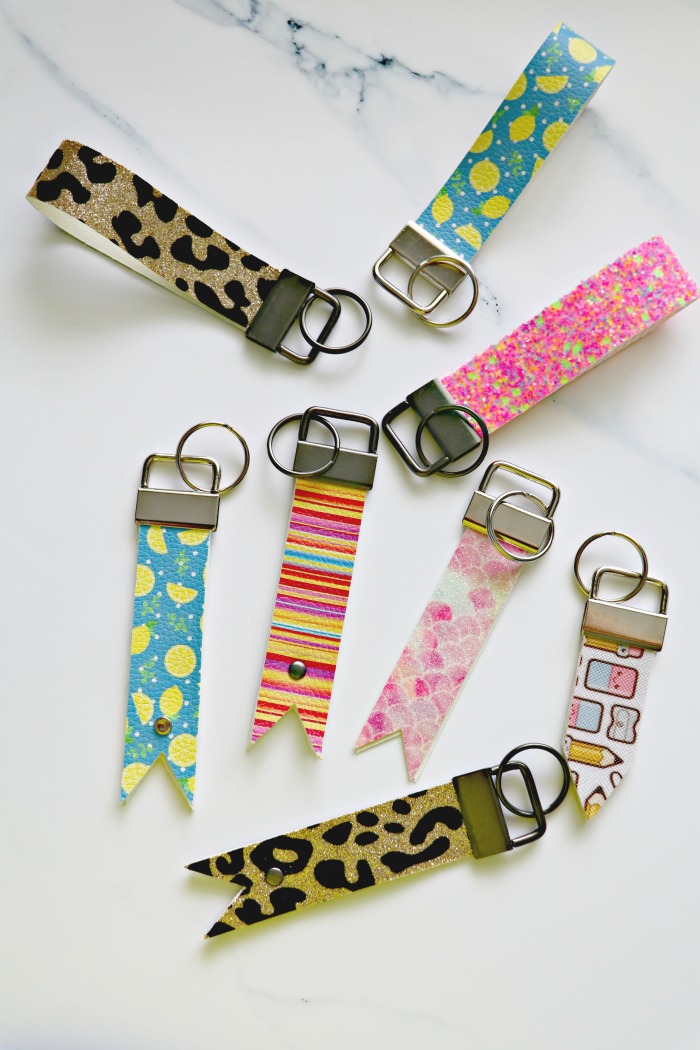
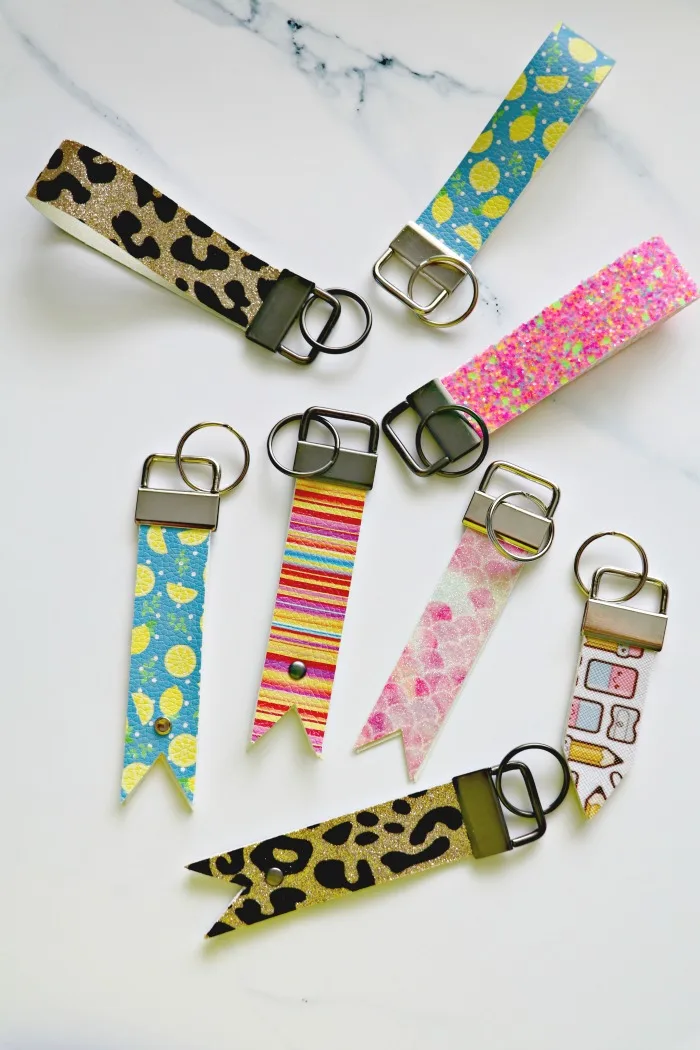
Key Fob Keychains are all the rage. Mainly because you can make them easily with your Cricut and find an unlimited number of faux leather patterns to work with! You could easily customize these with vinyl, as well.
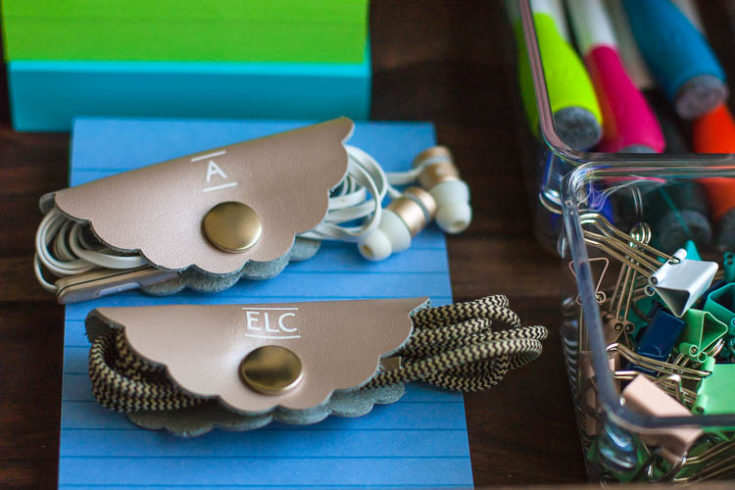

I love the idea of making and selling cord organizers. These would cost the bare minimum to make with your Cricut and you could ship easily.

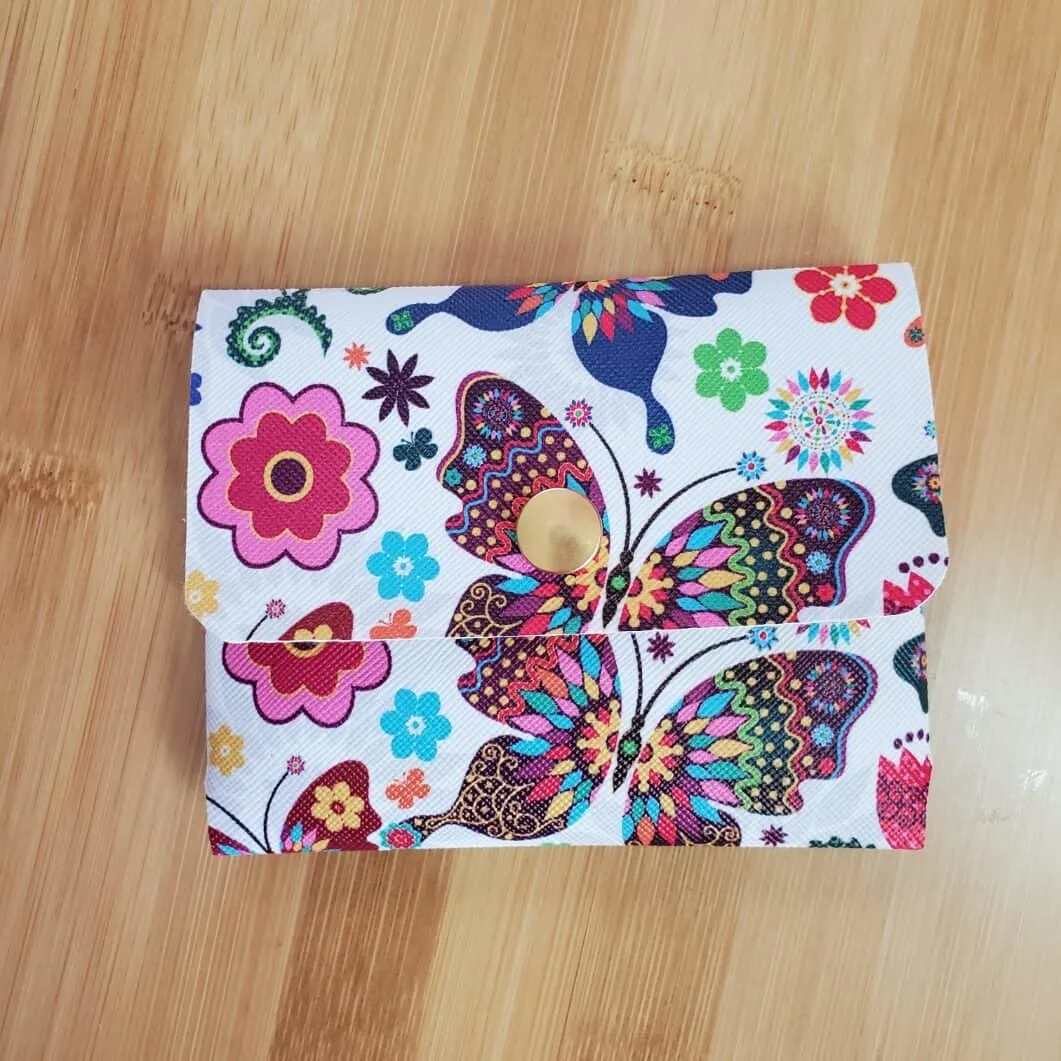
These little coin pouches would be a great products to make & sell on a budget. Your Cricut Maker would make this an easy item to create fast and efficiently.
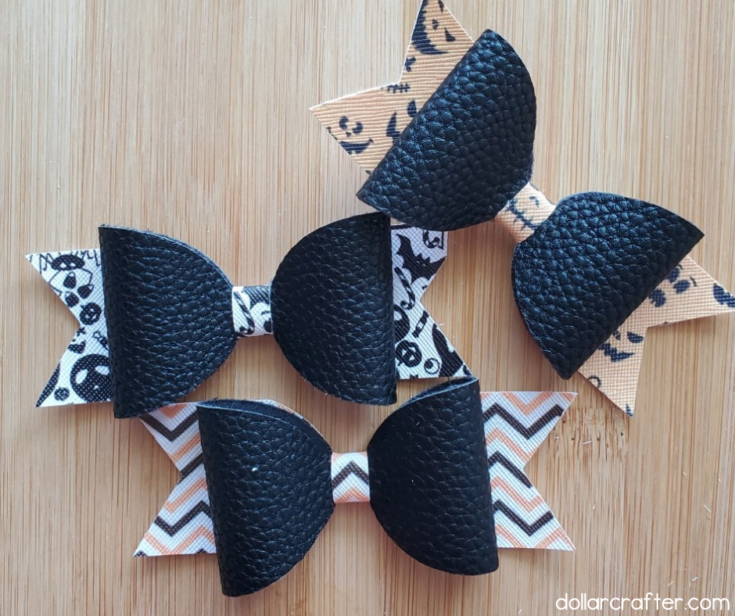

Faux leather hair bows are another easy and fun thing to make and sell with Cricut. You can use a full sheet of faux leather with little waste for these beauties. Make them an affordable item to sell and ship!

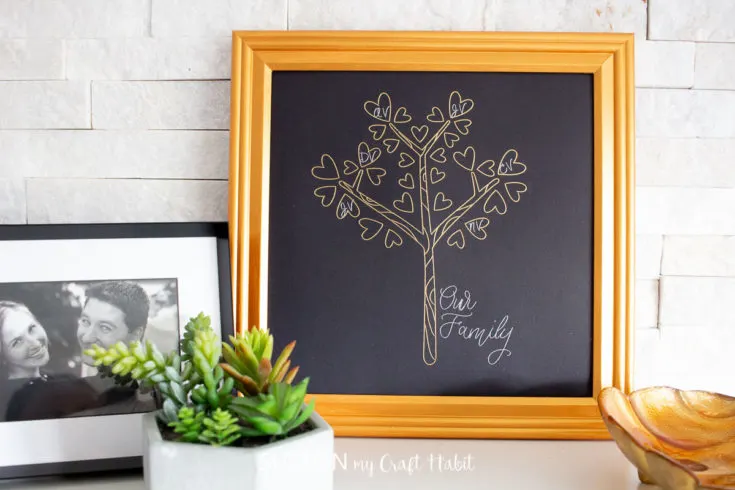
Finally, if you want offer your customers a custom products, this family tree artwork is for you! With minimum materials and the Cricut Foil Transfer system, you'll create something that will be cherished forever. You could sell these with or without the frame!

… [Trackback]
[…] There you can find 66747 more Information to that Topic: butfirstjoy.com/things-to-make-and-sell-with-cricut/ […]